Water Bottle Planters: The Ultimate Amazing Guide to 10 Ideas
Water bottle planters are an incredible way to turn your old plastic bottles into beautiful, functional garden additions. This environmentally-friendly method not only promotes recycling but also allows you to enjoy the beauty of plants in a unique way. It's truly amazing how something as simple as a plastic bottle can transform into a thriving home for your favorite herbs, flowers, or succulents.
In recent years, the trend of using water bottle planters has gained popularity, especially among urban gardeners and eco-conscious individuals. Whether you have a small balcony, a backyard, or just a windowsill, these planters provide a wonderful opportunity to grow plants without needing significant space. Plus, they add a decorative element to your home while keeping plastic waste out of landfills.
When you start working with water bottle planters, you become more in tune with the world around you. Gardening can be a relaxing and fulfilling hobby that fosters a deeper connection to nature. Yet, many people often overlook how easy and enjoyable it can be to create planters using recycled materials. This guide will cover several creative ways to upcycle water bottles into planters that will enhance your living space beautifully.
Why You'll Love Water Bottle Planters
Creating water bottle planters offers numerous benefits that make this project both enjoyable and rewarding. Here are just a few reasons why you'll love this DIY gardening idea:
- Environmental Impact: By using old water bottles, you actively contribute to reducing plastic waste and promoting a greener planet.
- Cost-Effective: Instead of purchasing fancy pots or planters, you can easily reuse what you already have, saving money in the process.
- Versatility: Water bottle planters can be designed in various shapes and sizes, allowing you to customize your gardening experience to fit your space and aesthetic.
- Easy Maintenance: These planters are often lightweight and easy to move. They can be kept inside or outside, depending on your plants' needs.
- Fun for Everyone: This activity can be enjoyed by adults and children alike, making it a great family project or educational activity.
- Creative Expression: Personalizing your planters by painting or decorating them provides ample room for creative self-expression.
With these enticing factors, it’s clear that turning your old water bottles into planters can bring countless benefits, making this activity both incredible and fulfilling.
Preparation and Gardening Time
Engaging in the exciting world of water bottle planting doesn't require extensive preparation or lengthy time commitments. Here’s a casual breakdown of what to expect:
- Preparation Time: 10-20 minutes to assemble your materials and design your planters.
- Planting Time: Another 15-30 minutes to fill the bottles with soil and plant your desired seeds or seedlings.
- Ongoing Care: Regular watering and sunlight monitoring will take just a few minutes daily.
Overall, you can have your beautiful planters ready within an hour. After that, maintaining them is relatively hassle-free!
Ingredients
Here is a simple list of materials you will need to create amazing water bottle planters:
- Empty plastic water bottles (12 or 16 ounces work well)
- Scissors or a utility knife
- Potting soil
- Seeds or seedlings of your choice
- Decorations (optional: paint, twine, stickers, etc.)
- Marker (for labeling plants)
- Small stones or pebbles (for drainage)
Having these ingredients handy will set the stage for a fantastic planting experience.
Step-by-Step Instructions
Creating your own water bottle planters is straightforward. Just follow these easy steps:
- Clean the Bottles: Rinse out the empty water bottles to remove any residues.
- Cut the Bottles: Use scissors or a utility knife to cut the bottle in half. You can use either the bottom half for planting or the top half to catch excess water.
- Add Drainage: If you used the bottom half, poke a few small holes in the bottom for drainage. You can also place small stones or pebbles at the bottom for additional drainage.
- Fill with Soil: Pour potting soil into the bottle, leaving about an inch of space at the top.
- Plant Seeds/Seedlings: Plant your seeds or seedlings according to the guidelines on their packages. Press them gently into the soil.
- Watering: Lightly water the soil, ensuring it is moist but not soaking wet. Place the bottle in a location with the appropriate sunlight for your chosen plant.
- Decorating (Optional): If desired, enhance the planter by painting or wrapping twine around it. Let your creativity shine!
- Label Your Plants: Use a marker to label each planter with the plant type for easy identification.
- Monitor Growth: Regularly check your plants, watering them as needed, and adjusting their light exposure.
- Enjoy Your Creation: Sit back, relax, and enjoy watching your plants thrive in their new homes!
By following these steps, you'll have stunning water bottle planters that not only beautify your space but also stand as a testament to your commitment to sustainability.
How to Serve
To make the most of your water bottle planters, consider the following tips for showcasing your green creations:
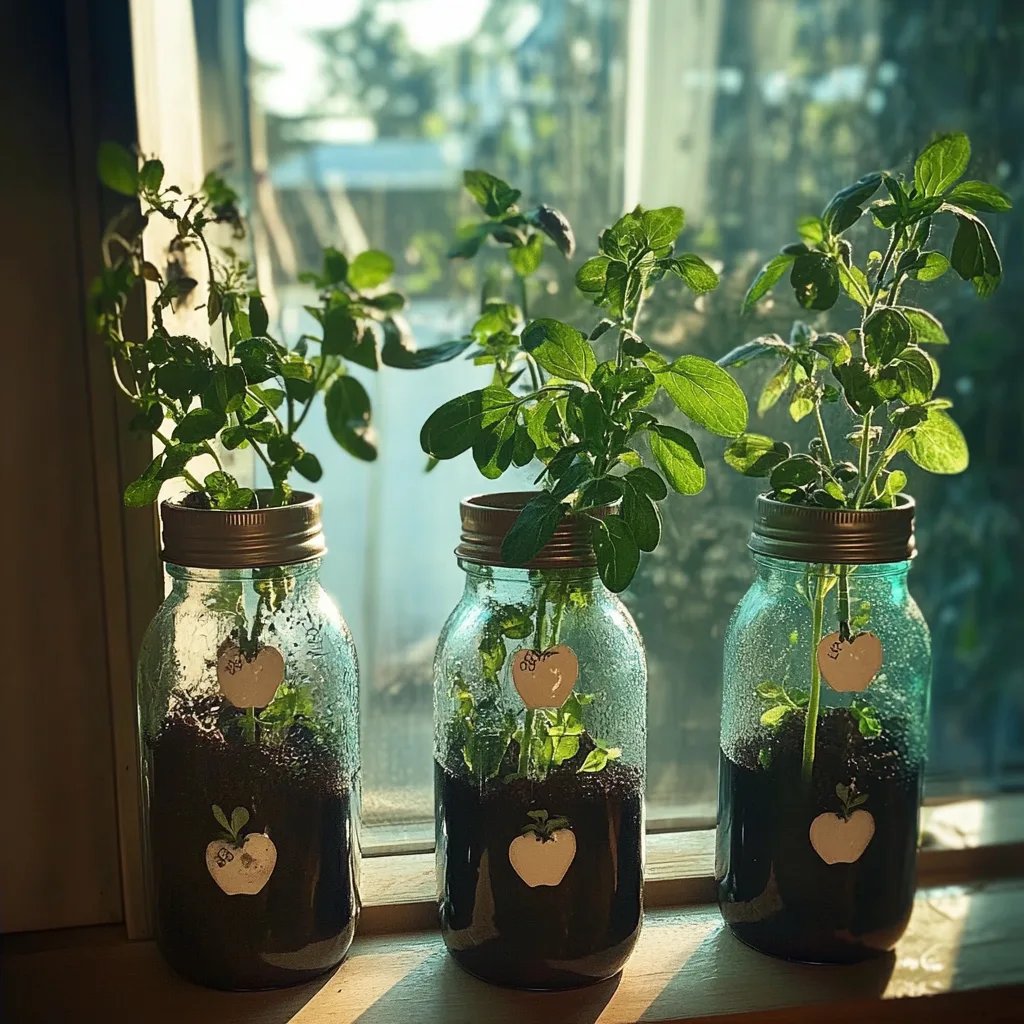
- Display Arrangements: Group different water bottle planters together for a visually appealing arrangement. Consider varying heights and plant types for diversity.
- Choose Appropriate Locations: Place your planters in areas that receive the right amount of sunlight for the particular plants inside them.
- Use as Gifts: Water bottle planters make wonderful, eco-friendly gifts. Consider presenting them to friends or family members who appreciate gardening.
- Decorative Touches: You can further enhance the display with decorative mulch or flower pots underneath the bottles to catch excess water.
- Educational Opportunities: Use your planters as a learning tool for children. Discuss the importance of recycling and how plants grow.
- Seasonal Themes: Decorate planters according to the seasons to keep your décor fresh and exciting.
Using these tips, your water bottle planters can serve both functional and aesthetic purposes, making your gardening journey even more enjoyable!
Additional Tips
- Choose the Right Plants: Opt for plants that thrive in small spaces, such as herbs, succulents, or flowering plants. These will flourish in the confined environment of a water bottle planter.
- Water Wisely: Consider the needs of your plants. Some require more water than others. Make sure to adjust your watering schedule accordingly to promote healthy growth.
- Organic Materials: Explore using organic potting soil to give your plants the nutrients they need while being environmentally friendly.
- Create a Drainage System: If you're creating vertical water bottle planters, ensure that each layer has appropriate drainage. This prevents water from accumulating at the bottom, which can rot plant roots.
- Observe Lighting Conditions: Place your water bottle planters in spots that offer the right amount of sunlight. Some plants prefer direct sunlight, while others thrive in partial shade.
Recipe Variation
Experiment with the arrangement of plants and adornments. Here are some variations to consider:
- Vertical Garden: Stack bottles vertically to create a stunning garden wall that maximizes space and adds height to your decor.
- Hanging Planters: Use twine or hooks to hang your water bottle planters. This creates a unique display and keeps them out of the way.
- Mixed Plant Types: Combine herbs and flowers in the same planter for a colorful and fragrant result. Just be mindful of their watering and sunlight needs.
- Seasonal Themes: Change your plants based on the season. Use vibrant flowers in spring and fragrant herbs in summer to keep your garden fresh and interesting.
Freezing and Storage
- Short-Term Storage: Keep your water bottle planters indoors if you notice harsh weather conditions. They can be moved easily, allowing you to protect your plants when necessary.
- Long-Term Care: If you plan to reuse water bottle planters from previous seasons, clean them thoroughly to eliminate any pests or diseases before replanting.
Special Equipment
While creating water bottle planters is quite simple, a few tools can make the process smoother:
- Scissors or Utility Knife: For cutting the bottles. A sharp blade will ensure clean cuts.
- Gardening Gloves: Protect your hands while handling soil and plants.
- Small Trowel: For easily transferring soil into the bottles.
- Watering Can: For convenient watering.
- Paintbrushes: If you decide to decorate your planters, paintbrushes will help you achieve intricate designs.
Frequently Asked Questions
Can I use larger bottles for bigger plants?
Yes! Larger bottles can accommodate bigger plants, but be sure they have enough drainage.
How do I keep pests away?
Regular monitoring and cleaning can help keep pests at bay. You may also use natural repellents like neem oil.
Are water bottle planters suitable for outdoor use?
Absolutely! Just ensure they are placed in areas with appropriate sunlight, and check them regularly during adverse weather conditions.
What types of plants should I avoid?
Steer clear of deep-rooting plants as they may not thrive in the limited space of a water bottle planter.
How often should I change the soil?
It is advisable to refresh the soil with new potting soil every season for optimal plant health.
Conclusion
Water bottle planters are not just functional; they elevate your indoor and outdoor spaces while making a positive environmental impact. With creativity and a little effort, you can transform discarded bottles into beautiful homes for your plants. This fun DIY project fosters a love for gardening and nurtures your green thumb. So gather your materials and get started on this rewarding journey!