Unleashing Your Inner Child: How to Make DIY 2-Ingredient Fake Snow
As the winter season approaches, there’s something magical about snowy landscapes that stirs up joyous memories of childhood wonder—whether it's building snowmen, snowball fights, or cozy evenings by the fire. But what if you could bring a little piece of that magic indoors without the chill? Today, I want to share my go-to recipe for DIY 2-ingredient fake snow. This fun and versatile craft project is not only family-friendly but also perfect for holiday decorations, sensory play, or even themed parties. So grab your supplies and let’s dive into this winter wonderland together!
What is DIY Fake Snow?
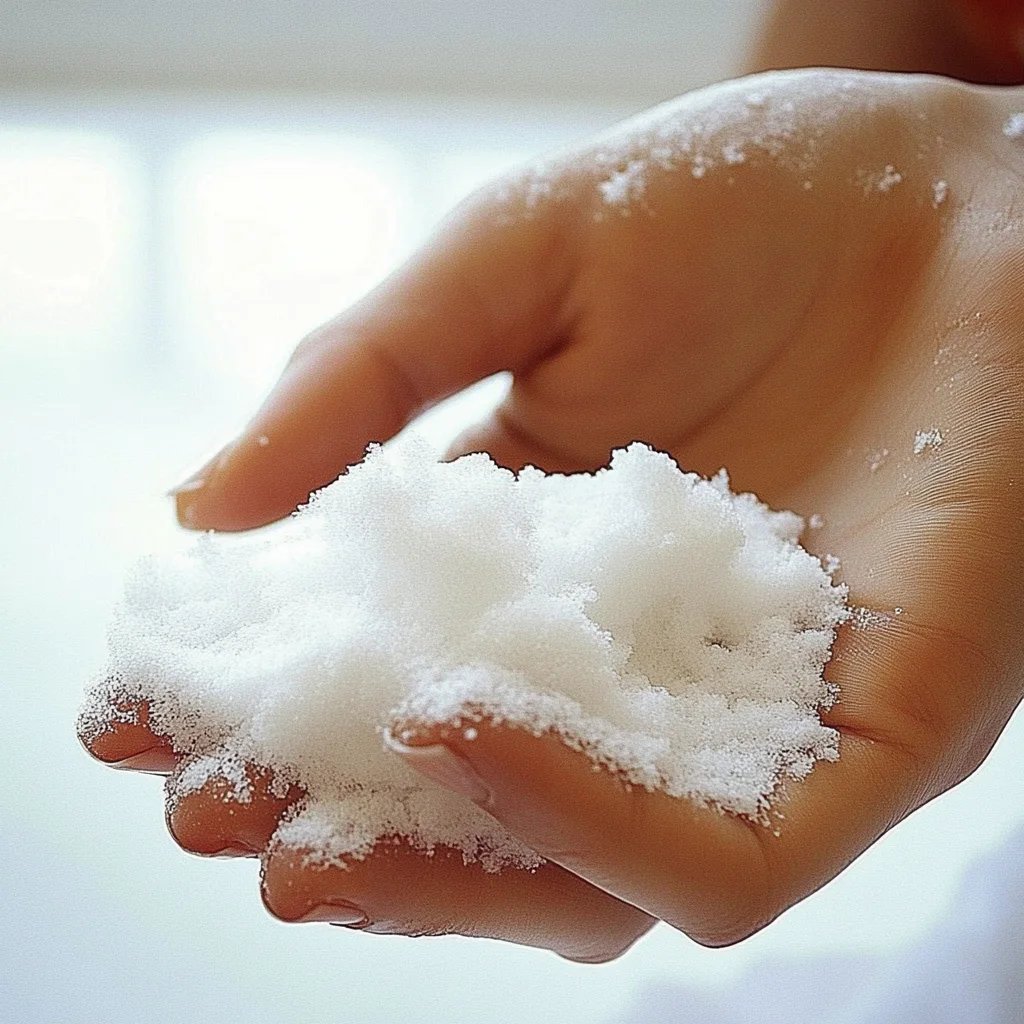
DIY fake snow is an easy, mess-free way to recreate the look and feel of real snow. Made from just two ingredients, it provides a soft, fluffy texture that can be used for play, decorations, or as an aesthetic backdrop for photography. It's incredibly satisfying to make and can be customized in various ways, giving it an added personal touch. Whether you're setting the scene for a winter holiday display or creating a sensory experience for kids, this snow recipe is sure to delight.
Why is Fake Snow So Popular?
The popularity of fake snow stems from its versatility. It’s a safe alternative to real snow, and the fact that it can be made indoors means no freezing temperatures or wet clothing! Plus, it allows for creative expression, whether you're making it for kids' playtime or crafting a beautiful winter display for your home.
What You’ll Need
To craft your own delightful snowy creation, you’ll need just two simple ingredients, along with a couple of optional materials for added flair:
Essential Ingredients:
- Baking Soda – 1 cup
- Shaving Cream – 1 cup
Optional Additions:
- Glitter – for a sparkly touch
- Essential Oils – for a delightful scent (I love using peppermint for a festive feel)
- Blue and White Food Coloring – for a more colorful snow
Tools:
- Mixing bowl
- Spoon or spatula
- Measuring cups
- Baking sheet (for drying, if needed)
- Airtight container (for storage)
Step-by-Step Tutorial
Step 1: Gather Your Materials
Before diving into the fun, it’s essential to have everything ready. Find a spacious area to work, as mixing the ingredients can get a little messy (a craft table or kitchen counter works wonderfully).
Step 2: Measure Your Ingredients
In your mixing bowl, measure out 1 cup of baking soda. Baking soda creates a soft, fluffy texture that mimics real snow. Next, pour in 1 cup of shaving cream. My personal favorite is the unscented variety, as it allows you to customize the scent later if desired.
Step 3: Mix It Up!
Now comes the fun part! With a spoon or spatula, gently combine the baking soda and shaving cream. The key here is to start slowly to avoid a cloud of white powder taking over your workspace. Mix until everything is thoroughly combined, creating a fluffy and moldable snow texture.
Why This Matters: Proper mixing ensures a consistent texture. If it's too dry, the "snow" won't hold together; too wet, and it won't fluff up properly! If you find your mixture too dry, simply add a bit more shaving cream, a little at a time, until you achieve your desired consistency.
Step 4: Adjust Texture and Add Flair
Now that you have a beautiful snow-like base, it’s time to unleash your creativity! If you're using glitter or essential oils, this is the moment to incorporate them. Start with a teaspoon of glitter and a few drops of essential oil, mixing thoroughly. You can always add more, but it’s tough to remove once it’s in!
Step 5: Create Your Winter Wonderland
With your DIY snow ready, it’s time to get creative! You can mold it into snowballs, build miniature snowmen or use it as a festive decoration in a winter-themed display. Spread it out on a tabletop to create a serene snowy landscape.
Step 6: Storage
If you’re not using your fake snow right away, make sure to store it in an airtight container to keep it fresh. Just remember, like real snow, this creation can dry out over time. If that happens, simply add a dash of shaving cream to revive it.
What Could Go Wrong?
- Too Dry: If your fake snow is crumbling apart, try adding more shaving cream in small increments.
- Too Wet: If it's overly wet and gummy, sprinkle in a bit more baking soda and mix again.
Tips for Success
- Test First: If making this for kids, consider testing on a small batch first to ensure they love the texture.
- Controlled Chaos: Set boundaries for playtime with fake snow to avoid it ending up everywhere. A designated play area can help manage the mess.
- Hydration: Keep your hands clean and dry, as excess moisture from sweaty hands can alter the texture.
Creative Variations
- Frozen Color: If you want a winter night vibe, add blue and white food coloring to mimic sparkling ice.
- Fragrant Flurries: To give it a fresh scent, try essential oils like cinnamon or pine alongside your decoration.
Safety Precautions
While all the ingredients are safe and non-toxic, always supervise young children during crafting—especially with any added glitter or oils. If you have concerns about skin sensitivities, choose hypoallergenic products.
Final Thoughts
Creating DIY fake snow is a delightful winter activity that captures the joy of the season, no matter the weather outside. It’s an easy, low-cost project that tapers into plenty of fun and learning opportunities for both kids and adults alike. Every scoop of fluffy snow is a reminder of the magic of crafting and the warmth of family togetherness during the holiday season. So gather your ingredients, invite a friend or family member to join in, and get ready to create your own winter wonderland! Remember, the best part is not just the result, but the joy of making something beautiful from scratch—together. Happy crafting!