Unleashing Creativity: How to Make a Rainbow Volcano Eruption
Hello there, fellow crafters! Today, I’m thrilled to guide you through a vibrant and thrilling project that’s sure to enthrall kids and adults alike: the Rainbow Volcano Eruption! As someone who has dabbled in various crafts and DIY activities, I can assure you this project is more than just a showstopper; it’s a colorful explosion of science and art. Whether you’re preparing for a birthday party, family gathering, or simply want to create something spectacular for a rainy afternoon, this delightful experiment will light up anyone’s day!
What is a Rainbow Volcano Eruption?
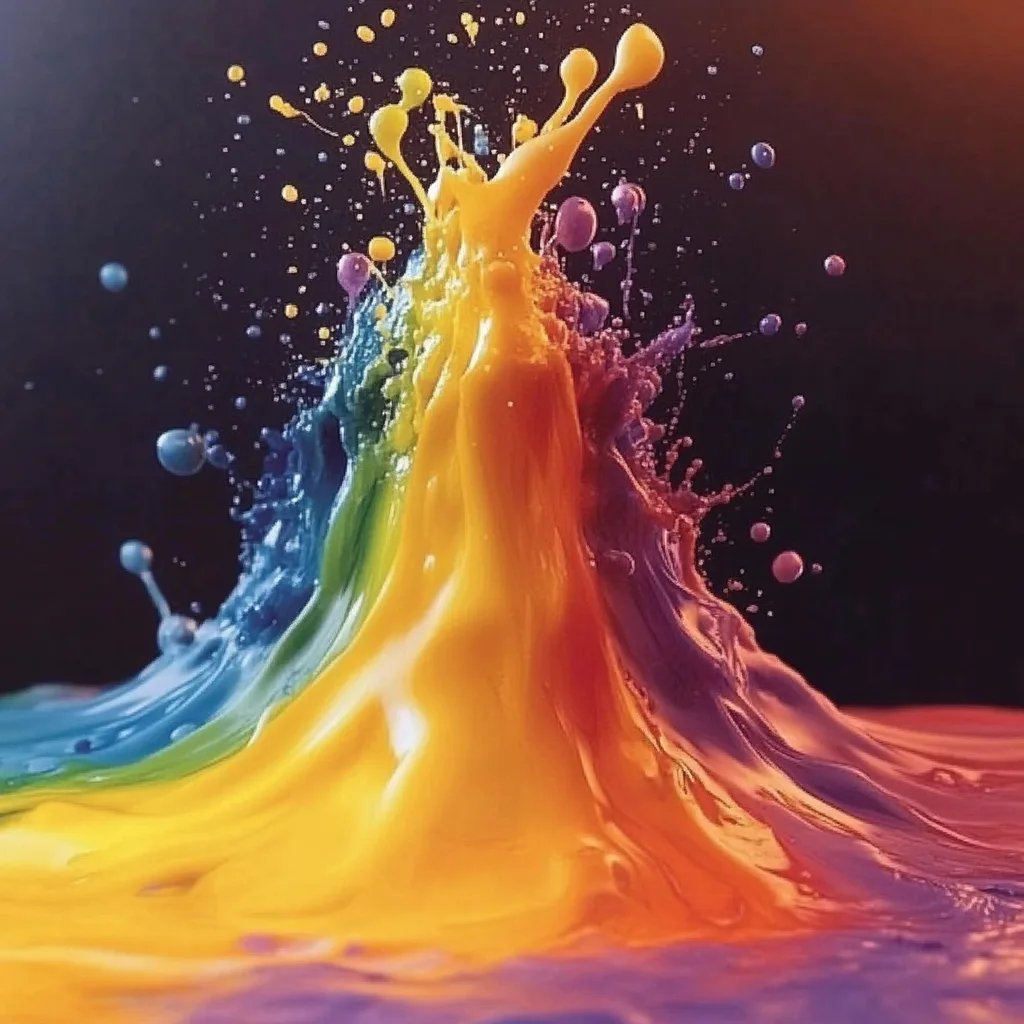
The Rainbow Volcano Eruption is a fun, hands-on science activity that combines the elements of art and chemistry. By mixing simple household materials, we create a visually breathtaking volcanic eruption of colorful fizz. It's popular among children and educators alike because it combines learning about chemical reactions with the joy of creating something beautiful. Picture a miniature volcano erupting in shades of red, blue, green, and yellow, with fizzy bubbles cascading down the sides—much like a real volcano, but without any of the danger!
Why You’ll Love This Project
This vibrant experiment is perfect for:
- Educational purposes: It introduces children to basic chemical reactions in a fun and engaging way.
- Parties and gatherings: It’s a captivating centerpiece or activity that sparks conversation and excitement.
- Creative expression: Each eruption can be made unique with colors, shapes, and even themed decorations.
So, roll up your sleeves and let’s dive into this exhilarating adventure together!
What You’ll Need
Before we start, let’s gather our materials. You likely have many of these items at home, which makes this project not only fun but also accessible!
Materials:
- Small plastic bottle or small jar – This will act as your volcano’s core.
- Baking soda – A key ingredient that will react with vinegar to produce fizz!
- Vinegar – The magical liquid that will cause your eruption.
- Liquid food coloring (assorted colors) – To create that colorful rainbow effect.
- Dish soap – Adds foamy bubbles to your eruption.
- Tray or baking sheet – To catch the overflow (trust me, it can get messy!).
- Water – Optional, for diluting the food coloring.
- Plastic wrap or moldable clay – If you want to create a volcano shape around your bottle.
Step-by-Step Tutorial
Step 1: Prepare Your Volcano
Start by finding a stable surface and placing your tray or baking sheet down to catch any "lava" overflow. Next, take your small plastic bottle or jar and position it in the center. If you want to shape a volcano around it, use plastic wrap or moldable clay to create a mountain-like structure. This adds to the visual impact but is not mandatory.
Tip: If using clay, let it dry completely before your eruption to make sure it holds its shape during the reaction.
Step 2: Create the Base Layer
Pour about 1 to 2 tablespoons of baking soda into the bottle. This is where the eruption’s fizz will originate! If you mistakenly add too much, don't worry—just ensure the bottle isn’t more than halfway full.
What Could Go Wrong: Too much baking soda can cause the volcano to foam over faster than you anticipate.
Step 3: Add Dish Soap
Next, add a squirt of dish soap to the baking soda. This is my secret ingredient! It thickens the eruption, creating fascinating bubbles that add to the fun.
Tip: Use a clear dish soap for the best visual effect.
Step 4: Prepare Your Colors
In small cups, mix a few drops of liquid food coloring with a tablespoon of water. I suggest making at least three different colors—red, blue, and yellow—for the rainbow effect.
What Could Go Wrong: Using gel food coloring can result in more vibrant colors, but they may not mix as effectively with water.
Step 5: Create the Eruption Mix
Gently pour your colored water into the bottle containing the baking soda and dish soap. You can layer the colors by pouring in slowly, which creates a stunning visual effect as they intermingle.
Tip: For mystique, pour one color at a time; for more chaos, add all colors at once!
Step 6: Add the Vinegar
This is the moment of truth! Slowly pour vinegar into the mixture and watch the magic happen. The reaction between vinegar and baking soda produces carbon dioxide gas, creating that spectacular fizz that erupts from the bottle.
Film the Reaction: You’ll want to capture this moment! The vibrant colors combined with a bubbly eruption make for amazing videos.
What Could Go Wrong: If the eruption is too subdued, you may not have added enough vinegar or baking soda. Don't be afraid to adjust next time!
Safety Warnings
- Supervision Required: Please ensure children are supervised throughout the process, particularly when handling food coloring; it can stain.
- Cleanup: Have paper towels handy; spills can happen!
- Allergies: Double-check for any allergies to the materials used, especially the soap and food coloring.
Creative Variations
Feeling extra adventurous? Here are a few fun twists you can add to your rainbow volcano:
- Glitter Eruption: Add biodegradable glitter to the mixture for an added sparkle.
- Scented Eruption: Mix in a few drops of food-safe essential oils to give your eruption a delightful scent.
- Themed Eruptions: For holidays or birthdays, color-coordinate your eruption to match the occasion—red and green for Christmas, pastels for Easter!
Final Thoughts
If done correctly, your Rainbow Volcano Eruption will not only captivate but also spark curiosity and joy. I personally love watching the faces of my kids light up with surprise and delight—their giggles are the best part of crafting!
Remember, every crafting session is an opportunity to experiment and learn. Don’t worry if things don’t go perfectly; embrace it as part of the fun. Mix it up, explore with colors, and who knows, you might just invent the next great eruptive masterpiece!
I hope you enjoy this colorful journey—happy crafting, and may your educators and party guests alike be astounded by your Rainbow Volcano Eruption!