The Ultimate Guide to the Elephant Toothpaste Experiment: A Fun and Foamy Adventure!
Hello, fellow science enthusiasts! Today, I’m excited to share one of my all-time favorite experiments: the Elephant Toothpaste Experiment. This thrilling concoction is a riot of bubbling foam that resembles giant toothpaste (as you might guess from the name), and it's a fantastic way to introduce kids and curious minds to the wonders of chemistry. Whether for a classroom demonstration, a family fun night, or a science fair project, this experiment is sure to elicit gasps and giggles alike!
In my years of crafting and experimenting, I’ve come to appreciate the beauty of hands-on learning, and the Elephant Toothpaste Experiment beautifully showcases that principle. So, grab your safety goggles, roll up your sleeves, and let’s dive into the bubble-filled world of Elephant Toothpaste!
Why Is It So Popular?
The Elephant Toothpaste experiment is beloved for many reasons:
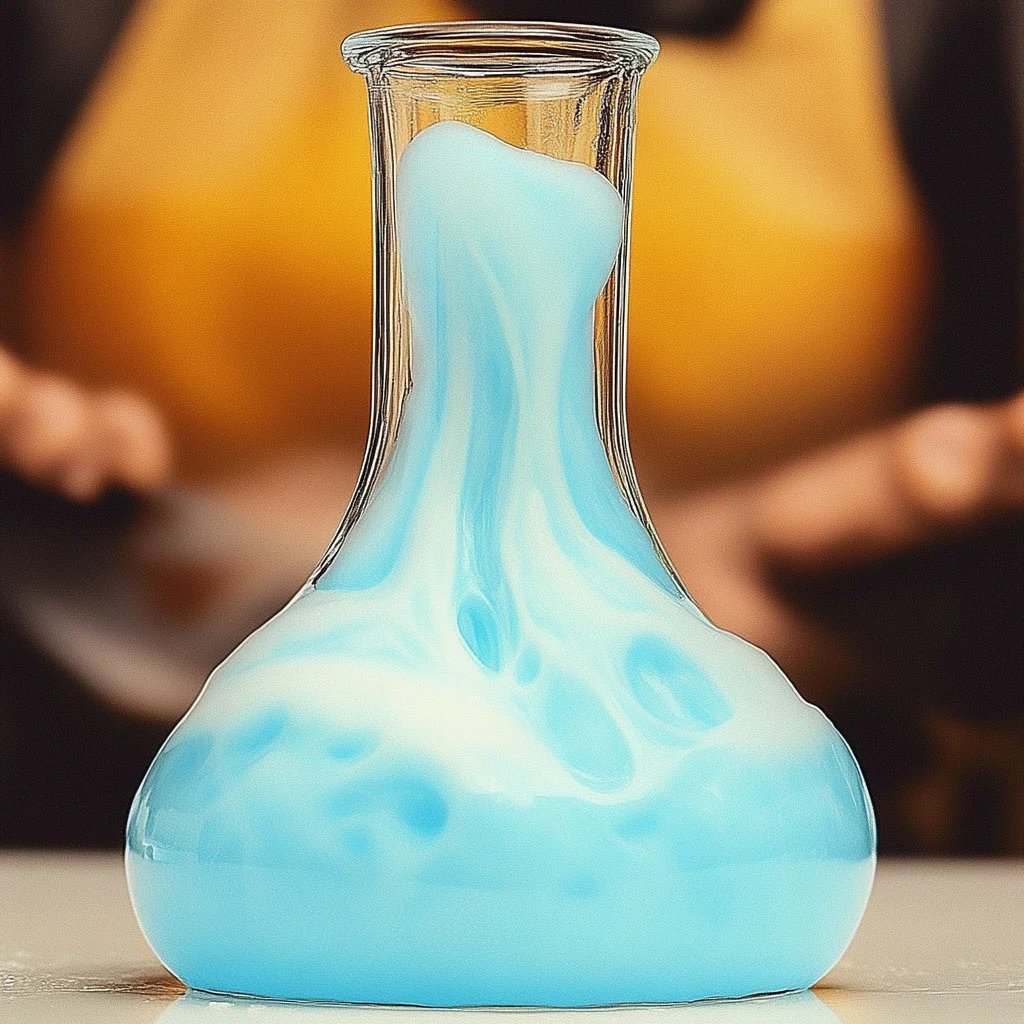
- Visual Appeal: It creates a dramatic foamy eruption that captivates audiences, especially children.
- Educational: It offers a fantastic opportunity to explore chemical reactions, catalysts, and exothermic reactions.
- Easy to Execute: With readily available materials, it’s a perfect choice for DIY enthusiasts at any skill level.
- Fun for All Ages: Whether you’re 5 or 50, this experiment is pure joy.
Now that I've piqued your interest, let’s delve into the materials and steps involved.
Materials You’ll Need
Essential Ingredients:
- Hydrogen Peroxide (H2O2) – 6% or 12% concentration (available at beauty supply stores for hair bleaching; higher percentages are more effective but require added caution).
- Dish Soap – Any brand will do; it helps trap the oxygen released during the reaction, creating those glorious bubbles.
- Dry Yeast – Used as a catalyst; it speeds up the breakdown of hydrogen peroxide.
- Warm Water – To activate the yeast.
- Food Coloring – For a vibrant foamy eruption (optional).
- A clean plastic bottle or container – To contain the excitement.
- Baking sheet or tray – To catch any overflow (trust me; it can be messy).
Safety Gear:
- Safety goggles
- Gloves (optional, but recommended when handling hydrogen peroxide)
Step-by-Step Tutorial
Step 1: Prepare Your Workspace
Start by choosing a well-ventilated area to minimize any lingering smells and protect surfaces. Cover your workspace with newspaper or a disposable tablecloth. This makes cleaning up a breeze!
Step 2: Mix the Yeast
In a small bowl, combine 1 packet (about 2.25 teaspoons) of dry yeast with about 3 tablespoons of warm water. Stir gently with a spoon until everything is dissolved. Set this aside for about 5 minutes. Why this matters: Allowing the yeast to activate is crucial; it’s what catalyzes the hydrogen peroxide breakdown, producing all the glorious foam!
Step 3: Prepare the Main Mixture
In your plastic bottle, pour in about 1/2 cup of hydrogen peroxide. Be cautious with this! If you’re using a higher concentration, ensure you're wearing gloves and working in a safe environment. Add a squirt of dish soap and a few drops of food coloring for a fun visual effect. Tip: Swirl the mixture gently; avoid creating too many bubbles at this stage.
Step 4: The Magic Moment
Now, here comes the most thrilling part! Pour the activated yeast mixture into the bottle with your hydrogen peroxide mixture. Why this matters: The yeast acts as a catalyst that will break down the hydrogen peroxide rapidly, releasing oxygen gas and forming foam. Make sure to stand back to watch the eruption!
Step 5: Stand Back and Enjoy!
As the reaction commences, a foamy explosion will occur, sending a stream of colorful foam spilling out of the bottle. Exciting, right? You’ll see a huge amount of foam that looks like a giant, playful toothpaste created for an elephant!
What Could Go Wrong?
- No Foam?: If your mixture doesn’t foam up significantly, your yeast may not have been activated properly, or you might need to increase the concentration of hydrogen peroxide.
- Too Much Foaming: If the reaction overflows faster than expected, you might have added too much yeast or used a very high concentration of hydrogen peroxide. Always consider the volume you're adding relative to your container size.
- Messy Cleanup: Don’t fret! The foam is harmless and will wash away easily with water.
Tips for Success
- Experiment with Quantities: The fun part is playing around with different ratios of ingredients! More yeast increases the reaction speed, and more hydrogen peroxide can create more foam. Just adjust your bottle size accordingly!
- Use a Wider Container: If you're expecting a particularly dramatic foam eruption, consider using a wider container like a baking dish for easier cleanup and better visual appeal.
- Add Scent: This isn’t just about bubbles; consider adding a small amount of vanilla extract to the mixture for a pleasing scent that enhances your science demonstration.
Safety Warnings
- Hydrogen peroxide can irritate the skin or eyes, so always wear your safety goggles and consider gloves.
- Ensure that children are closely supervised throughout the experiment.
Alternative Methods or Ingredient Substitutions
- Baking Soda and Vinegar: If hydrogen peroxide isn’t available, you could substitute with baking soda and vinegar for a different carpet-cleaning science experiment where a reaction produces carbon dioxide. Although it won’t foam like Elephant Toothpaste, it’s still fun!
- Substitution with Cornstarch: If yeast isn’t on hand, you can create a slower reaction by mixing cornstarch with water and food coloring, but the result will differ significantly in excitement.
Creative Variations
- Color the Foam: Layer different colors of food coloring for a rainbow effect as the foam erupts.
- Glow-in-the-Dark: Add a bit of tonic water (quinine) to create a glow-in-the-dark effect under a black light!
- Freeze Your Foam: Pour the foam into an ice cube tray or silicone mold, and when frozen, you’ll have a fun, bubbly item to use in other experiments or artistic creations.
Personal Anecdotes
I vividly remember my first Elephant Toothpaste experiment at a community science fair. The shock and delight on the kids’ faces were priceless! One of the children shouted, “It’s like a volcano, but better!” That reaction never left me; it cemented my passion for science communication and crafting engaging experiences.
In conclusion, the Elephant Toothpaste experiment is not just a fun science activity; it’s a delightful learning opportunity filled with surprises! Whether you’re a seasoned scientist or a curious beginner, I hope this guide has inspired you to gather your materials and start your bubbly adventure. Enjoy the eruption, and don’t forget to share your experiences on social media or with your family and friends. Happy experimenting!