The Magic of Melted Bead Suncatchers: A Step-by-Step Guide from an Experienced Crafter
Hello, fellow craft enthusiasts! Today, I'm thrilled to share with you the enchanting world of melted bead suncatchers. If you've ever admired the dazzling rainbows that dance around your room when sunlight hits your windows, you likely know the charm that comes from these vibrant, colorful creations. Melted bead suncatchers are not just delightful to look at; they also make wonderful gifts and unique decorations for your home. Plus, they can be made with simple, accessible materials, making them perfect for crafters of all ages.
What are Melted Bead Suncatchers?
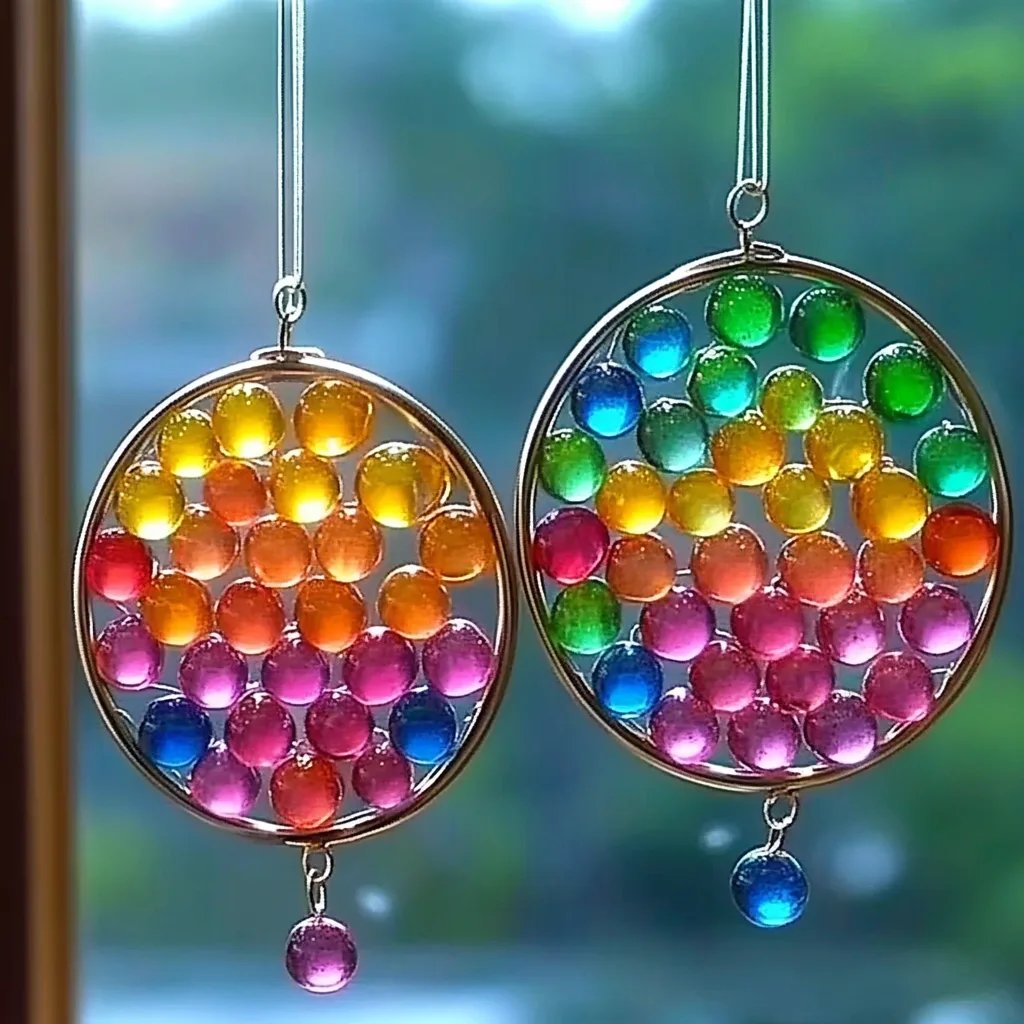
Melted bead suncatchers are decorative pieces created by melting colorful plastic beads in a shape of your choice to form a translucent, sun-catching masterpiece. The popularity of these suncatchers has soared because they are a fun, budget-friendly craft project for both kids and adults that can brighten up any space. You can hang them in windows, on your front porch, or even give them away as beautifully crafted gifts.
Why Make Melted Bead Suncatchers?
- Creative Expression: They allow you to explore your creativity and experiment with color combinations.
- Therapeutic Crafting: The process can be meditative—focus on the beads, enjoy the colors, and take a break from the hustle and bustle of daily life.
- Family Fun: Involving kids in this project is a wonderful way to bond and teach them about colors and shapes.
- Versatile Decor: You can tailor them to match any décor theme—seasonal, festive, or simply to bring a dash of color to your home.
The Materials You’ll Need
Before diving into the step-by-step tutorial, let's gather the necessary supplies:
- Melted Beads: I recommend using Perler beads or any similar plastic beads, as they melt beautifully into colorful creations.
- Metal Cookie Sheets: This is where the melting magic happens.
- Parchment Paper: This will protect your cookie sheet and make cleanup easier.
- Oven: Preheat your oven to around 400°F (200°C), but be sure to check your manufacturer's instructions as some beads have different melting points.
- Cookie Cutters or Molds: Optional but can add another layer of fun.
- Pliers or a Toothpick: For easy removal from the cookie sheet.
- String or Fishing Line: For hanging your finished suncatcher.
My Favorite Tools
- Heat-Resistant Gloves: Handy for safely handling your hot creations.
- Sponge or Paper Towels: For quick cleaning within the workspace.
- Thinner Nozzle Bottles (optional): To create intricate designs, if that's your jam!
Step-by-Step Tutorial: Making Melted Bead Suncatchers
Now that we have everything we need, let’s get crafting! Follow these steps and let's create a stunning piece.
Step 1: Prepare Your Workspace
Creating a calm and organized workspace can be beneficial. Lay out your materials and wear old clothes or an apron, as you may end up with stray beads on your attire.
Step 2: Arrange Your Beads
- Choose Your Colors: Think about the color palette you want. I often choose blues and greens for a serene ocean feel or warm reds and oranges for a sunset theme.
- Fill the Mold: If you’re using a cookie cutter, place it on your parchment-lined cookie sheet. Fill the inside with beads, ensuring they touch, creating a solid surface as the beads melt. Avoid overfilling, as they will spread when heated.
Step 3: Melting Process
- Preheat the Oven: Ensure your oven is evenly heated to around 400°F (200°C).
- Insert the Cookie Sheet: Place your filled cookie sheet in the oven. Keep a close eye on the beads. They typically take 10-15 minutes to melt completely. You want them to fuse together without turning into a pool—remove them as soon as they are melted but still retain their shapes.
Tip: Be cautious about fumes; while they're generally safe, it's best to ensure good ventilation while you work.
Step 4: Cooling and Removal
- Cool Down: After the beads are melted, carefully remove the cookie sheet from the oven (don’t forget your heat-resistant gloves!). Let it cool for about 10 minutes.
- Remove the Suncatcher: Once cooled, gently pop your creation out of the mold using pliers or a toothpick. If it sticks, use a bit of patience; you can reheat it for a few seconds to loosen it.
Step 5: Add Hanging Mechanism
To turn your masterpiece into a suncatcher:
- Use a drill (if you're crafty) or an awl to create a small hole at the top.
- Thread your string or fishing line through the hole and tie a knot to secure it for hanging.
Alternative Method: If you prefer, you can attach a small hook or suction cup instead!
Step 6: Hang and Enjoy
Hang your suncatcher in a window or anywhere you'll catch the light, and watch the colors come to life!
Troubleshooting Tips
- Beads Not Melting: If you find that your beads aren’t fully melted, your oven may not be hot enough, or the beads are overly thick. Increase the heat slightly, but keep a close watch.
- Warped Shapes: If the edges of your suncatcher are uneven, it might be due to overfilling. Consider adjusting the bead count next time!
- Sticking: If your beads stick to the parchment paper, consider using a silicone mat in the future for easier release.
Creative Variations
Feeling adventurous? Here are some ideas to shake things up:
- Layering Effects: Use clear beads on the bottom layer to create an illusion of depth.
- Textured Layers: Experiment with different bead sizes and shapes to incorporate texture into your design.
- Seasonal Themes: Create fall leaves, Christmas ornaments, or spring florals!
Personal Anecdotes
I remember the first time I attempted making these suncatchers; I was filled with a mix of excitement and dread, worried my beads would combust into a gooey mess. But the moment I pulled that first creation from the oven, the light streaming through the window filled the room with a kaleidoscope of colors and warm memories.
Safety Precautions
- Always wear gloves when handling hot items and molten beads.
- Keep small children supervised at all times when dealing with ovens or sharp tools.
Final Thoughts
Making melted bead suncatchers is a rewarding and joyful craft that can bring color and happiness into your life and your home. Whether crafting during a quiet afternoon or enjoying a chaotic family craft day, I invite you to experiment, make mistakes, and learn along the way. Remember, there’s no right or wrong in creativity—only the joy you find in the process. So gather your supplies and let’s create something beautiful together! Happy crafting!