The Joy of Balloon Science Experiments: A Hands-On Guide
Welcome, fellow crafters and science enthusiasts! Today, I’m thrilled to share my favorite hands-on project, the Balloon Science Experiment. Not only is this experiment simple, but it also incorporates delightful science principles that will wow your friends and family, making it perfect for parties, school projects, or just a fun day at home with the kids.
What is a Balloon Science Experiment?
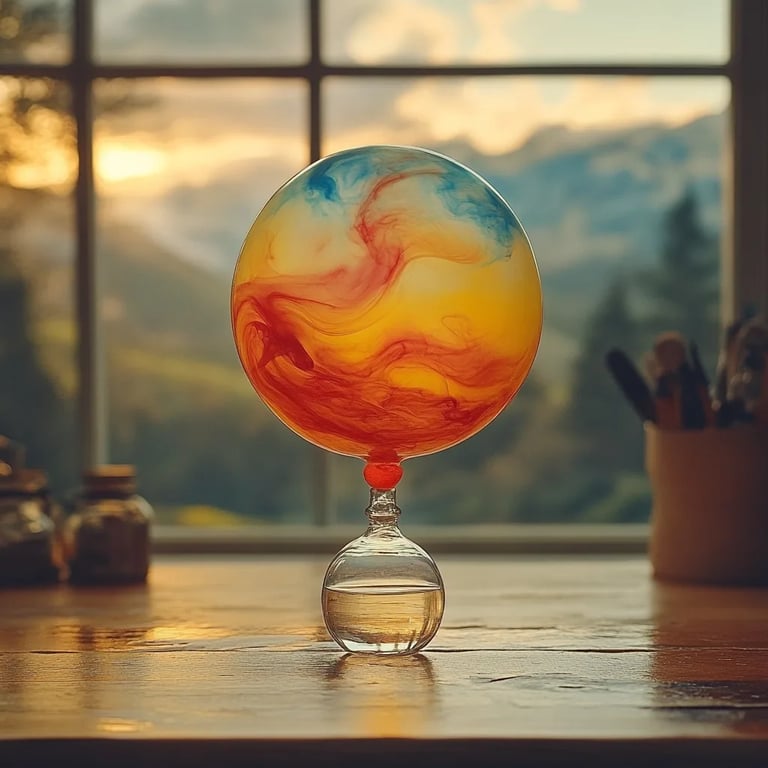
At its core, a Balloon Science Experiment is a playful way to explore the concepts of gas, air pressure, and scientific reactions using balloons. You'll be amazed to see how these colorful orbs can teach us so much about the science around us. Why is this experiment so popular? For one, it's affordable and easily replicable with materials you probably already have at home or can find at your local store. Plus, it has that “wow” factor that captures attention!
Whether you’re a parent looking for a weekend activity, a teacher wanting to bring some science to life, or just a curious individual, this experiment is perfect for anyone looking to combine creativity with science.
Why Choose This Experiment?
There are countless reasons to dive into Balloon Science, but here are my top three:
- Educational: It introduces fundamental scientific concepts in a fun way.
- Visual: The immediate visual impact of watching a balloon inflate or change shape captures interest.
- Interactive: It encourages hands-on learning, making it a great bonding activity for families and friends.
What You'll Need
Before we leap into the fun, let’s gather our supplies. Here’s a comprehensive list of materials you’ll need for our balloon science experiment. I’ve chosen items that are accessible and cost-effective:
Basic Materials
- Balloons (latex or mylar, any color)
- Baking soda (about 1 tablespoon)
- Vinegar (about 1/2 cup)
- A plastic bottle (empty soda or water bottle)
- Funnel (optional, but very helpful)
- Measuring spoons
- Safety goggles (especially for kids)
Optional Materials for Variations
- Food coloring (to make it more visually appealing)
- Plastic cups
- Smaller balloons (for different sizes)
Step-by-Step Tutorial
Now that we have our materials ready, let’s begin the experiment!
Step 1: Prepare Your Workspace
I’ll always emphasize the importance of a clean and organized workspace. Lay down some newspaper or an old tablecloth to catch any spills. Put on your safety goggles! It’s not just for show; they’ll protect your eyes from any errant splashes.
Step 2: Measure the Ingredients
- Using your funnel (if you don’t have one, you can make a paper funnel), pour about 1/2 cup of vinegar into the plastic bottle.
- Next, measure about 1 tablespoon of baking soda.
Tip: Make sure the baking soda is dry! If it’s clumpy, break it up for even distribution.
Step 3: Prepare the Balloon
- Using the funnel, carefully place the 1 tablespoon of baking soda into the balloon.
- You may need to stretch the opening of the balloon a bit to make it easier to pour.
Common Mistake: If the baking soda spills out of the balloon before you attach it, don’t fret! Just dump it back in and give it another go—you can always try a second balloon if needed!
Step 4: Combine the Ingredients
- Carefully stretch the neck of the balloon over the mouth of the bottle without letting any baking soda drop into the vinegar yet.
- Ensure it is securely fitted—this keeps our reaction contained.
Step 5: The Moment of Truth
Now comes the thrilling part!
- When you’re ready, lift the balloon upright, allowing the baking soda to fall into the bottle with the vinegar.
- Step back and watch as a chemical reaction occurs, producing carbon dioxide gas that will inflate the balloon!
Why Does This Happen? Vinegar (acetic acid) reacts with baking soda (sodium bicarbonate) to produce carbon dioxide gas, which causes the balloon to inflate. This demonstrates the principles of gas expansion in a visually striking manner.
Step 6: Observe and Discuss
As the balloon inflates, encourage everyone to share their thoughts. What do you see? What do you think is causing the balloon to inflate?
Troubleshooting Common Issues
- The Balloon Doesn’t Inflate: Check if there are holes in the balloon or if the baking soda clumped together. You want to ensure the baking soda can easily mix with the vinegar.
- Too Much Pressure: If the balloon is inflating too much, it can burst. In this case, it's best to control the amount of baking soda or vinegar used.
Safety First
While this experiment is generally safe, keep the following in mind:
- Ensure children are supervised at all times.
- Avoid inhaling any fine dust from the baking soda when handling it.
Creative Variations
Once you’ve mastered the basic experiment, consider these fun variations:
- Colored Balloons: Add a few drops of food coloring to the vinegar before starting for a more colorful display.
- Different Sized Balloons: Test different sizes of balloons to see which inflates the most or lasts the longest.
- Balloon Rockets: After you see how the gas inflates the balloon, see if you can design a way to release the balloon and make it zoom across a surface!
Personal Anecdotes
I remember the first time I did this experiment with my niece. She was around six years old and shouted, “It’s a monster balloon!” when it inflated. It was such a magical moment, watching the wonder in her eyes as she learned something new. Now, every time we get together, it’s a must-do project, and we always come up with new twists to keep it exciting.
Conclusion
The Balloon Science Experiment is an engaging way to blend fun with education. I hope this detailed guide has empowered you to dive into this creative experiment and encouraged you to explore the captivating world of science. Remember, the key is to enjoy the process, learn from mistakes, and inspire curiosity in those around you. So gather your materials, gather your friends and family, and get ready to marvel at the magic of science! Happy experimenting!