The Joy of Baking Soda Painting: A Step-by-Step Guide to Fun and Creative Expression
As an avid crafter and educator, I love exploring new techniques that breathe life into creativity, and one method that has captured my heart is baking soda painting. This simple yet mesmerizing technique results in striking artworks that pop with textured designs and vibrant colors, all while being easy to replicate at home. Whether you’re a parent looking for engaging activities to do with your kids, an art teacher searching for a new classroom project, or simply someone who loves to create, baking soda painting is a fantastic outlet.
In this detailed guide, I'm excited to share everything you need to know to get started on this unique form of painting. I will walk you through the process step-by-step, share tips, unsettling mishaps you might encounter (and how to fix them), and even offer some creative variations you might not have considered!
What is Baking Soda Painting?
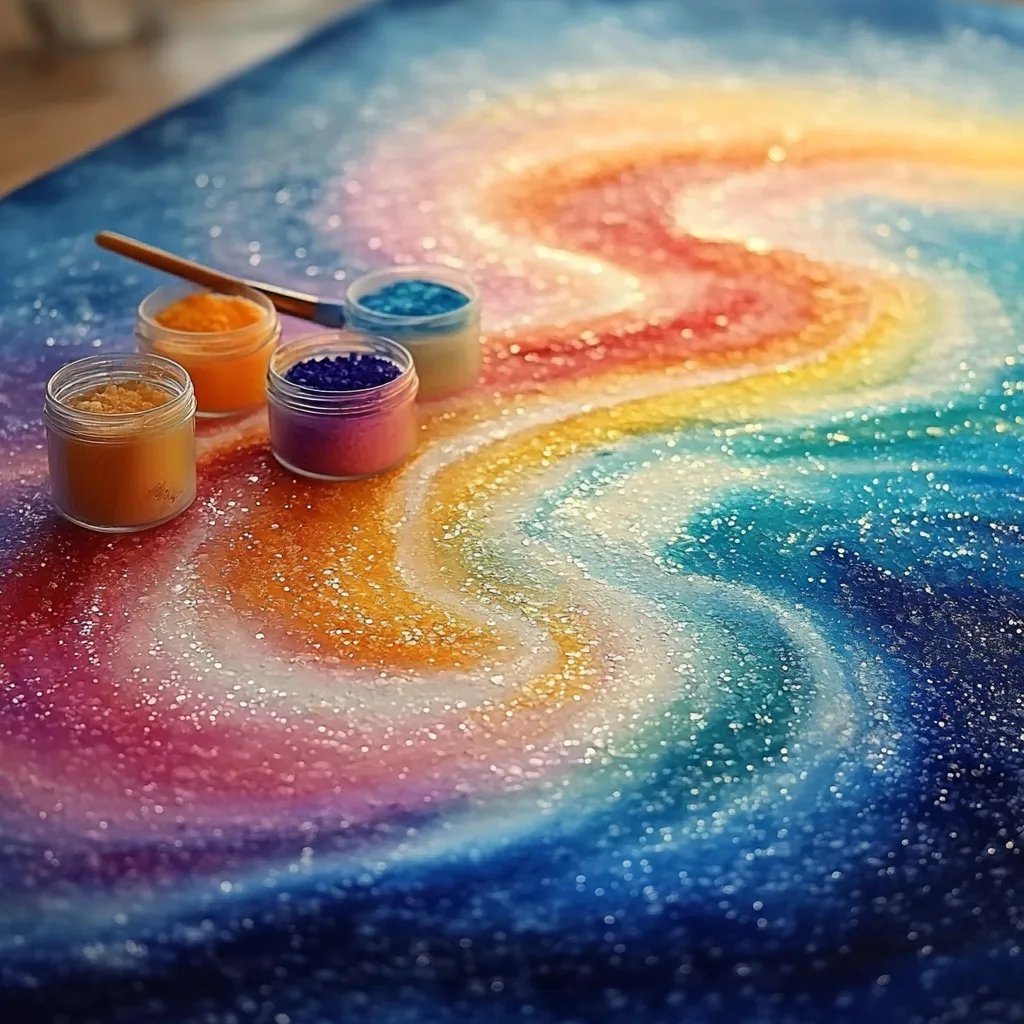
Baking soda painting involves using a mixture of baking soda, white vinegar, and food coloring (or liquid watercolors) to create spontaneous and textured artwork. The chemical reaction between the baking soda and vinegar produces effervescence, creating bubbly and dimensional textures while the colors blend and swirl. It’s a delightful way to encourage creativity without the fear of making mistakes—after all, art is about the process, not just the end product!
This technique is increasingly popular among children and adults alike due to its hands-on nature and the sensory experience involved. It’s perfect for rainy days, art classes, or even as a unique alternative to traditional painting methods during parties or gatherings.
Getting Started: Materials You’ll Need
Before diving into the fun part, let’s gather our materials. Here’s a list of what you’ll need:
Essential Materials:
- Baking Soda – This will be your primary medium.
- White Vinegar – To create the bubbling reaction.
- Food Coloring or Liquid Watercolors – For vibrant colors.
- Water – To create the right consistency in your paint.
- Mixing Bowls – For combining ingredients.
- Paintbrushes – Determine sizes based on your design preferences.
- Paper – Watercolor paper works best for its durability.
- Sponge or Paper Towels – For cleanup!
- Containers – For mixing and holding the paints.
Optional Materials:
- Glitter – For added sparkle.
- Salt – Can be sprinkled on the wet paint for interesting textures.
- Stencils – For those who prefer a guided approach.
Step-by-Step Tutorial: How to Make Baking Soda Painting
Step 1: Prepare Your Paint
In separate bowls, mix baking soda, vinegar, and a dash of water to create your “paint.” A good ratio to start with is:
- 1/2 cup Baking Soda
- 1/4 cup White Vinegar
- 2 tablespoons Water
Stir gently until combined. The mixture should be thick but pourable—like pancake batter! Adding too much vinegar will create a too-runny paint, while too much baking soda will make it overly pasty. The goal is to achieve a smooth consistency that can easily spread.
Step 2: Add Color
Once your base mixture is ready, it’s time to add food coloring or liquid watercolors. Start with a few drops and mix well. You can experiment with color combinations to achieve different hues. This is where the magic happens: the more you mix, the more your beautiful colors can emerge!
Tip: If you want distinct colors without them blending too much, keep your baking soda/vinegar base mixtures separate and only add color to the ones you plan to use differently.
Step 3: Set Up Your Workspace
Lay down craft paper or newspapers to protect your table. Gather all your materials and set them up within reach. Trust me; this will make the process smoother!
Step 4: Start Painting!
Using your paintbrush, apply your colored baking soda mixture onto the paper, experimenting with different styles. You can create abstract pieces or prepare outlines before painting them in. Don’t be afraid to get messy—part of the fun is the process and seeing how the colors and textures evolve.
Step 5: Activate the Magic
Now comes the most exciting part! Once you’re satisfied with how your painting looks, take a small cup and carefully pour or spray a little vinegar over the wet paint. Watch in awe as the fizzing starts! The bubbly reaction not only creates dimensionality but also makes unique patterns that are impossible to replicate.
Step 6: Drying Your Artwork
Once you’re happy with your creation, place it in a safe spot to dry. This could take about 1-2 hours depending on how thickly you applied the mixture. If the paint appears too wet, simply leave it for a little longer.
Step 7: Cleanup
After your masterpiece is complete, rinse your brushes and containers thoroughly with water. The baking soda paste can usually wash away easily from most surfaces, but it’s always best to act quickly.
Troubleshooting Common Issues
As someone experienced in crafting, I must tell you that not everything goes perfectly the first time around. Here are some common hiccups and their solutions:
- Too Little Fizzing: If your painting doesn’t fizz much, try using a fresher batch of baking soda and vinegar. Sometimes, older ingredients lose potency.
- Color Mixing Abilities: If your colors look too muddy, try applying vinegar lightly after letting the colors dry a bit. This controls the mixing and can yield stunning color contrasts.
- Paper Buckling: If your paper starts to warp, this can happen if it’s too thin. Try thicker watercolor paper or attach your paper to a sturdy board with tape to help it stay flat.
Creative Variations
Once you’ve gotten comfortable with this method, it’s time to play around! Here are a few fun variations to try:
- Glittery Magic: Add glitter to your paint mixture for a sparkling effect.
- Texturizing Techniques: Sponge or brush salt onto wet paint for creative textures.
- Landscape Creations: Use stencils or drawing outlines for landscapes or other designs.
- Seasonal Art: Create paintings themed around holidays, like winter snowflakes using white and glitter or vibrant flowers for spring.
Personal Anecdotes and Final Words
My very first attempt at baking soda painting resulted in a kitchen explosion! I had measured everything but got overzealous with the vinegar, resulting in an unexpected eruption. I will never forget the laughter that followed (and the cleanup!). This is a perfect example of how crafting can be wonderfully unpredictable.
Remember, there are no mistakes in art. Each attempt leads to better understanding and skills. So, roll up your sleeves and dive into your baking soda painting adventure! Whether it’s a solo endeavor or a joyful activity with loved ones, I hope this guide inspires a unique and creative outlet for you. Enjoy making your masterpieces!
Safety Note
Always keep the workspace well-ventilated, especially when using vinegar. If you’re crafting with children, make sure they understand not to ingest the materials, despite their culinary origins.
Now grab those materials and let the creativity flow – happy crafting!