The Celery Science Experiment: A Crafty Guide to Learning with Nature
Hello, fellow crafters! Today, I'm excited to share with you one of my favorite science experiments: the Celery Science Experiment. Not only is this experiment a fun and visually stunning way to observe how plants absorb water, but it’s also a fantastic low-cost project that’s perfect for kids, classrooms, or even a cozy afternoon at home with family. If you're looking to introduce a touch of science into your crafting routine, you're in for a treat!
Why the Celery Science Experiment?
The Celery Science Experiment is immensely popular because it brilliantly demonstrates how plants take up water through their stems—what scientists call capillary action. Children and adults alike are always in awe of the colorful transformations that celery undergoes when it’s placed in dyed water. This experiment can be done in various settings, from homeschooling and science fairs to birthday parties or even as a fun weekend project. Plus, it involves minimal materials that are easy to obtain.
As someone who has conducted this experiment numerous times, I can assure you that it’s not just educational; it’s a beautiful way to spark curiosity about the natural world. So, roll up your sleeves, gather your materials, and let’s dive into this hands-on learning experience!
What You’ll Need
Before we get started, here's a comprehensive list of materials you'll need:
Materials:
- Celery Stalks: Look for celery with the leaves still attached; they absorb water beautifully!
- Food Coloring: You can use red, blue, or any color that excites you. Each color provides a unique visual effect.
- Water: Fresh, clean water is essential for the best results.
- Clear Glasses or Jars: Ensure they are tall enough to support the celery stalks. Aim for at least 6-inch height.
- A Knife (for adults): To trim the celery—it’s always wise to have a responsible adult do this.
- Paper Towels: Perfect for cleanup and to place your finished experiment on.
- A Stopwatch or Timer: Optional, but it can be fun to note how long it takes for the colors to travel.
Optional Materials:
- Additional Celery Stalks: To conduct variations of the experiment.
- Different Colored Water Solutions: For more visual diversity.
- Labels: For recording observations if you choose to make it a more extensive science project.
Step-By-Step Guide to Crafting the Celery Science Experiment
Step 1: Prepare Your Materials
Start by gathering all your materials. Having everything in place helps keep the flow of the project smooth and ensures you won’t have to scramble halfway through!
Step 2: Trim Your Celery Stalks
Using a knife, trim the bottom of the celery stalk about an inch from the base. Why is this important? Cutting the celery allows for a fresh surface area to absorb water, maximizing the effectiveness of the experiment. Always keep safety in mind—be sure a responsible adult handles the knife. If you're completing this project with kids, a good educational moment can be turning this into a "safety reminder" talk.
Step 3: Prepare the Colored Water Solutions
Fill your clear glass or jars with water, filling them about halfway. Now, add about 10-20 drops of food coloring to each glass. The more vibrant the color, the more visually appealing your experiment will be, and there’s something utterly magical about watching it travel up the celery!
Step 4: Insert the Celery
Place one celery stalk in each jar, ensuring that the cut end is submerged in the colored water. Position your jars in an area where they can be left undisturbed for several hours or overnight. This is critical because you want to give the celery sufficient time to absorb the colored water and show dramatic results.
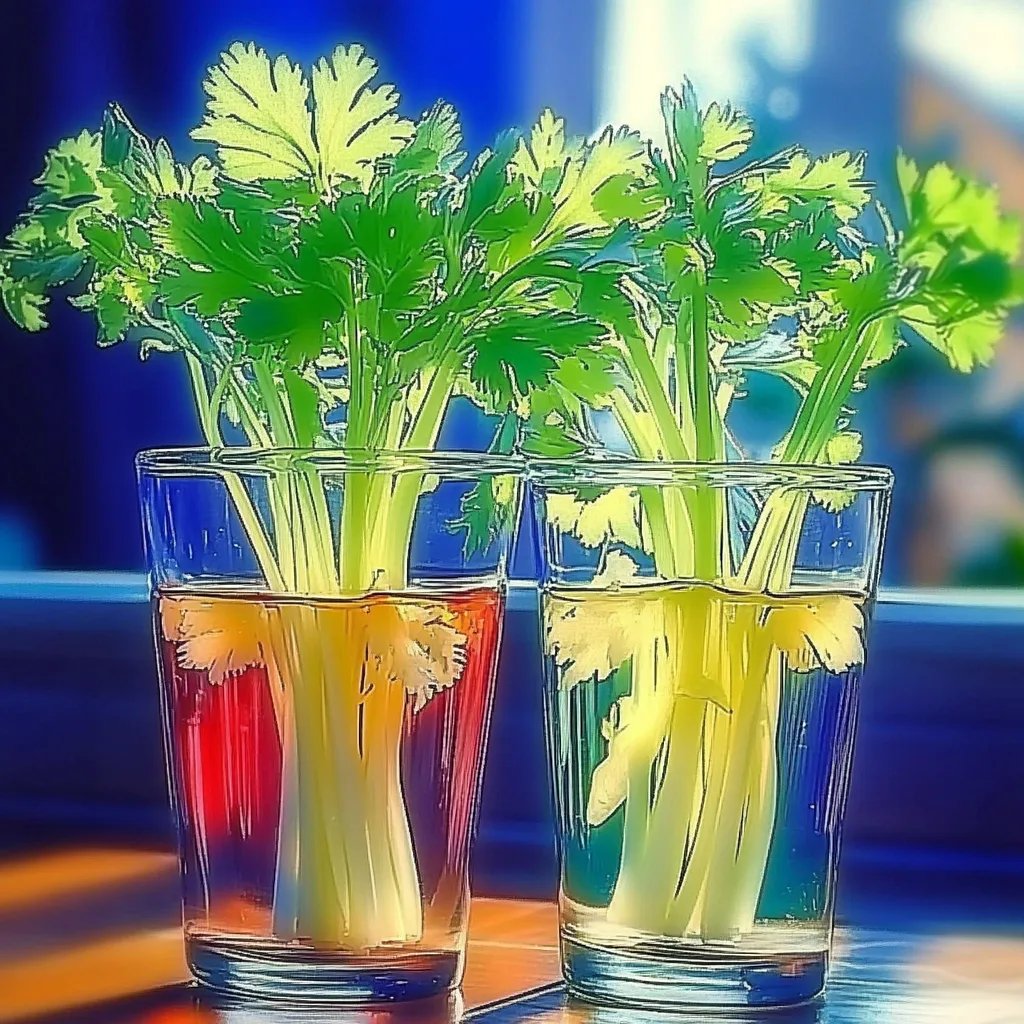
Step 5: Observe and Document
Here’s where the magic happens! After a few hours, take a look at your celery. You should begin to see the bright color traveling up the stalk and into the leaves. This is a beautiful demonstration of capillary action in real-time!
Why Each Step Matters
Every step plays a role in showcasing the experiment's intent. When you cut the celery, you create fresh pathways for the water. Adding food coloring enhances the visual effects and makes learning more engaging. And giving the experiment sufficient time allows the absorption to be observed effectively.
What Could Go Wrong?
Sometimes, the celery doesn’t take up the coloring as well as expected. Here are some troubleshooting tips to help you:
- Insufficient Time: If you don't see results, try waiting longer. Overnight is ideal for the best color display.
- Old Celery: If your celery looks wilted or yellowed, it may not absorb the water effectively. Always choose fresh stalks.
- Too Little Water: Ensure the cut end of the celery is submerged adequately in the colored water. If it's only partially submerged, absorption may be limited.
Tips and Alternative Methods
- Try Different Vegetables: You can also experiment with other vegetables like white flowers (carnations) or other types of hardy stocks (like leeks) to see how they absorb water differently.
- Use Different Colors: Feel free to change up your colors! Try mixing colors in one jar to observe how they blend in the celery.
- Create a Scientific Report: Encourage children to document their observations in a notebook to promoted more profound analytical skills.
Personal Anecdotes and Variations
I’ve done this experiment often with my children, and one time, we added too much food color to our water. The celery turned a vibrant purple, and to our surprise, it created a lovely tie-dye effect in the leaves, which we all found incredibly satisfying. These moments of creativity in science provided an excellent opportunity for additional discussions about plant biology.
Safety Warnings
- Be cautious when handling the knife. It’s always best for adults to take charge of any cutting.
- If using food coloring, take care as it can stain. It’s wise to do this experiment in an area that is easy to clean or to cover your workspace with newspaper or plastic.
Conclusion
The Celery Science Experiment is an unforgettable way to explore the wonderful world of plants and capillary action in a hands-on manner. Whether you're a parent, teacher, or just someone who loves crafting and experimenting, this project is bound to be a hit. By closely observing how the color travels through the celery, you or your children will begin to appreciate the intricate systems that exist within plants.
So, gather your materials and let the experiment begin! Remember, science is all about inquiry, exploration, and most importantly—fun. I hope you enjoy this process as much as I do. Happy experimenting!