Sensory Ocean Jar: An Incredible Ultimate Experience for 5 Senses
Sensory Ocean Jar is a wonderful activity that captures the beauty and fascination of the ocean right in your home. This simple yet engaging craft not only provides a calming sensory experience but also helps stimulate creativity and imagination in people of all ages. With vibrant colors and intriguing textures, creating a Sensory Ocean Jar offers a tactile and visual delight that can evoke the essence of the sea.
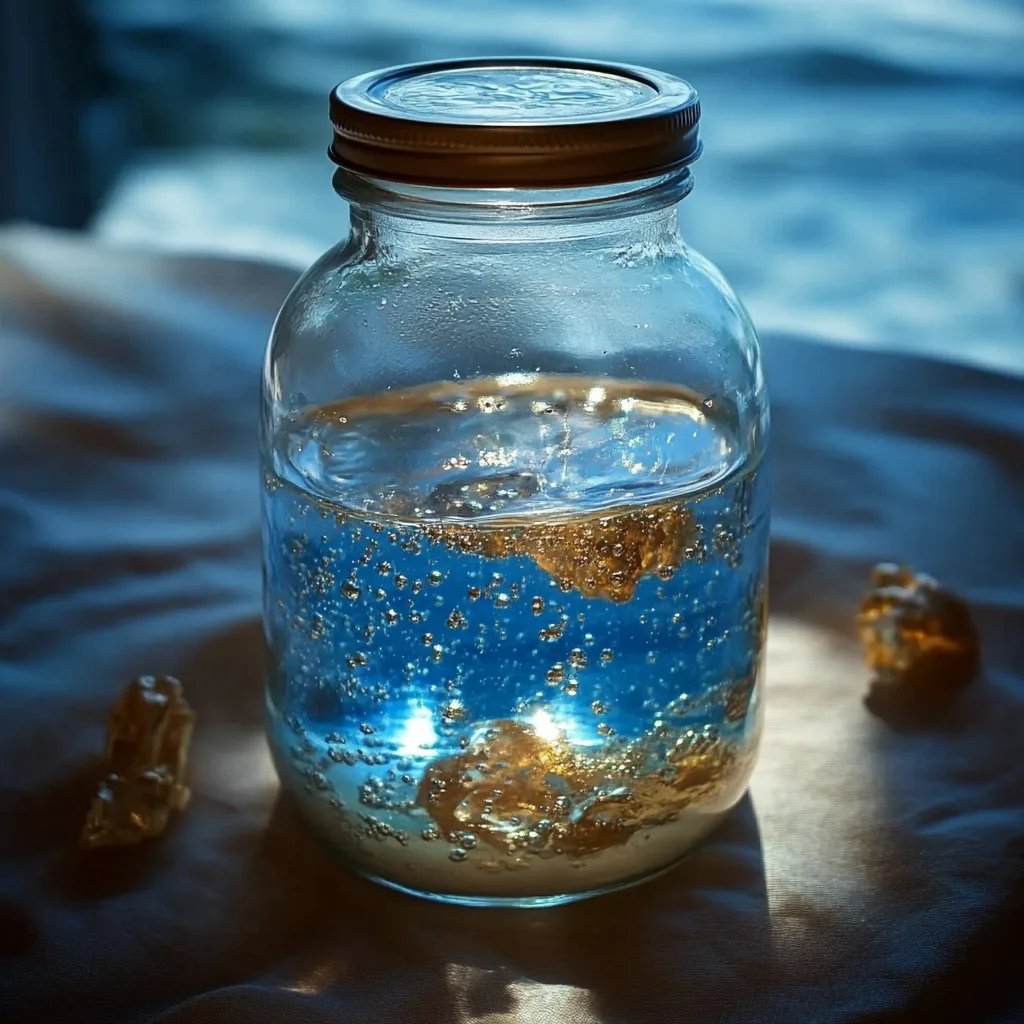
Imagine gazing into this ocean-inspired jar filled with sparkling water, shimmering sequins, and colorful marine-themed objects. It’s a perfect way to bring a piece of the ocean into your daily life, providing a moment of relaxation and inspiration. This activity is not just a craft; it’s a sensory journey that can help soothe anxiety and ignite your curiosity about marine life.
If you’re looking for a delightful activity that can engage the whole family or serve as a meditative practice for yourself, the Sensory Ocean Jar is the ideal choice. Let’s explore why this project is so captivating, how to prepare it, and tips for serving the experience beautifully.
Why You’ll Love This Recipe
Creating a Sensory Ocean Jar has become quite popular for several reasons. Here’s why you’ll find this project amazing and beneficial:
- Calming Effects: The soothing visuals of the ocean jar can help reduce stress and anxiety. Watching the glitter settle mimics the calm moments in nature.
- Engagement for All Ages: Whether it’s children fascinated by the ocean or adults seeking a creative outlet, this craft suits everyone, making it a wonderful family activity.
- Educational Component: It can be a great opportunity to teach children about marine life, ocean conservation, or color mixing through play.
- Customizable: You can personalize your jar to reflect your favorite sea creatures or colors, making each creation unique.
- Easy to Make: The Sensory Ocean Jar requires minimal materials and effort, making it accessible even for novice crafters.
- Instant Visual Appeal: Once completed, the jars look enchanting on shelves or as centerpieces, adding a touch of oceanic beauty to your home.
With so many enticing reasons to create a Sensory Ocean Jar, it’s no wonder that this project has captured the hearts of many. It's not just about making a jar; it's about creating a personal little piece of the ocean that you can enjoy every day.
Preparation and Cooking Time
Creating your Sensory Ocean Jar is relatively quick and easy. The whole process should take about 30-40 minutes, depending on your preparation speed and creativity. Here’s a breakdown:
- Preparation Time: 10-15 minutes (for gathering supplies and setting up)
- Assembly Time: 20-25 minutes (for filling the jar with materials and water)
Gather your supplies ahead of time to streamline the crafting process. This way, you'll be able to jump right into the fun!
Ingredients
To create your own Sensory Ocean Jar, you'll need the following ingredients:
- A clean, empty jar with a lid (such as a mason jar)
- Water (enough to fill the jar)
- Clear glue or glycerin (for thickening the water)
- Blue food coloring (or any color you prefer)
- Glitter or sequins (blue, silver, or iridescent)
- Small ocean-themed toys (like sea horses, starfish, or shells)
- Optional: Small rocks, sand, or beads for added texture
These ingredients will help you create a beautiful and sensory-rich experience that captures the essence of the ocean.
Step-by-Step Instructions
Follow these straightforward steps to craft your own mesmerizing Sensory Ocean Jar:
- Gather Supplies: Collect all your materials on a flat surface where you can work comfortably.
- Prepare the Jar: Clean the jar thoroughly before you start. Remove any labels or residue to ensure a clear view of the contents.
- Mix Water and Glue: In a mixing bowl, combine about one cup of water with two tablespoons of clear glue. Stir well until fully mixed.
- Add Color: Add a few drops of blue food coloring to the mixture. Mix until you achieve your desired shade of “ocean.”
- Fill the Jar: Carefully pour the colored water and glue mixture into the jar, filling it about three-quarters full.
- Add Glitter or Sequins: Sprinkle in your glitter or sequins. This will create a magical shimmer when you shake the jar.
- Insert Toys: Gently place your small ocean-themed toys or objects into the jar. This will give the jar a personalized touch and create intrigue.
- Top Off the Jar: If you want more thickness and a slower settle time for the glitter, you can add a bit more glue or glycerin to the top of the jar’s contents.
- Seal It Up: Secure the lid tightly to prevent leaks, ensuring that everything stays inside once you start swirling the jar.
- Shake and Observe: Give your Sensory Ocean Jar a gentle shake! Watch as the glitter and toys move around in the water, creating a captivating display.
By following these simple steps, you’ll find yourself lost in the enchanting world of your Sensory Ocean Jar.
How to Serve
To fully enjoy your Sensory Ocean Jar and enhance the experience, consider the following serving suggestions:
- Display: Place your completed jar on a windowsill or a shelf where it can catch the light. The colors and sparkles will create a lovely visual effect.
- Interactive Play: Encourage children to shake the jar and explore the underwater world inside. Use it as a topic starter for conversations about the ocean.
- Meditative Use: For adults, utilize the jar as part of a mindfulness routine. Gaze at the swirling colors and listen to calming music.
- Create a Gift: These jars make wonderful gifts! Consider tying a ribbon around the jar’s neck for a beautiful presentation.
- Group Activity: Organize a crafting session with friends or family. Each person can create their own version, fostering creativity and connection.
- Storytime Companion: Use your jar during storytime for children to visualize ocean-related tales. This adds a sensory aspect to literature.
With these serving ideas, your Sensory Ocean Jar will not only be a beautiful item but also an engaging tool for learning, relaxation, and enjoyment!
Additional Tips
- Experiment with Colors: Feel free to try different food coloring shades to create unique ocean themes. Think of coral reefs with pinks and purples or twilight oceans with darker blues and purples.
- Seal with Caution: If you’re concerned about leakage, you can add a layer of clear tape around the lid for extra security.
- Sensory Play: Consider using your Sensory Ocean Jar during sensory play sessions for kids. It’s a delightful way to encourage exploration while introducing them to ocean themes.
- Use Natural Decor: Incorporate natural elements like driftwood or small pebbles instead of plastic toys, giving the jar an authentic oceanic feel.
Recipe Variation
There are countless ways to personalize your Sensory Ocean Jar for a unique experience. Here are a few ideas:
- Ocean Theme Swap: Instead of traditional ocean-themed items, try aquarium creatures like fish and turtles for a different vibe.
- Galaxy Ocean Jar: Add purple and black coloring to create a galaxy effect, mixing in stars and planets for an out-of-this-world ocean experience.
- Nature Collective: Create an ocean jar based on local bodies of water, adding objects that represent the unique ecosystem in your area.
- Seasonal Themes: Adjust the contents based on the seasons, using autumn colors like oranges and reds for a fall-themed ocean jar.
Freezing and Storage
- Storage: Keep your Sensory Ocean Jar in a cool, dry place away from direct sunlight. This will prevent the colors from fading and keep the contents vibrant.
- Long-Term Storage: While it’s best to use the contents soon after creation, if you need to store it for a while, ensure the lid is tightly sealed to avoid evaporation.
Special Equipment
To make creating your Sensory Ocean Jar a breeze, consider these essential items:
- Measuring Cups and Spoons: For accurately measuring your water, glue, and other ingredients.
- Mixing Bowl: A medium-sized bowl will help in mixing the water and glue.
- Funnel: A funnel can help pour the mixture into the jar neatly without spills.
- Spoon or Stick: Use a spoon or a stick for stirring the glue and water mixture thoroughly.
Frequently Asked Questions
Can I reuse the jar for another craft?
Yes, if you want to change the contents, simply rinse it out and start fresh.
What if my jar leaks?
Ensure the lid is tightly sealed. If leaks occur, try re-sealing with tape or consider transferring to another jar.
How can I clean the jar if it gets messy?
Use warm, soapy water to clean it out, ensuring all residue is removed before refilling.
Can I add more glitter later?
While it's best to add glitter during assembly, you can certainly open the jar to add more if you wish!
Is this project safe for young children?
Yes, but adult supervision is recommended, especially with small items that may pose choking hazards.
Conclusion
Creating a Sensory Ocean Jar is a fantastic way to bring the calming beauty of the sea into your home. This engaging craft not only stimulates creativity but provides an opportunity for mindfulness and relaxation. From choosing colors and textures to engaging in sensory play, the possibilities are limitless. It serves as a wonderful activity for individuals of all ages, fostering curiosity about the ocean while providing moments of peace and serenity. Embrace this crafting opportunity, and enjoy your personalized piece of the ocean!