Seashell Picture Frame: An Amazing Ultimate DIY Project
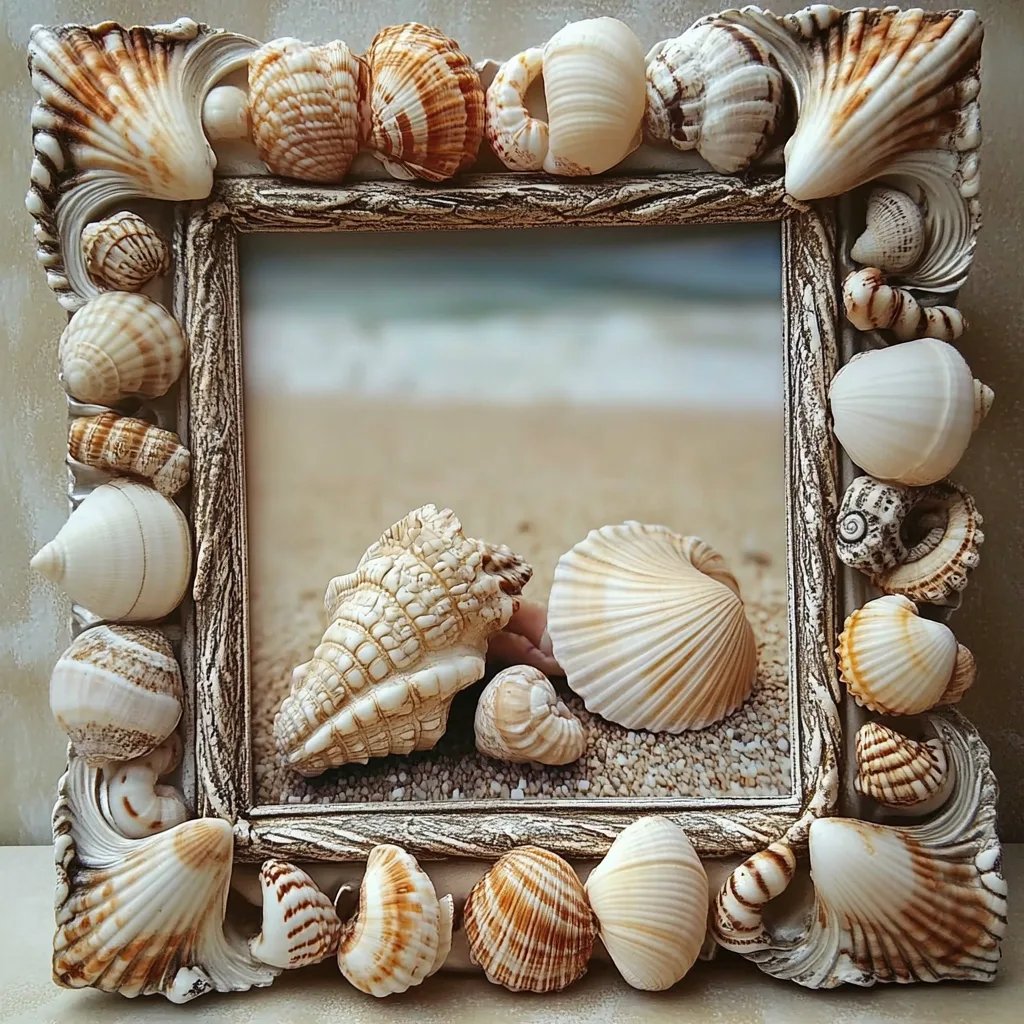
Seashell Picture Frame projects can transform your cherished memories into beautiful coastal art. Crafted with love, these picture frames are not just functional; they evoke memories of sunny beach days and ocean breezes. Not only are they aesthetically pleasing, but they also serve as a wonderful keepsake for anyone who values precious moments captured in photos.
Creating your own seashell picture frame is a fulfilling experience. It allows you to harness your creativity while incorporating natural elements that bring the beauty of the beach right into your home. Whether you are a seasoned crafter or a beginner, this project offers numerous opportunities for personalization. So, roll up your sleeves, gather your materials, and let's make something that will beautify your living space!
By following the steps outlined here, you'll not only create a stunning picture frame but also experience the joy of working with your hands. The unique combination of seashells and your cherished photo will tell a story worthy of display on any wall or tabletop. Your completed seashell picture frame will undoubtedly spark conversations and transport you back to those carefree days by the sea.
Why You’ll Love This DIY Project
Creating a Seashell Picture Frame is a delightful endeavor for many reasons:
- Creative Expression – You can embellish your frame in countless ways, reflecting your personal style.
- Memorable Keepsake – This project allows you to preserve memories and showcase them in a unique way.
- Natural Elements – Incorporating seashells brings a touch of nature and tranquility into your home decor.
- Perfect for Gift Giving – Handmade items, especially those with sentimental value, make thoughtful gifts for friends and family.
- Inexpensive Materials – Most of the materials needed can be sourced inexpensively or even gathered from nature.
- Easy to Follow – The steps are simple and straightforward, making it accessible even if you're new to crafting.
Each of these points highlights the joys and benefits of creating your very own seashell picture frame. With just a little time and effort, you can achieve an end product that is not only functional but also a true piece of art.
Preparation and Crafting Time
Before diving into the creative process, it's beneficial to know the time commitment involved. Here's an estimated breakdown of the time required for crafting your seashell picture frame:
- Preparation Time: 15-20 minutes to gather materials and prepare your workspace.
- Crafting Time: Approximately 1 hour to construct and decorate your frame.
- Drying Time: Allowing glue to set may take an additional 30 minutes to 1 hour.
Overall, expect to spend about 2 hours from start to finish, meaning you can enjoy this project in one afternoon or split it across a couple of sessions.
Materials
- 1 plain picture frame (wooden, plastic, or metal)
- A collection of seashells (ranging in size and type)
- Hot glue gun and glue sticks
- Sandpaper (optional, for smoothing the frame)
- Paint (for frame color, optional)
- Mod Podge (for sealing and finishing, optional)
- Clean cloth for dusting
Step-by-Step Instructions
Crafting your Seashell Picture Frame can be straightforward if you follow these easy-to-follow steps:
- Select Your Frame: Choose a plain picture frame that you would like to transform. Wood tends to be the easiest to work with.
- Prepare Your Frame: If it's wooden, lightly sand the surface to create a smooth base. Wipe away dust with a clean cloth.
- Paint Your Frame: Optionally, paint your frame in a color that complements your seashells. Allow the paint to dry thoroughly.
- Plan Shell Placement: Before attaching anything, arrange your seashells on the frame to find an appealing layout.
- Start Gluing: Use the hot glue gun to attach each seashell to the frame. Be sure to apply enough glue for a secure hold.
- Layering: Vary the arrangement by adding seashells of different sizes and shapes to create depth and interest.
- Fill Gaps: If desired, fill in any gaps with smaller seashells or other ocean-themed embellishments like sand or glass pebbles.
- Seal Your Frame: Once the seashells are firmly attached and the glue has cooled, you can use Mod Podge over the seashells for a protective finish.
- Insert a Picture: Choose a favorite photo that complements your frame and insert it after everything has dried completely.
These straightforward steps will guide you through the crafting process, allowing you to create a stunning seashell picture frame that you will cherish for years to come.
How to Serve
When it comes to showcasing your Seashell Picture Frame, consider the following tips for a polished presentation:
- Choose a Suitable Location: Display your newly crafted frame in a well-lit area, perhaps on a mantel, ledge, or a table in your living room.
- Pair with Coastal Decor: Surround your frame with other beach-themed ornaments or décor to create a cohesive coastal ambiance.
- Consider Grouping: If you create multiple frames, consider arranging them in a gallery wall layout where different frames complement each other.
- Seasonal Displays: Change the picture according to the season or occasions, like displaying family vacations or special moments.
- Gift Presentation: If you’re giving the frame as a gift, consider packaging it beautifully with other beach-themed items or a handwritten note.
With these serving ideas, your fabulous seashell picture frame can become a stunning focal point that enhances any room while bringing delightful memories to the forefront!
By engaging in this DIY project, you're not just creating a piece of decor; you're weaving together memories, creativity, and a splash of ocean-inspired peace into your home. Enjoy the journey of crafting your Seashell Picture Frame!
Additional Tips
- Choose Diverse Seashells: Incorporate shells of different shapes and colors to enhance the overall appeal of your seashell picture frame.
- Use Dry Seashells: Ensure your seashells are clean and completely dry before gluing them onto the frame to ensure a secure bond.
- Personalize with Photos: Select photos that align with a beach theme or memories from family vacations to create an even stronger connection to the seashell frame.
- Seal with Care: If using Mod Podge, allow adequate drying time between layers to ensure a smooth finish.
- Experiment with Color: Consider painting your frame in a beach-inspired hue, such as teal or sandy beige, to complement the seashells.
Recipe Variation
Feel free to get creative with your seashell picture frame projects! Here are some variations to consider:
- Themed Frames: Instead of just using seashells, incorporate materials like sand, driftwood, or small pebbles for a complete coastal theme.
- Seasonal Decorations: Change out pictures and decorations according to the seasons or holidays, integrating small decorative items, like starfish for summer or pinecones for fall.
- Mixed Media Frames: Use other embellishments such as ribbons, fabric, or beads alongside seashells to give your frame a unique and dynamic style.
Freezing and Storage
- Storage: Once your seashell picture frame is completed, it’s best to place it in a dry location away from direct sunlight to prevent colors from fading and glue from breaking down.
Special Equipment
For crafting your seashell picture frame, you will need:
- Hot glue gun and glue sticks
- Scissors for cutting any materials
- Paintbrush (if painting your frame)
- Sandpaper (for prepping wooden frames)
- A clean workspace with good lighting
Frequently Asked Questions
How do I clean seashells before using them?
To clean seashells, soak them in a mixture of warm water and vinegar for about 10-15 minutes. Scrub with a soft brush to remove dirt and sand.
Can I use other materials besides seashells?
Absolutely! You can mix seashells with other coastal elements like pebbles, sand, or even small pieces of driftwood for an artistic touch.
What if I don't have a hot glue gun?
If a hot glue gun is not available, you can use strong adhesive craft glue. Just be aware that curing times may vary, so be patient.
How do I hang my seashell picture frame?
Use simple picture hangers or command strips on the back to easily hang your frame on the wall.
Can this project be done with children?
Yes! It’s a great family activity. Just make sure to supervise when using hot glue and sharp tools.
Conclusion
Creating a seashell picture frame is a rewarding DIY project that combines creativity and cherished memories. By incorporating natural elements from the beach, you can craft a unique masterpiece that reflects your personal style and celebrates your treasured moments. The joy of seeing your completed project gracing your home will remind you of warm sand, salty air, and ocean adventures. So gather your materials, follow the steps, and enjoy the process of crafting something beautiful!