Rustic Twine Scarecrow Craft: An Incredible Ultimate DIY Project
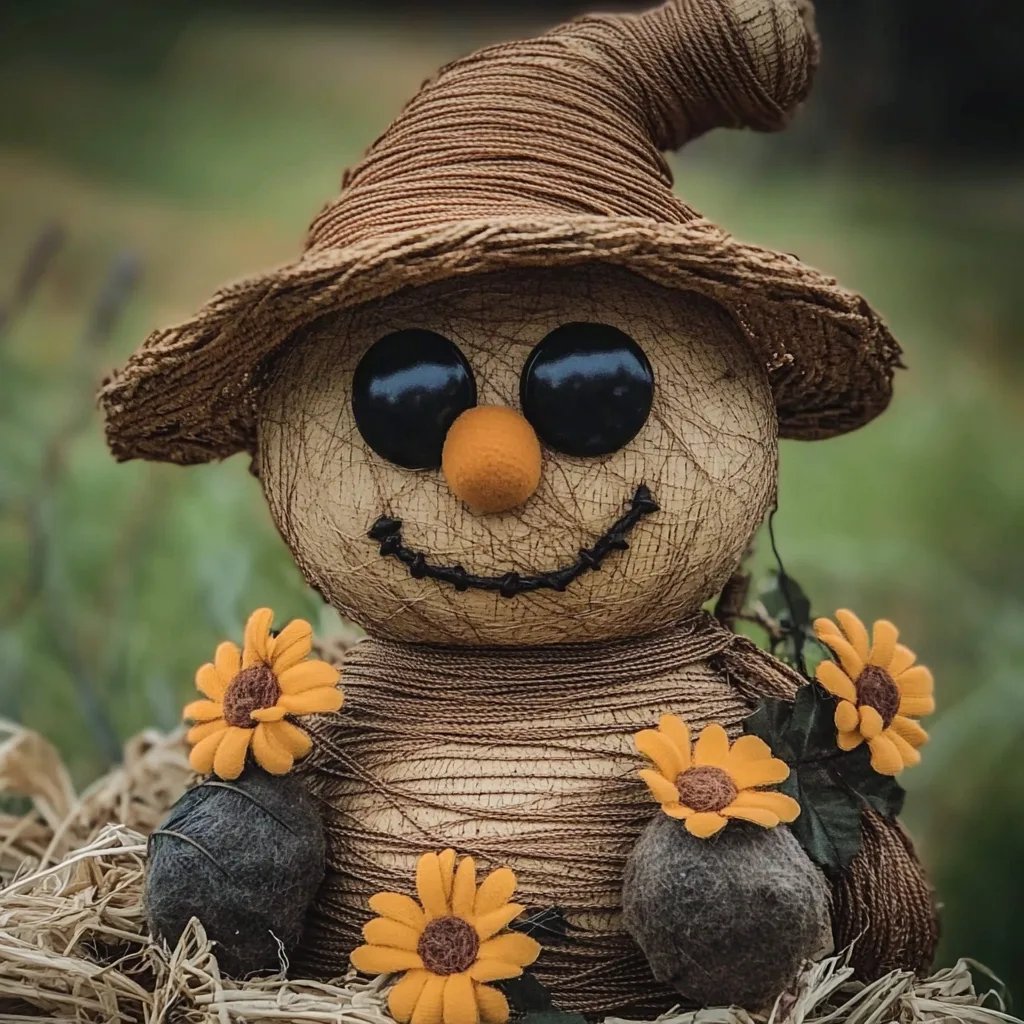
Rustic Twine Scarecrow Craft is an amazing way to add a touch of whimsy to your fall decor. The delightful charm it brings to your home is unmatched. Imagine creating a cheerful scarecrow that welcomes guests to your garden or front porch. This craft is not only visually appealing but also provides a wonderful opportunity for family bonding, especially during the fall season. So gather your supplies, roll up your sleeves, and let’s dive into the world of crafting!
Crafting your own scarecrow can be both enjoyable and fulfilling. You get to unleash your creativity while making a unique decoration that reflects your style. Many people are drawn to rustic themes, and this scarecrow embodies that charm with its twine details and natural elements. As the leaves change color and the air turns crisp, creating this scarecrow can help you celebrate the joys of autumn.
In this guide, you will uncover the reasons why this Rustic Twine Scarecrow Craft is so special, the preparation needed, and step-by-step instructions for creating your very own scarecrow. You’ll be amazed at how easily you can transform simple materials into a festive decoration that embodies the spirit of the season!
Why You’ll Love This Craft
The Rustic Twine Scarecrow Craft offers several benefits that make it a must-try project:
- Simple Materials: Most of the items needed are easy to find around your home or local craft store.
- Budget-Friendly: You'll create a stunning decor piece without breaking the bank.
- Creative Expression: Customizing your scarecrow allows your personality to shine through.
- Family Fun: Involving kids or friends in the process makes it a joyful activity for everyone.
- Versatile Design: You can adjust the size, style, or color of your scarecrow based on your preferences.
- Seasonal Decor: This scarecrow can stay out through Halloween and Thanksgiving, enhancing your seasonal decor.
With these exciting features, you’ll quickly see why many people love making this rustic project. It’s not just a craft; it’s a way to celebrate the fall season with joy and creativity!
Preparation and Crafting Time
Creating your Rustic Twine Scarecrow Craft will take approximately 1-2 hours. Here’s a breakdown of what you can expect:
- Preparation Time: 15-30 minutes (gathering materials and preparing your workspace)
- Crafting Time: 1-1.5 hours (assembling the scarecrow and adding personal touches)
These time estimates can vary depending on your crafting experience and the complexity of your design. However, this should give you a clear framework to follow as you embark on this delightful project.
Ingredients
- 1 medium-sized pumpkin or wooden block (for the base)
- Twine (rustic jute or burlap)
- 2 large burlap sacks or brown fabric (for clothing)
- Scissors
- Craft glue or hot glue gun
- 2 buttons (for eyes)
- 1 small piece of orange felt (for the nose)
- Optional: Straw or hay (for details and stuffing)
Step-by-Step Instructions
Creating your Rustic Twine Scarecrow Craft can be simple if you follow these steps:
- Prepare the Base:
- Use a medium-sized pumpkin or wooden block as the base for your scarecrow.
- Create the Body:
- Cut the burlap or brown fabric into a rectangle shape. The size can vary depending on how large you want your scarecrow.
- Gather the tops to create a "neck" and tie it securely with twine.
- Add Arms:
- Cut two strips of fabric or burlap for arms. Attach them to the sides of the body using glue or by tying them.
- Design the Head:
- Use another small piece of burlap to make the head. Stuff with hay or straw for shape, if desired.
- Glue on buttons for eyes and cut out a small felt triangle for the nose. Attach these securely.
- Attach the Head:
- Position the head atop the body, securing it with twine or glue.
- Accessorize:
- Add details like a small hat made from burlap or straw. Secure it in place with twine.
- You can also use additional burlap scraps to create a scarf or other decorative touches.
- Final Touches:
- Go back and add any additional elements or personal touches to your scarecrow. Let it dry thoroughly before displaying.
Each step allows you to personalize your scarecrow and make it truly unique!
How to Serve
To showcase your Rustic Twine Scarecrow Craft beautifully, consider these tips:
- Placement: Position your scarecrow at your front entrance, in the garden, or around your home’s seating areas.
- Decorative Arrangements: Surround your scarecrow with pumpkins, hay bales, or autumn flowers for a festive display.
- Lighting Options: For evening charm, place a small lantern or fairy lights nearby to illuminate your rustic creation.
- Engagement: Encourage family members or visitors to take photos with your scarecrow, making it a focal point for autumn gatherings.
By showcasing your scarecrow creatively, you’ll enhance your home’s seasonal warmth, making it a welcoming space for all. Enjoy the process, and celebrate your handiwork each time you see your charming rustic scarecrow!
Additional Tips
- Secure with Twine: When assembling your scarecrow, make sure to secure parts tightly with twine. This not only enhances stability but also adds to the rustic charm of the craft.
- Personal Touches: Customize your scarecrow with small personal touches like your favorite colors or seasonal materials to make it truly unique.
- Weatherproofing: If you’re placing your scarecrow outdoors, consider using outdoor glue or sealant to ensure it withstands the elements.
- Kid-Friendly Involvement: Encourage children to engage by letting them paint the face or choose the accessories. This makes crafting a family-oriented activity.
Recipe Variation
Feel free to experiment with these variations to make your Rustic Twine Scarecrow Craft even more exciting:
- Different Base Options: Instead of a pumpkin or wooden block, try using an old chair or crate as the base to create a larger scarecrow.
- Colorful Fabrics: Use brightly colored fabric instead of burlap for a more vibrant scarecrow. This is perfect for a fun, contemporary twist.
- Theme-Based Designs: Create a holiday-themed scarecrow, incorporating colors and items related to Halloween or Thanksgiving for a festive touch.
Freezing and Storage
- Storage: Since the scarecrow is a decorative craft, it doesn’t require traditional storage methods; however, place it in a shaded area to prevent fabric from fading.
- Preservation: If you want to reuse your scarecrow for future seasons, store it in a cool, dry place. Avoid damp areas to prevent mold growth on natural materials like twine and burlap.
Special Equipment
You won’t need much to create your Rustic Twine Scarecrow Craft, but here are a few recommended items to simplify your process:
- Hot Glue Gun: Perfect for quick securing of fabric and embellishments.
- Scissors: Sharp scissors help achieve clean cuts for your materials.
- Craft Knife: Ideal for cutting precise shapes, especially if you use a wooden base instead of a pumpkin.
- Twine Roll: Having a sturdy roll will make it easier to wrap and secure various elements in your scarecrow.
Frequently Asked Questions
How do I choose the right materials?
Opt for natural materials that will blend well for a rustic look. Items like jute twine, burlap, and seasonal embellishments are great choices.
Can my scarecrow be reused every year?
Absolutely! If you store it properly, you can reuse and modify your scarecrow each autumn season.
What are some additional decorations I can add?
Consider adding mini pumpkins, dried flowers, or colored leaves to enhance the seasonal appeal of your scarecrow.
Is it safe for kids to help?
Yes, but ensure adult supervision during the use of scissors and hot glue. Crafting together can be a rewarding experience for kids!
What should I do if it rains?
If your scarecrow is outdoors, it's best to bring it inside during wet weather to prevent damage.
Conclusion
Crafting a Rustic Twine Scarecrow is a delightful way to boost your fall decor while having fun with family and friends. This engaging project embodies creativity and personalization, allowing you to infuse your unique charm into your garden or porch. As you gather your materials and follow the steps, remember to enjoy the process and share the joy of crafting with your loved ones. Whether you opt for a traditional look or modernize your scarecrow, this charming decoration is sure to welcome everyone with warmth this autumn season.