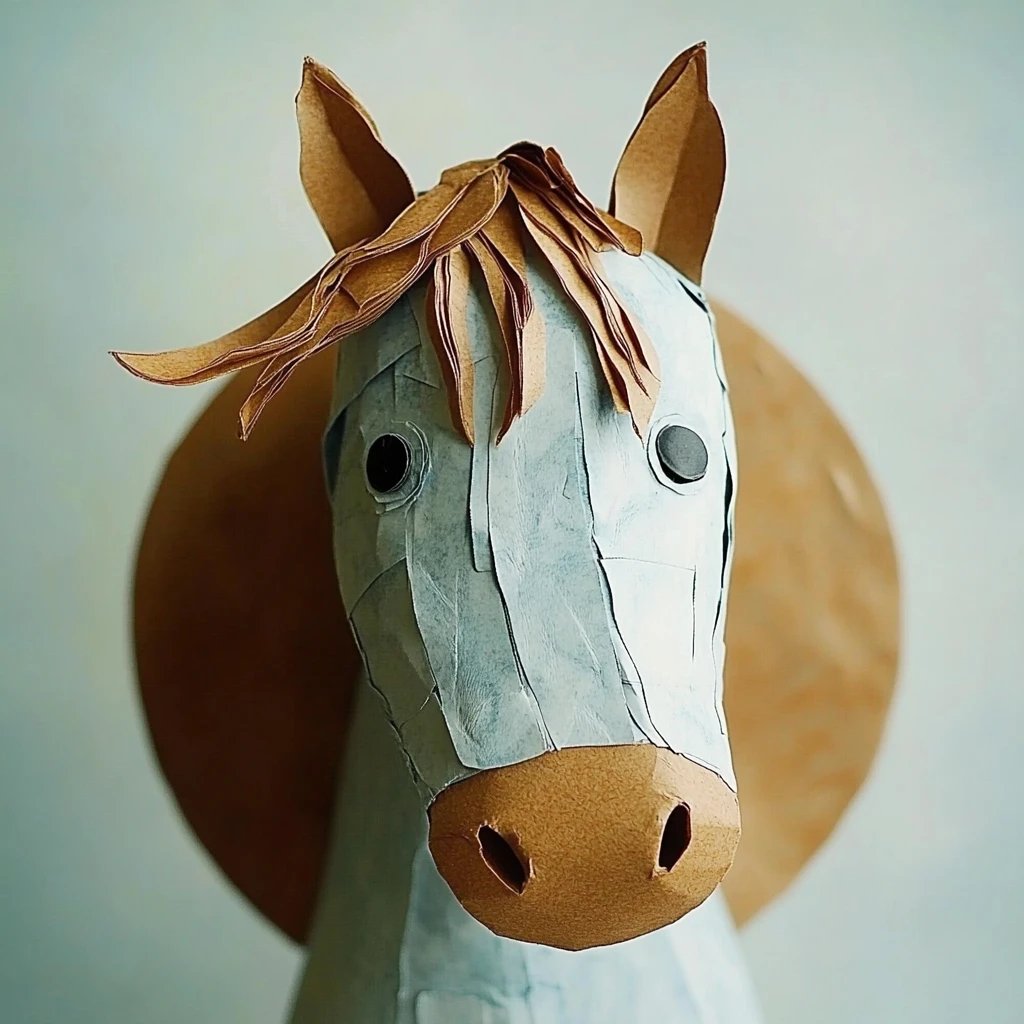
Paper Plate Horse: An Incredible Ultimate Craft for Kids
Paper Plate Horse is an amazing craft activity that is not only fun but also incredibly easy to create. This delightful project allows children to express their creativity while developing fine motor skills. Using basic materials found around the house, kids can transform simple paper plates into charming horse figures. Whether for a school project, a playdate, or a rainy day at home, this craft is sure to bring smiles and laughter.
In this guide, you’ll find everything you need to know about crafting your own Paper Plate Horse. From why this project is particularly loved by parents and kids alike, to the preparation time, ingredients (materials), step-by-step instructions, and tips on how to serve it (show off your crafts), you'll be well-equipped to get started. So, let’s saddle up and dive into the world of creativity!
Why You'll Love This Craft
Creating a Paper Plate Horse is a marvelous way to engage kids in a fun and educational activity. Here are several reasons why this craft is well-loved:
- Simple Materials: All you need are paper plates, paint, and some basic craft supplies.
- Encourages Imagination: Each horse can be uniquely designed, allowing kids to harness their creativity.
- Quick and Easy: This project can be completed in a short amount of time, making it perfect for busy schedules.
- Perfect for All Ages: Kids of various ages can participate, making it a great family activity.
- Educational Value: Children can learn about horses and get hands-on experience with crafts, enhancing their learning.
- Great for Parties: This craft is ideal for birthday parties or group gatherings, promoting teamwork and sharing.
With so many positive aspects, it's no wonder that paper plate crafts have become a staple activity for children everywhere. The joy of seeing their creations come to life is priceless!
Preparation and Crafting Time
Crafting your Paper Plate Horse will take approximately 45 minutes to 1 hour. Here's a breakdown of the crafting timeline:
- Preparation Time: 10-15 minutes
- Crafting Time: 30-45 minutes
These times may vary depending on children's skill levels and design choices. However, it's a perfect duration for a fun afternoon activity!
Ingredients
- 2 paper plates
- Brown construction paper
- Black marker
- Glue
- Scissors
- Paint (brown, black, white, or any preferred colors)
- Googly eyes (optional)
- Yarn or string (for the mane)
Step-by-Step Instructions
Follow these simple steps to create your own Paper Plate Horse:
- Prepare Plates: Take the two paper plates and set one aside for later use.
- Paint the Horse's Face: On the first plate, paint a horse face, adding ears, a nose, and mouth. Use brown paint as a base, with black or white for detailing.
- Let it Dry: Allow the painted plate to fully dry before moving on to the next steps.
- Create the Mane: Cut pieces of yarn or string into strands for the horse's mane. Set aside.
- Prepare the Second Plate: Take the second plate and cut it in half. These halves will serve as the horse's body.
- Attach the Mane: Glue the yarn strands at the top of the painted plate, making sure they’re secure.
- Assemble the Body: Place one of the halves of the second plate behind the horse's face. Glue it down securely.
- Add Legs: Cut strips of brown construction paper and glue them beneath the horse's body to create legs.
- Add Final Touches: Use a black marker to draw hooves and add any other desired details. Attach googly eyes for a fun look!
- Display Your Horse: Once everything is dry and secure, your Paper Plate Horse is ready to be displayed!
Following these steps will ensure that your craft session runs smoothly and ends with delightful results.
How to Serve
To make the most of your Paper Plate Horse craft, consider the following tips on how to display and enjoy your creations:
- Craft Show: Organize a mini craft show with friends or family, where everyone can present their Paper Plate Horses.
- Gallery Wall: Create a dedicated space on a wall to showcase all completed paper plate crafts. It celebrates their creativity.
- Themed Party: Incorporate this craft into a horse-themed party, providing children with additional materials to create their own plaster horses.
- Story Time: Encourage kids to develop a short story featuring their horse. This promotes creativity and storytelling abilities.
- Playtime Integration: Use the paper plate horses as props in a play or imaginative game scenario. This enhances interaction with crafts.
By following these tips, you'll not only serve the craft in an engaging manner but also foster a fun and creative environment that children will cherish. The Paper Plate Horse activity not only captures attention but also creates lasting memories of creativity and joy!
Additional Tips
- Organize Craft Supplies: Before starting, ensure all materials are within reach. This keeps the session organized and efficient.
- Encourage Personal Flair: Remind kids that there are no wrong designs. Each Paper Plate Horse can reflect their unique personality.
- Use Different Textures: Incorporate bubble wrap or sponges for painting. This adds variety and can spark interest in the crafting process.
- Make it a Group Activity: Craft with friends or family for a more enjoyable experience. Teamwork can lead to wonderfully creative horses.
- Incorporate Learning: Discuss interesting horse facts while crafting. This adds an educational element to the fun.
Recipe Variation
Experiment with different themes and styles for your Paper Plate Horse. Here are a few ideas:
- Fantasy Horses: Add elements like glitter or feathers to create unicorns or fantasy horses.
- Different Colors: Use vibrant colors for a rainbow horse. This allows kids to explore color mixing and creativity.
- Miniature Versions: Scale down the project to create mini horse figures. This is perfect for all ages and encourages fine motor skill development.
- Seasonal Themes: Craft horses to represent different seasons. Use colors associated with autumn, winter, spring, or summer for a fun twist.
Freezing and Storage
Although crafting with paper plates doesn’t require freezing, here are some tips for storing your crafts and keeping them safe:
- Organize Display: Keep completed Paper Plate Horses in a designated space to prevent damage. Use a box or basket for safe keeping.
- Long-term Display: If wanting to preserve your horse, apply a clear sealant to protect the paint and embellishments. This allows for longer-lasting enjoyment.
Special Equipment
Minimal equipment is needed for this craft, making it accessible and fun! Here’s what you’ll require:
- Paintbrushes: Use various sizes for different detailing on the horse.
- Scissors: Kid-safe scissors work best to ensure safety during crafting.
- Hot Glue Gun: For stronger adhesion, especially when attaching heavier materials or yarn.
- Paint Palettes: Helps in mixing and containing paint for easier use.
Frequently Asked Questions
What age range is suitable for this craft?
Children ages 4 and up can participate, though younger kids may need adult supervision.
Can I customize the design?
Absolutely! Each child can use their imagination to create a unique Paper Plate Horse.
What should I do if I run out of materials?
Common household items can serve as substitutes. For example, old magazines can be used for collage features or decorations.
Is this craft suitable for larger groups?
Yes, this activity is perfect for parties or classroom settings. Just ensure enough supplies for everyone.
How can I help younger children?
Assist them with cutting and gluing while allowing them to paint the horse as they like.
Conclusion
Crafting a Paper Plate Horse is a delightful activity that fosters creativity and skill development in children. The ease of gathering materials and simple instructions makes it an excellent choice for family activities or school projects. As kids create their unique horse figures, they not only enjoy the artistic process but also form lasting memories with family and friends. Whether for a themed party or a casual rainy day, the joy of crafting truly shines with the Paper Plate Horse.