Paper Flower Bouquet: An Incredible Ultimate Guide with 7 Tips
Paper Flower Bouquet serves as an amazing yet simple way to express your creativity and beautify your home. These vibrant, handcrafted flowers can brighten any space without the hassle of constant upkeep associated with real blooms. Plus, they’re perfect for a wide array of occasions—from weddings to birthdays and everything in between. Whether you’re looking for a unique gift or a fun activity to enjoy with loved ones, this guide will provide you with all the fantastic details you need to create your very own paper flower bouquet.
Creating a paper flower bouquet isn't just a craft; it’s a journey of artistic expression. Each petal and stem you design contributes to a custom piece that tells your story. The versatility of paper crafts means you can choose any color, shape, or design you desire, making this a wonderful medium to explore your artistic side. With this guide, you'll discover why these paper creations capture hearts, how to make them, and tips to display them beautifully.
Using simple materials, anyone can embark on this crafting adventure. No floral experience is necessary, just a little patience and creativity. Let’s delve deeper into what makes crafting a paper flower bouquet such a beloved activity and how to get started on your own creation!
Why You’ll Love This Craft
Creating a Paper Flower Bouquet offers numerous benefits that make it an exceptional craft:
- Budget-Friendly: The materials needed are often inexpensive and readily available, making it an accessible craft for everyone.
- Customizable: You can easily adjust colors, sizes, and styles to match any theme or personal preference.
- Lasting Beauty: Unlike fresh flowers, paper blooms won’t wilt or fade, ensuring that your creation remains a beautiful centerpiece for years.
- Eco-Friendly: When using recycled materials, paper flowers can be a green alternative to real flowers.
- Therapeutic Process: Crafting can be meditative. This calming activity can offer a great way to relieve stress and focus your thoughts.
- Fun for All Ages: Whether crafting with children or adults, creating paper flowers is an enjoyable way to bond and unleash creativity.
- Perfect Gift Idea: Handmade gifts often carry a special charm that store-bought items lack. A bouquet of paper flowers can convey personal sentiment and warmth.
These reasons only scratch the surface of why people love making paper flower bouquets. The joy discovered in crafting makes it a worthwhile experience, not just for the final product but also for the process itself.
Preparation and Crafting Time
Preparing to make your Paper Flower Bouquet is an adventure in itself! Here’s a breakdown of the time you can expect:
- Preparation Time: 20-30 minutes for gathering materials and planning your design.
- Crafting Time: 1-3 hours depending on the complexity of your flower designs and how many blooms you wish to create.
Overall, you could spend anywhere from just over an hour to several hours immersing yourself in this creative endeavor.
Ingredients
For crafting your Paper Flower Bouquet, gather the following materials:
- Colored paper (crepe paper, cardstock, or tissue paper)
- Scissors
- Glue (hot glue or craft glue)
- Floral wire
- Floral tape
- Wire cutters
- Pencil or pen
- Optional: Paint or markers for detailing, decorative ribbons
These ingredients will allow you to assemble a beautiful bouquet tailored to your style!
Step-by-Step Instructions
Embarking on your paper flower bouquet creation can be straightforward when following these step-by-step instructions:
- Choose Your Flower Design: Decide on the type of flowers you want to make. Popular choices include roses, daisies, and peonies.
- Cut Paper: Using scissors, cut your colored paper into petal shapes. Make sure to create various sizes for a more layered effect.
- Shape the Petals: Lightly curl the edges of your petals with your fingers or a pencil. This helps give them a realistic look.
- Create the Flower Center: Roll a small piece of paper or use a pom-pom for the center of your flower. Secure it using glue.
- Attach Petals: Start gluing the petals around the flower center, layering them as desired until the flower looks complete.
- Craft the Stem: Cut a piece of floral wire to your desired length. Attach it to the flower by wrapping the base with floral tape.
- Add Leaves: Cut leaf shapes from additional colored paper. Attach them to the stem using floral tape.
- Produce More Flowers: Repeat the process to create multiple flowers for your bouquet.
- Gather the Bouquet: Once your flowers are complete, arrange them together, securing them with floral tape.
- Finish with a Bow: Optionally, tie a decorative ribbon around the base of the bouquet for an added touch.
Following these steps will help you successfully create a beautiful paper flower bouquet that you can be proud of!
How to Serve
Once your Paper Flower Bouquet is complete, consider these options for presenting it beautifully:
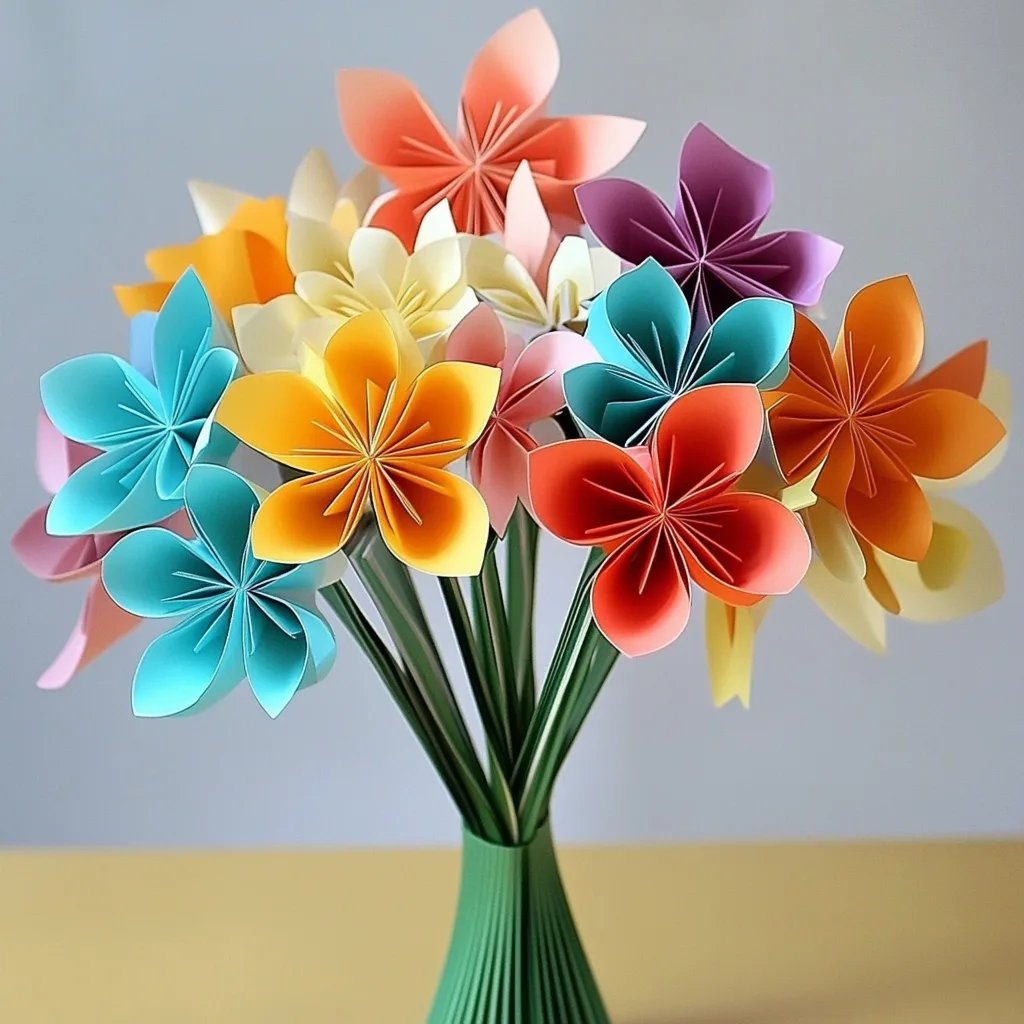
- Vase Display: Place your bouquet in a stylish vase that complements its colors and adds elegance to any room.
- Gift Wrapping: Present your bouquet as a unique gift. Wrap it in colorful paper or a decorative bag for an appealing presentation.
- Home Decor: Use your bouquet as a centerpiece on a dining table or as a decorative accent in a living room. It will brighten up any space!
- Special Occasions: Think of ways to incorporate your bouquet into special events, like using them as table decorations for weddings or parties.
- Themed Arrangements: Create seasonal or themed bouquets for holidays, such as pastels for Easter or rich colors for autumn.
- Photo Opportunities: Use your paper flower bouquet for photography, creating stunning visuals that showcase your craft.
- Charitable Giving: Consider donating your creations to local hospitals, nursing homes, or community centers to brighten someone’s day.
By exploring these diverse ways to serve your paper flower bouquet, you can extend the joy of your creation beyond your home and into the world around you!
Creating a Paper Flower Bouquet is more than just a craft; it’s a joyful experience that results in a beautiful keepsake. With the right materials, a touch of creativity, and some patience, anyone can make stunning paper flowers that brighten homes and hearts alike. Enjoy your crafting!
Additional Tips
- Use High-Quality Paper: The type of paper you choose can significantly impact the appearance of your flowers. Use quality crepe paper or cardstock for a more elegant look.
- Experiment with Shapes: Don’t be afraid to create unique petal shapes. Combining different shapes adds depth and character to your bouquet.
- Utilize Templates: If you're new to crafting, consider using templates for cutting petals. This can help in achieving uniform shapes.
- Add Details: Incorporate embellishments like beads or glitter to give your flowers a distinct touch. Small details can elevate your bouquet.
- Try Different Techniques: Explore various techniques, like quilling or origami, to introduce creative styles to your flowers.
Recipe Variation
Feel free to explore variations in your paper flower bouquet creation. Here are a few suggestions:
- Seasonal Themes: Create flowers in colors that reflect the current season. Bright pastels for spring or rich reds and oranges for fall can add a festive vibe.
- Mix Media: Combine paper flowers with other materials such as fabric or burlap for a unique texture in your bouquet.
- Personalize: Add handwritten notes or small tokens with specific meanings attached to each flower, making your bouquet even more special.
Freezing and Storage
- No Special Storage: Unlike edible creations, paper flower bouquets do not require freezing or refrigeration. Simply keep them in a cool, dry place to maintain their shape and vibrancy.
Special Equipment
While crafting your paper flower bouquet, a few essential tools can enhance your experience:
- Craft Mat: A cutting mat provides a safe surface for cutting your paper without damaging your table.
- Floral Tape: Essential for securing stems and providing a clean look to your bouquet.
- Glue Gun: For quick drying and a strong hold, a glue gun is often more convenient than traditional craft glue.
- Scoring Tool: This tool can help create folds and bends more precisely, especially for intricate flower designs.
Frequently Asked Questions
What type of paper is best for paper flowers?
Crepe paper is favored for its flexibility and texture, while cardstock offers sturdiness and crisp edges for more structured designs.
Can children participate in making paper flower bouquets?
Absolutely! Crafting paper flowers is a fun and accessible activity for children and adults alike, fostering teamwork and creativity.
How long will my paper flower bouquet last?
When stored properly, a paper flower bouquet can last many years, making it a lasting keepsake or decoration.
Is it possible to make paper flowers without floral wire?
Yes! You can use straws or heavy paper rolled into tubes as alternatives for stems.
Can I dye white paper for a different color palette?
Definitely! Using watercolor or fabric dye can give you creative control over the color of your flowers.
Conclusion
Creating a paper flower bouquet is a delightful and fulfilling experience that allows for endless creativity. With the right materials, techniques, and inspiration, anyone can craft stunning blooms that will enhance any space. Whether for personal enjoyment or as gifts, these bouquets carry the heart of handmade art. Take your time, enjoy the process, and let your imagination blossom!