Painted Garden Rocks: The Ultimate Guide to Amazing Decor Ideas
Painted garden rocks have become a delightful trend for home and garden enthusiasts. Transforming ordinary stones into colorful pieces of art can bring vibrancy and personality to any outdoor space. These painted rocks add a touch of creativity while providing a fun activity for families or individuals. In this guide, we will explore the wonderful world of painted garden rocks, including why you’ll love this trend, how to create your own, and tips for displaying your masterpieces.
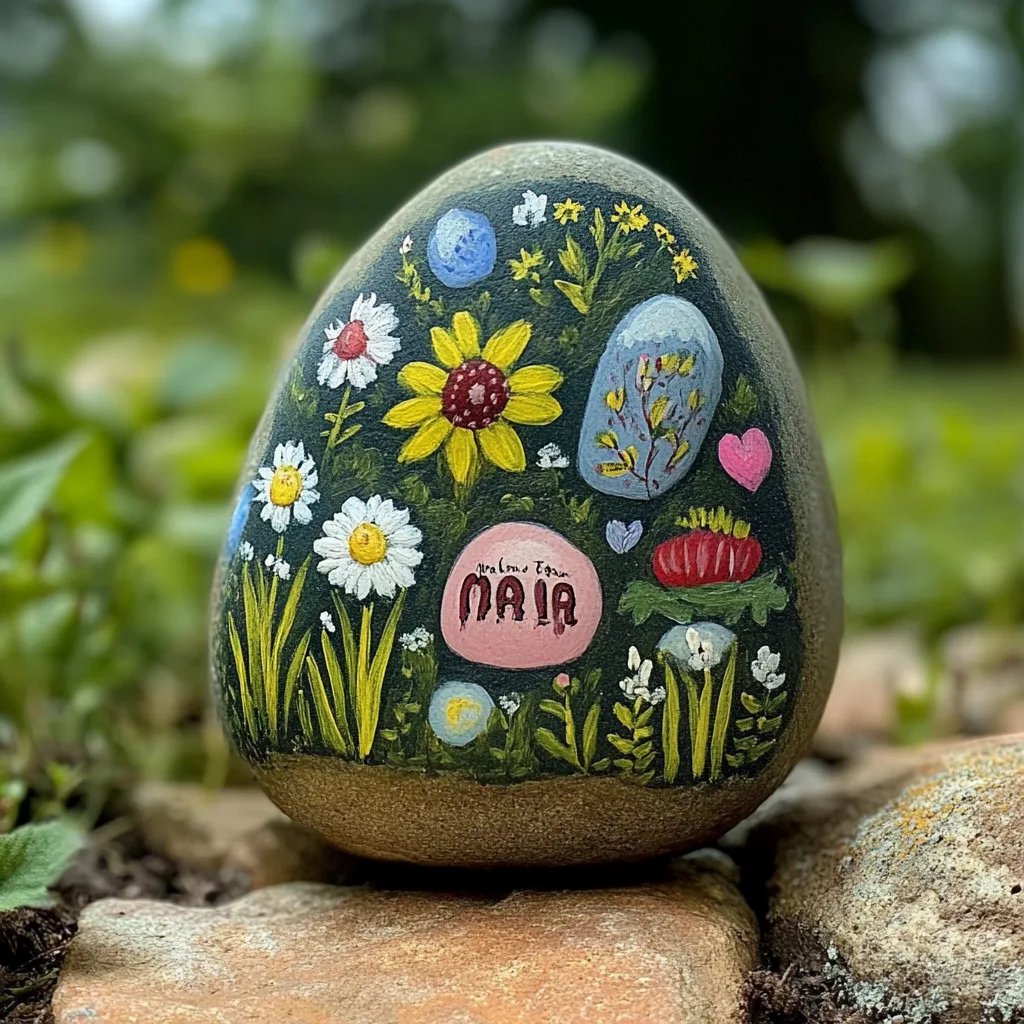
The first time you spot these charming painted garden rocks, you might find yourself captivated by their bright colors and imaginative designs. From whimsical creatures to inspirational quotes, painted garden rocks can turn your garden into a magical wonderland. In this article, we will dive into everything you need to know about creating and displaying these amazing garden decorations. Whether you are a beginner or an experienced artist, the joy of painting rocks awaits you!
Above all, this artistic hobby is not only engaging but also promotes mental well-being. With the right materials and guidance, anyone can create stunning painted garden rocks that will leave a lasting impression. Let's delve deeper into why this activity is worth exploring!
Why You'll Love Painted Garden Rocks
There are numerous reasons to embrace painted garden rocks as a creative hobby. Here are just a few highlights that make this activity truly special:
- Easy to Do: Painting rocks is accessible and easy for all ages. With just a few materials, you can create beautiful pieces.
- Inexpensive Art: Gather some stones and paints, and you're all set! This art project doesn't require expensive supplies.
- Customizable Designs: You can paint anything from simple patterns to intricate designs, making each rock a unique creation.
- Encourages Creativity: This activity encourages you to explore your artistic side, experiment with colors, and develop your skills.
- Great for Outdoor Decor: Painted garden rocks can enhance your garden, flower beds, or pathways, adding personality and charm.
- Fun with Family and Friends: It's a wonderful group activity! Painting rocks together can strengthen bonds and create lasting memories.
With these compelling reasons, it's clear why painted garden rocks have become a cherished activity for both individuals and families. Let's take a closer look at how to get started on your journey to creating these extraordinary garden decorations.
Preparation and Painting Time
Preparing to paint garden rocks doesn’t take long, making it an excellent weekend project. Here’s a breakdown of the expected time:
- Preparation Time: 10-15 minutes to gather materials and clean rocks.
- Painting Time: 1-2 hours depending on the number of rocks and complexity of designs.
- Drying Time: Allow at least 24 hours for the paint to fully dry before placing them outdoors.
You can set aside a few hours or even a full day to enjoy the creative process without feeling rushed.
Materials Needed
- Smooth, clean rocks (around 3-6 inches)
- Acrylic paint (various colors)
- Brushes (various sizes)
- Paint palette or paper plates
- Water cup for rinsing brushes
- Paper towels or rags
- Waterproof sealant (optional)
- Permanent markers or paint pens (for detailed work)
Gathering these materials will allow you to dive right into your painting session. The beauty of painting rocks lies in the simplicity of the process.
Step-by-Step Instructions
Creating painted garden rocks is easy! Follow these simple steps to turn ordinary stones into extraordinary art:
- Select Your Rocks: Choose smooth, clean rocks of different sizes and shapes for variety. Make sure they are free of dirt and dust.
- Clean the Rocks: Wash the rocks with soap and water. Allow them to dry completely.
- Base Coat (Optional): If you want a bright background, apply a base coat of acrylic paint in your desired color. Let it dry completely.
- Design Ideas: Brainstorm your designs. Simple patterns, bugs, or inspirational phrases work well. Use a pencil to sketch lightly on the rock if needed.
- Paint Your Design: Using brushes or paint pens, start painting your chosen design. Add multiple layers if necessary, allowing each layer to dry completely before adding the next.
- Add Details: Use fine brushes or markers for intricate details and outlines.
- Drying: Allow the painted rocks to dry for at least 24 hours in a safe place.
- Seal Your Art: If you plan to use the rocks outdoors, apply a waterproof sealant to protect your artwork from weather conditions.
By following these steps, you'll be able to create fantastic painted garden rocks that showcase your creativity and flair.
How to Serve
Once your painted garden rocks are complete, it's time to showcase them! Here are some creative ways to display your masterpieces:
- Garden Pathways: Place your painted rocks along pathways or driveways to create a charming and inviting approach to your home.
- Flower Beds: Nestle the rocks among flowers or in garden beds for added color and whimsy.
- Rock Gardens: Create unique rock gardens using an assortment of painted stones for artistic flair.
- Planters: Use painted rocks as decoration atop soil in flower pots to enhance the visual appeal.
- Gifts and Keepsakes: Painted rocks also make thoughtful gifts. Consider personalizing a rock for friends or family members as a meaningful gesture.
With these ideas, you'll inspire joy and creativity in any garden or outdoor area. Your painted garden rocks will not only be a beautiful addition to your home but also a reflection of your artistic vision!
Additional Tips
- Choose Smooth Rocks: For the best results, select rocks that are smooth and free of cracks. This makes painting easier and gives a better finish.
- Plan Your Design: Before you start painting, sketch your design on paper. This helps you visualize the final product and plan your color scheme.
- Use Outdoor Paint: If your rocks will be outside, consider using outdoor acrylic paint. It can withstand the elements better than indoor paints.
- Experiment with Techniques: Try different painting techniques like sponging or splattering for unique effects on your rocks.
- Clear Your Workspace: Before starting, make sure your workspace is clean and organized to avoid any distractions while painting.
Recipe Variation
Change things up with these creative twists when painting your garden rocks:
- Animal Themes: Paint animal faces or full-body designs to add a whimsical touch to your garden decor.
- Seasonal Art: Change the painted themes with the seasons. For example, paint pumpkins for fall and snowflakes for winter.
- Inspirational Messages: Use different quote styles or fonts to create motivational messages that inspire you or passersby.
- Glow-in-the-Dark Variants: Incorporate glow-in-the-dark paint for nighttime visibility and a magical effect after dark.
- Mixed Media: Combine paint with materials like glitter or textured sand to enhance visual appeal and create a three-dimensional effect.
Freezing and Storage
- Storage: Keep your painted garden rocks in a cool, dry place. If you used a sealant, the paint should last for years without fading.
- Freezing: Freezing is not applicable for painted rocks as they are non-food items. However, storing them properly will help maintain their integrity and color.
Special Equipment
To ensure a smooth painting experience, gather a few essential items:
- Rinse Containers: Have a couple of cups for rinsing brushes between colors. This prevents muddy paint.
- Protective Surface: Use a drop cloth or old newspapers to protect your workspace from accidental splashes and spills.
- Palette: Have a paint palette or paper plates handy for mixing colors effectively.
- Sealing Spray: If you plan to use your rocks outdoors, a sealant spray will protect your designs from nature's elements.
Frequently Asked Questions
Can I paint on any type of rock?
Yes, but smoother rocks work better for painting, as they provide a clean surface.
Is special paint required for outdoor rocks?
Using outdoor acrylic paint is ideal, as it is designed to withstand weather conditions.
How do I clean brushes after painting?
Rinse brushes in water immediately after use to prevent paint from drying on the bristles.
What type of design is most popular?
Whimsical creatures, garden gnomes, and positive affirmations are some of the most popular designs.
Can kids join in this activity?
Absolutely! Painting rocks is a great family activity, suitable for children with supervision.
Conclusion
Painted garden rocks are a fantastic way to express creativity and add charm to any outdoor space. With their vibrant colors and unique designs, these decorative stones can make your garden feel welcoming and magical. The process is engaging and can be enjoyed solo or with loved ones, creating memories while exploring artistic flair. As you embark on your painted garden rock journey, remember to have fun, experiment, and let your imagination run wild!