No-Glue Soap Slime: The Ultimate Amazing Recipe for Kids
No-Glue Soap Slime is an amazing way to engage children in sensory play while avoiding the messiness of traditional slime recipes that require glue. This innovative recipe allows kids to experience the joy of slime creation without the hassle of cleaning up sticky glue residues. With the right ingredients, you can create an incredible variety of textures and colors that will bring endless fun to playtime.
Slime has gained massive popularity among children and adults alike. It’s an entertaining way to strengthen motor skills and creativity. However, the thought of glue might deter some parents due to its potential for mess and difficulty in cleanup. Thankfully, this no-glue soap slime recipe comes to the rescue, providing a wonderful alternative that is equally fun.
In this guide, we’ll walk you through the reasons why this slime is a must-try, what you’ll need, the preparation times, ingredients, step-by-step instructions, and tips on how to serve it for maximum enjoyment. Let’s dive into the world of No-Glue Soap Slime!
Why You’ll Love This Recipe
One of the standout features of No-Glue Soap Slime is its simplicity and the variety it brings to the table. Here’s why this recipe is a hit among parents and kids alike:
1. Mess-Free Fun: Without the use of glue, you skip the sticky cleanup, making it perfect for indoor play.
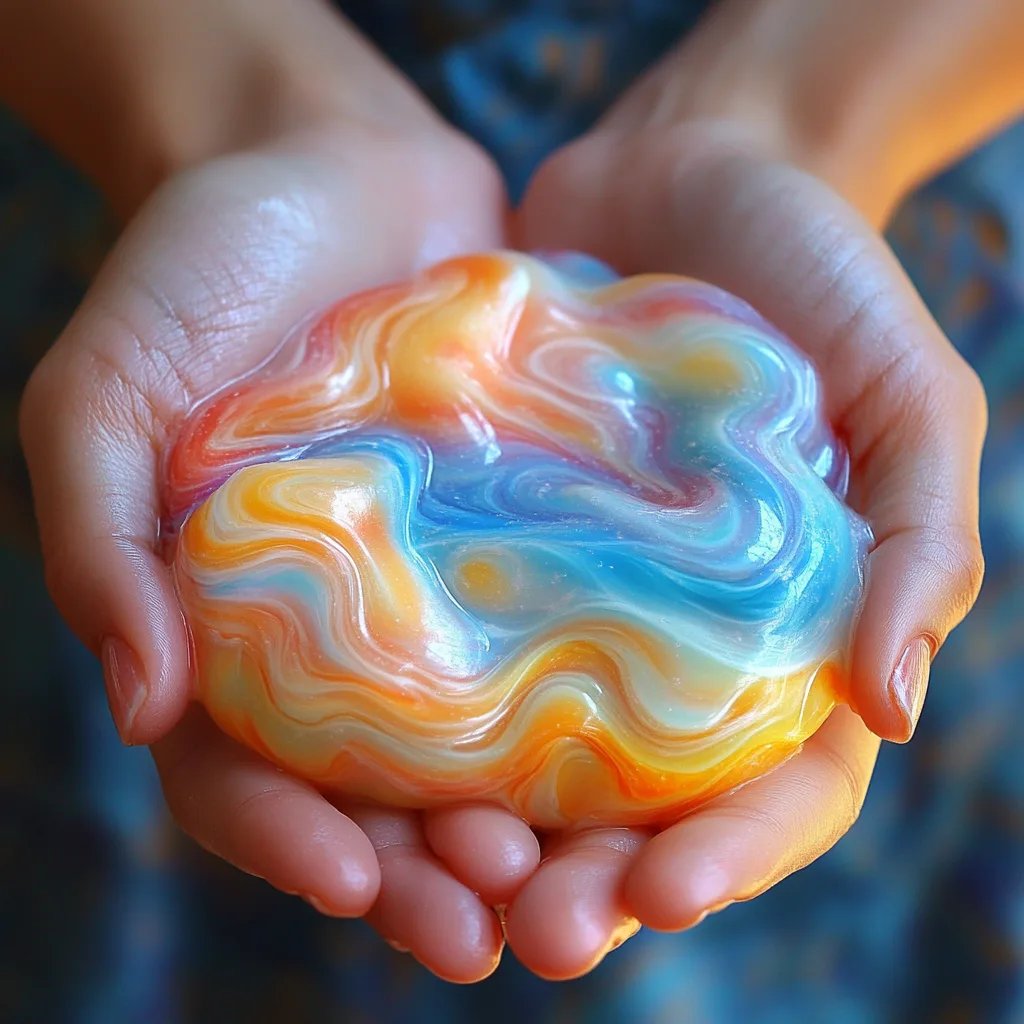
2. Customizable Colors and Textures: You can easily add food coloring or glitter to create various slime types.
3. Safe Ingredients: This recipe uses common household ingredients that are non-toxic and safe for children.
4. Quick Preparation: You can have this slime ready in about 10 minutes, making it a hassle-free activity.
5. Educational Value: Kids can learn about mixing, measuring, and the science behind slime creation.
6. Durability: This slime recipe provides a long-lasting product that can be stored for days of play.
These points highlight why No-Glue Soap Slime has become a favorite choice in many households. Its convenience, safety, and educational benefits make it a great addition to any child’s playtime.
Preparation and Cooking Time
Creating No-Glue Soap Slime is a quick process that can fit easily into your day. Below is an outline of the expected time commitment:
– Preparation Time: 5 minutes
– Mixing Time: 5 minutes
– Total Time: 10 minutes
This minimal time investment ensures that you can easily whip up a batch of slime even on busy days.
Ingredients
– 1 cup liquid soap (dish soap or body wash)
– 1/2 cup cornstarch
– 1 tablespoon water
– Food coloring (optional)
– Glitter (optional)
Step-by-Step Instructions
Making No-Glue Soap Slime is straightforward. Follow these easy steps to create a fun, slime experience:
1. Gather Your Supplies: Find a mixing bowl and measuring cups. Ensure you have all the ingredients at hand.
2. Pour Soap: Start by pouring 1 cup of liquid soap into the mixing bowl.
3. Add Cornstarch: Gradually add 1/2 cup of cornstarch to the liquid soap. Mix them together using a spoon or spatula.
4. Combine Water: If the mixture is too thick, add 1 tablespoon of water. Stir until well combined to reach your desired consistency.
5. Add Color: If you want colored slime, add a few drops of food coloring to the mixture. Continue to stir until the color is evenly distributed.
6. Mix-In Glitter: For added sparkle, toss in some glitter and mix it into the slime.
7. Knead the Mixture: If the slime feels too sticky, you can knead it with your hands for a few minutes until it reaches the right consistency.
8. Store Properly: Place the slime in an airtight container when not in use to keep it fresh for future play.
These steps will guide you in creating a delightful batch of No-Glue Soap Slime that is perfect for kids of all ages.
How to Serve
To maximize enjoyment with No-Glue Soap Slime, consider the following serving tips:
1. Play Station: Set up a designated play area to contain any potential mess. A large tray or table covered with a plastic tablecloth works well.
2. Cutlery for Play: Provide tools such as cookie cutters, plastic molds, and spoons for added creativity.
3. Sharing is Caring: Encourage group play. Kids can share their creations and mix colors and textures with friends.
4. Safe Cleanup: Keep wet wipes or a damp cloth handy to quickly clean any spills or residue.
5. Interactive Play Ideas: Suggest games that involve the slime, like slime sculptures or challenges to see who can make the biggest bubble.
By following these serving suggestions, you can ensure that the experience remains fun, engaging, and frictionless for everyone involved. Enjoy the sensory adventure that No-Glue Soap Slime offers!
Additional Tips
– Use Different Soap: Experiment with various types of liquid soap for unique scents and properties. This could provide additional sensory experiences for kids.
– Experiment with Textures: Try adding small beads, foam balls, or even shredded paper for different tactile sensations.
– Supervise Young Kids: Always supervise younger children while they play with slime, especially if they are prone to putting things in their mouths.
– Store Correctly: Always use an airtight container to keep your No-Glue Soap Slime fresh. Avoid exposing it to direct sunlight, as this could cause it to dry out.
Recipe Variation
Mix things up with these fun variations of No-Glue Soap Slime:
1. Scented Slime: Add fragrant oils, like lavender or lemon, to the soap for a delightful scent that enhances the sensory experience.
2. Glow-in-the-Dark Slime: Use glow-in-the-dark pigment or paint mixed in with the soap for a cool nocturnal slime experience.
3. Holiday-Themed Slime: For seasonal play, incorporate colors like red and green for Christmas or orange and black for Halloween.
Freezing and Storage
– Storage: Keep your No-Glue Soap Slime in an airtight container at room temperature. It can last for several days if stored correctly.
– Freezing: While it’s not ideal to freeze this slime, you can try placing it in the freezer for short periods if you want to extend its life. Thaw and knead it gently before use.
Special Equipment
To create No-Glue Soap Slime, you will need some basic tools:
– Mixing bowl: A medium-sized bowl works best for mixing your ingredients.
– Measuring cups and spoons: Accurate measurements help achieve the best slime consistency.
– Stirring tool: A spoon or spatula for mixing the ingredients seamlessly.
– Airtight container: For storing your slime when not in use.
Frequently Asked Questions
Can I use any type of soap?
Yes, any liquid soap will work, but softer soaps tend to yield better slime. Experiment to find your favorite type!
How long does the slime last?
If stored properly, No-Glue Soap Slime can last up to one week. Always ensure the container is sealed tightly.
Is No-Glue Soap Slime safe for younger children?
Yes, this slime is made from safe, non-toxic ingredients. However, supervision is advised for younger kids.
Can I make it ahead of time?
Absolutely! You can prepare it in advance for parties or playdates. Just keep it stored properly.
What if my slime is too sticky?
If it’s too sticky, knead it more with your hands, or add a bit more cornstarch to achieve the desired consistency.
Conclusion
No-Glue Soap Slime is not just a fun activity; it’s also an educational experience that engages children’s creativity and sensory skills. By eliminating the need for glue, this slime recipe provides a mess-free, safe, and enjoyable alternative to traditional slime-making. With a myriad of possibilities for customization, kids can create their unique slime experiences time and time again. This activity is perfect for playdates, parties, or simply a quiet afternoon at home. Happy sliming!