No-Glue Soap Slime: The Incredible Ultimate Recipe
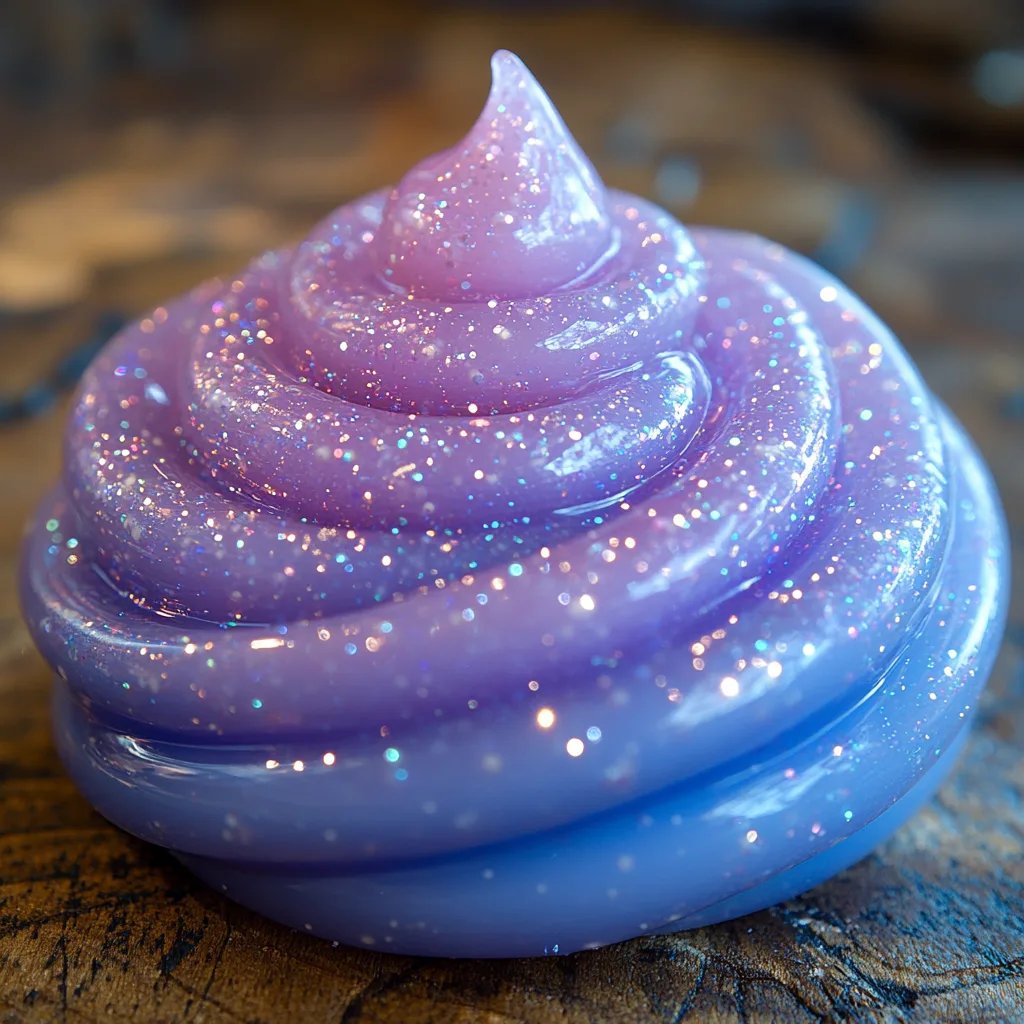
No-Glue Soap Slime is an amazing craft that promises hours of fun! This delightful concoction is not only appealing to the touch but also visually striking. It offers a fantastic way for both kids and adults to unleash their creativity. Imagine creating a vibrant, stretchy slime without the worry of messy glue. This is a game-changer for those who want to make slime easily and safely!
Crafting soap slime is an enjoyable activity with plenty of benefits. Not only do you get a fun hands-on experience, but you also get to engage in a scientific process. This slime is perfect for sensory play, a creative DIY project, or even a unique gift. Plus, the ingredients used are usually safe for kids, ensuring hours of worry-free playtime.
In this article, you’ll learn everything you need to know to make your very own No-Glue Soap Slime. We’ll cover why this recipe is a must-try, the preparation and cooking time, a comprehensive list of ingredients, and step-by-step instructions. Lastly, we’ll discuss how to serve and store your slime for maximum enjoyment. So, let’s dive into the wonderful world of No-Glue Soap Slime!
Why You’ll Love This Recipe
There are numerous reasons why No-Glue Soap Slime will become your favorite slime-making recipe. Here are just a few highlights that will make your experience even better:
1. Easy to Make: With minimal ingredients and straightforward steps, making this slime is a breeze.
2. No Messy Glue: Enjoy the slime-making process without dealing with glue spills or messes, making clean-up faster and easier.
3. Customizable: You can easily change the colors or add scents to personalize your slime, making each batch unique.
4. Safe and Non-Toxic: This recipe uses ingredients that are generally safe for children, allowing for fun sensory exploration without the worry.
5. Great for Sensory Play: The texture of this slime enhances sensory experiences, making it a fantastic activity for kids.
6. Educational Opportunity: Making slime helps kids learn about chemical reactions and textures while having fun.
Each of these points contributes to why this No-Glue Soap Slime recipe is so beloved by families and craft enthusiasts alike. Whether you’re a beginner or a seasoned slime expert, this recipe will not disappoint!
Preparation and Cooking Time
Creating No-Glue Soap Slime doesn’t take long at all! Below is a breakdown of the time you’ll need for preparation and mixing:
– Preparation Time: 10 minutes
– Mixing Time: 5-10 minutes
– Total Time: Approximately 15-20 minutes
This quick and fun slime-making process means you can enjoy your creation in no time!
Ingredients
– 1 cup liquid hand soap (clear or colored)
– 1 cup cornstarch
– Food coloring (optional)
– Essential oils (optional for fragrance)
– Lychee or any fun add-ins (like glitter or foam balls) to enhance the experience
Step-by-Step Instructions
Making No-Glue Soap Slime is simple, and these steps will help you master it:
1. Gather Your Ingredients: Start by measuring out all your ingredients and having them within reach.
2. Mix Soap and Cornstarch: In a large mixing bowl, combine the liquid hand soap and cornstarch together. Start with half the cornstarch, and mix well before adding the remainder.
3. Stir Thoroughly: Use a spoon or spatula to stir the mixture until it forms a dough-like consistency. It will begin to clump together as you mix.
4. Add Color: If desired, add a few drops of food coloring. Mix well until the color is evenly distributed.
5. Incorporate Scents: If you are using essential oils, add one or two drops for a pleasant smell. Stir again to blend.
6. Knead the Mixture: If your slime is too sticky, you can knead it with your hands for a smoother texture. Be sure to adjust by adding more cornstarch if needed.
7. Add Fun Mix-Ins: Incorporate any additional elements like glitter or small foam balls for added fun and texture.
8. Test the Consistency: If the slime is not stretchy enough, you may need to adjust the ingredients slightly, adding more soap or cornstarch until you achieve your desired consistency.
9. Store Properly: Once satisfied with the texture, store your No-Glue Soap Slime in an airtight container to maintain its freshness.
By following these steps, you’ll have deliciously squishy No-Glue Soap Slime ready for play!
How to Serve
To maximize enjoyment with your No-Glue Soap Slime, consider these serving suggestions:
1. Presentation: Use fun containers or jars to display your slime. Colorful jars can enhance the overall look and make it visually appealing.
2. Activity Stations: Set up different stations with various colors or scents of slime for a mini slime-making party.
3. Pair with Tools: Offer tools like cookie cutters, rolling pins, or small toys for added fun and creativity.
4. Storage Options: Store each type of slime in separate containers for easy access and to prevent mixing of colors.
5. Share with Friends: Consider making extra slime to share with friends or family. It’s a perfect gift for a birthday party or sleepover!
These tips will enhance the experience of creating, playing, and sharing your amazing No-Glue Soap Slime!
Additional Tips
– Use Liquid Soap Wisely: Select a liquid hand soap that is clear or lightly colored to enhance the visuals of your slime.
– Temperature Matters: The temperature of your ingredients can affect the slime’s consistency. Room temperature works best.
– Extra Add-Ins: Feel free to incorporate unexpected elements like small beads to create a sensory explosion!
– Storage Care: Ensure your slime is stored properly to maintain its squishy texture and prevent drying out.
Recipe Variation
Mix things up with these fun variations:
1. Scented Slime: Experiment with different scents by using various essential oils like lavender or citrus.
2. Glow-in-the-Dark Slime: Add glow-in-the-dark powder to your slime for an exciting twist!
3. Color Mixing: Create batches of different colors, and mix them together for a beautiful marbled effect.
4. Edible Slime: Try using edible soap for a fun twist — just ensure all ingredients are edible.
Freezing and Storage
– Storage: Keep your No-Glue Soap Slime in an airtight container at room temperature. This will help maintain its elasticity for several days.
– Freezing: While it’s not ideal to freeze slime, you can store it in the freezer for short periods. Just ensure it’s well-sealed in an airtight bag to avoid moisture buildup.
Special Equipment
The following tools will make your slime-making experience smoother:
– Large mixing bowl
– Spoon or spatula for mixing
– Measuring cups for accurate ingredient quantities
– Optional: Gloves for handling sticky slime
– Airtight container for storage
Frequently Asked Questions
Can I use any type of liquid soap?
While you can technically use any liquid soap, it’s best to stick to a clear or mild formula to achieve the best results.
How do I make my slime less sticky?
If your slime is too sticky, add more cornstarch gradually until you reach the desired consistency.
What’s the best way to clean up after making slime?
Wipe counters and tables with a damp cloth immediately after making slime to prevent any residual stickiness from setting.
Can I use this slime in crafts?
Absolutely! This slime can be used for various crafts or races for fun activities with friends.
Is this slime safe for young children?
Yes, the ingredients are generally safe. However, adult supervision is advised, especially for younger kids.
Conclusion
No-Glue Soap Slime is not just a creative outlet; it’s a wonderful way to enhance sensory play and encourage learning. With easy-to-follow instructions and customizable options, it’s a delightful way for both kids and adults to engage in crafting. Whether you treasure it for personal enjoyment or as a thoughtful gift, the joy of creating your own No-Glue Soap Slime is truly unmatched!