Melted Crayon Magic – Star Suncatchers: A Colorful Craft for Everyone
Hi there, fellow crafting enthusiasts! I’m thrilled to share one of my absolute favorite DIY projects with you today: Melted Crayon Magic – Star Suncatchers. If you’re looking for a fun, simple way to brighten up your space, this craft is perfect for you. With just a handful of supplies and a little bit of creativity, you can create beautiful, colorful suncatchers that catch the light in the most enchanting way.
What Are Melted Crayon Magic – Star Suncatchers?
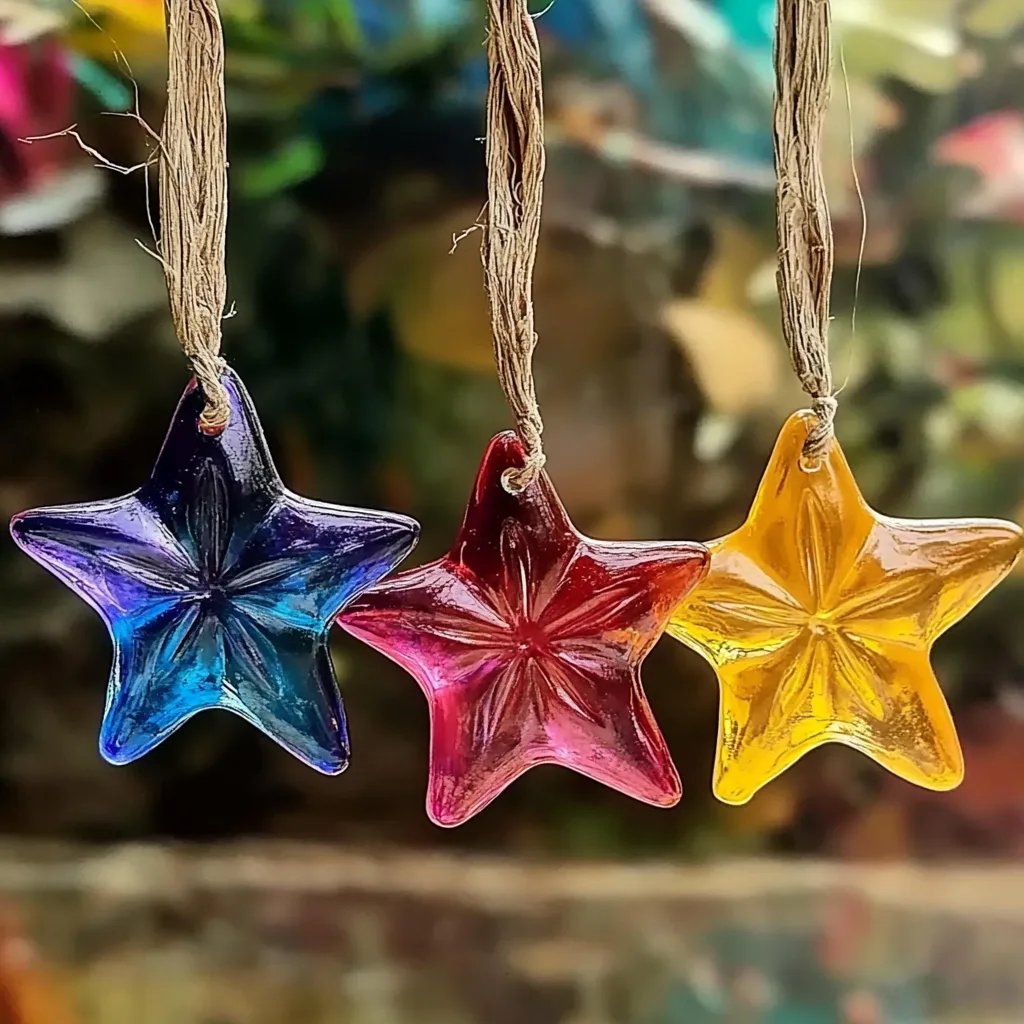
Melted Crayon Star Suncatchers are vibrant, translucent decorations made by melting crayons and pouring the melted wax into star-shaped molds. Once cooled and hardened, these suncatchers catch sunlight beautifully, casting colorful patterns across your walls. They’re a popular choice for kids and adults alike—not only for their aesthetic appeal but also for the nostalgia they evoke. You can hang them in your windows, give them as heartfelt gifts, or even use them as unique decorations for a party.
Why This Project Is So Much Fun
This project combines creativity with science. As you melt the crayons, you’re witnessing a physical transformation, and the result is not just visually stunning but also a wonderful way to spend time with friends or family. Plus, it’s a wonderful way to repurpose old or broken crayons that might otherwise end up in the trash!
What You’ll Need
Materials
- Old crayons (about 10-12 per suncatcher, depending on size)
- Star-shaped silicone molds (these can be easily found online or at craft stores)
- A baking sheet (to catch any spills)
- An oven (or a hot plate)
- Parchment paper (optional, for easy cleanup)
- A wire for hanging (you can use twine or fishing line)
- Spray adhesive or mod podge (optional, for extra shine)
Safety Gear
- Oven mitts (to handle the hot molds)
- Safety glasses (to protect your eyes in case of splatter)
Alternative Methods
If you’re looking for a more hands-on approach, you can also use a hot glue gun and crayon chunks to create your suncatcher. However, I find the oven method yields more consistent results!
Crafting Steps
Step 1: Gather Your Crayons
Start by collecting your old crayons. I find that a mix of colors makes for the most beautiful suncatchers, so don’t be shy about using vibrant reds, calming blues, and sunny yellows together! Peel the labels off, which can be a bit tedious but is essential for even melting.
Tip: Soaking the crayons in warm water for a few minutes can help loosen the paper.
Step 2: Preheat the Oven
Preheat your oven to 200°F (about 93°C). This low temperature ensures that the crayons melt evenly without burning.
Step 3: Prepare Your Molds
While the oven heats up, get your molds ready. If using silicone molds, there’s no need for greasing them, but if you’re using a metal mold, a light coat of cooking spray can help the suncatchers pop out easily once they’re cool.
Step 4: Chop Up the Crayons
Using a sharp knife or crayon sharpener, chop the crayons into small pieces. Aim for about 1/2 inch (1.27 cm) pieces. The smaller the pieces, the faster and more evenly they will melt.
Important Note: Keep an eye on your fingers—safety first!
Step 5: Fill the Molds
Now it's time to fill those molds with crayon pieces! Try to create a balanced mix of colors in each mold to achieve a beautiful gradient effect. You can also create color patterns by layering colors in the molds.
Step 6: Bake the Molds
Carefully place the molds on a baking sheet and put them in the preheated oven. Let them bake for about 10-15 minutes, but keep a close eye on them! You want the crayons to melt completely without bubbling. If you see any bubbles forming, it’s a sign that they’re getting too hot.
Step 7: Cool Your Suncatchers
Once melted, remove the baking sheet from the oven, and allow it to cool for about 10-15 minutes. Then, carefully place the molds in the refrigerator for another 15 minutes—this helps them harden faster.
Troubleshooting: If your suncatcher doesn’t come out easily, give it a gentle twist and nudge. A bit of wiggling often does the trick!
Step 8: Remove from Molds
Once the suncatchers are completely cool, gently push them out of the molds. If they seem stuck, warm the back of the mold a little with your hands or a warm cloth to help loosen them.
Step 9: Create a Hanging Mechanism
To hang your suncatchers, use a small drill or a hot glue gun to attach a small loop of wire or twine to the top of each star. This not only gives you an anchor for hanging but adds a touch of charm to your finished piece.
Step 10: Optional Finishing Touches
If you want to give your suncatchers extra shine, spray them lightly with adhesive or brush them with mod podge. Allow them to dry completely before hanging.
Different Variations to Try
- Shape Diversity: Instead of just stars, try using other shapes like hearts, circles, or even themed molds according to special occasions (e.g., Christmas trees for the holidays).
- Layering Colors: You can create layers by allowing a layer to cool slightly before adding the next color, creating a beautiful marbled effect.
- Seasonal Themes: Create suncatchers that reflect the seasons by using color schemes that match (e.g., pastel colors for spring, warm tones for fall).
Final Thoughts
There you have it, folks! Melted Crayon Star Suncatchers are not only a delightful project but also a chance to unleash your creativity and make something beautiful for your space. As you hang your finished suncatchers, you’ll be reminded of the simple joys of crafting. Whether you’re making them alone or with loved ones, I promise this project will light up your day—quite literally!
Remember, crafting is all about experimentation, so don’t hesitate to adjust these steps and make this project uniquely yours. Happy crafting, and may your creations shine bright!