Melted Crayon Art: An Incredible Ultimate Guide for 5 Easy Projects
Melted Crayon Art is not just a hobby; it’s an amazing form of creative expression that requires no prior artistic skills. This DIY art form allows you to unleash your imagination and transform ordinary crayons into stunning masterpieces. Whether you’re an experienced artist or a complete novice, you’ll find melted crayon art to be an enjoyable and rewarding activity. The vibrant colors and unique textures add a dynamic flair to any room, making it a fantastic way to elevate your home décor.
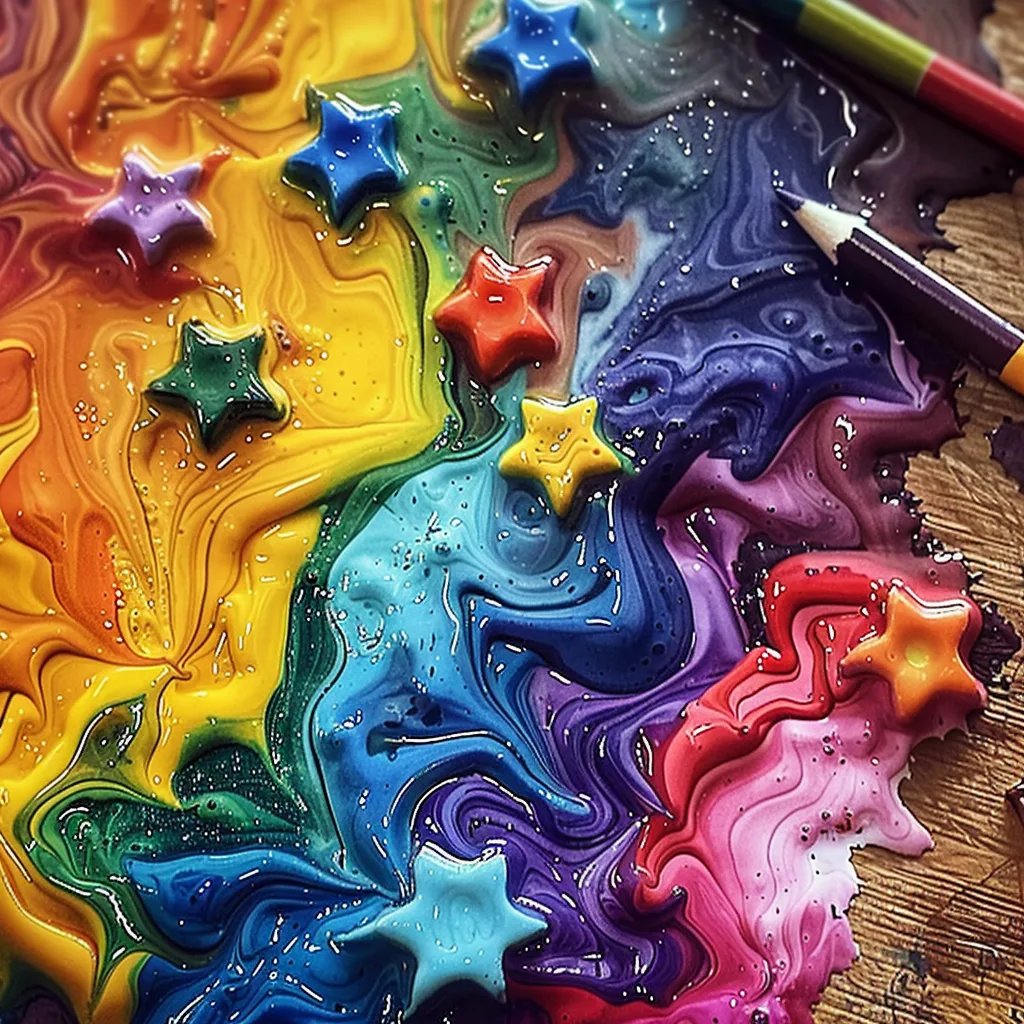
Imagine a blank canvas waiting for splashes of color, complemented by relaxing sounds of melting crayons. As the crayons drip and swirl, you can create stunning patterns and designs. Not only is this project suitable for adults, but children also love getting involved, making it a perfect family activity.
In this ultimate guide, you will learn about the various techniques, materials, and step-by-step approaches to create your own melted crayon artworks. By exploring the wide array of projects, you can find one that sparks your interest. From abstract pieces to themed artwork, there's something here for everyone. Let's dive into why this expressive art form deserves a spot in your creative endeavors!
Why You’ll Love Melted Crayon Art
Engaging with melted crayon art offers a multitude of benefits. Here are some reasons why you will love this vibrant and creative process:
- Easy to Execute: The beauty of this art form is its simplicity. With just a few materials, you can create wonderful art pieces.
- Unlimited Creativity: The possibilities are endless! You can experiment with different techniques and color combinations.
- Fun for All Ages: Whether you’re crafting alone or involving family and friends, everyone can join in the fun.
- Cost Effective: Most of the materials needed are inexpensive and readily available at home or local stores.
- Educational: This activity provides a wonderful opportunity to teach children about colors, blending, and creativity.
- Personalized Decor: You’ll have unique pieces that add a personal touch to your living space.
These factors show why melted crayon art is more than just a craft; it’s a joyful experience that everyone can participate in.
Preparation and Cooking Time
Creating Melted Crayon Art doesn’t involve cooking times, but preparation is still essential. Here’s a breakdown of the time it typically takes:
- Preparation Time: 15-30 minutes (depends on project complexity)
- Processing Time: 20-45 minutes (depending on the melting technique used)
- Cooling Time: 15-30 minutes (to ensure everything solidifies properly)
These times may vary based on the method you choose, so be prepared for some variations.
Ingredients
Here’s a list of essential materials you'll need to get started with your melted crayon art project:
- Crayons (various colors)
- Canvas or sturdy cardboard
- Hot glue gun and glue sticks
- Hairdryer or heat gun
- Baking sheet (if you're using an oven melting method)
- Parchment paper (for oven methods)
- Protective covering for your workspace (newspaper or plastic tablecloth)
With this straightforward ingredient list, you’re ready to create stunning works of art!
Step-by-Step Instructions
Creating your own melted crayon masterpiece is easy if you follow these step-by-step instructions:
- Select Your Canvas: Choose your canvas or cardboard base. Make sure it’s clean and dry.
- Choose Crayon Colors: Select a group of crayon colors that you’d like to use for your artwork.
- Secure Crayons: Use a hot glue gun to attach crayons to the top edge of your canvas. Arrange them in any pattern you like.
- Set Up Your Workspace: Lay down protective coverings in your workspace to prevent any mess while melting crayons.
- Melt the Crayons:
- Using a Hairdryer: Point the hairdryer at the crayons and gradually move it back and forth until they begin melting and dripping down the canvas.
- Using an Oven: Preheat your oven to 250°F (120°C). Place your canvas on a parchment-lined baking sheet. Put it in the oven for about 10-15 minutes until the crayons are soft and beginning to melt.
- Experiment with Techniques: You can tilt the canvas to control the flow of the melted wax for desired patterns. Feel free to use brushes to spread the melted crayon.
- Let It Cool: Once you’ve achieved the desired effect, set your artwork aside to cool completely before moving it.
- Display Your Artwork: Once cooled, hang or place your melted crayon art wherever you like to showcase your creativity.
These steps offer a basic guideline, but feel free to play around with techniques and styles to make your artwork truly unique!
How to Serve
To present your Melted Crayon Art beautifully, consider the following tips:
- Framing: Frame your artwork to enhance its visual appeal. A good frame can make any piece look more sophisticated.
- Positioning: Choose places with good lighting to display your art. Natural light can highlight the vibrant colors.
- Group Displays: Arrange several pieces together for an eye-catching gallery wall.
- Gift Idea: Melted crayon art makes a unique gifting option. Consider creating personalized pieces for friends and family.
By implementing these serving ideas, you’ll make your melted crayon art not just visible but a remarkable focal point in any area of your home!
Additional Tips
- Experiment with Layouts: Try different arrangements of crayons on the canvas for a unique look. Curved patterns or geometric shapes can yield interesting designs.
- Use Different Surfaces: Apart from a canvas, experiment with wood, cardboard, or even glass. Each surface can provide a different effect when crayons melt.
- Safety First: Always supervise children when using heat tools. It’s important to ensure everyone is safe while having fun with melted crayon art.
- Color Theory: Consider using complementary colors or analogous colors for more harmonious effects. Understanding color theory can enhance your artwork.
- Layering Techniques: After the first layer has cooled, consider adding additional layers of crayons to create depth and texture in your artwork.
Recipe Variation
There are numerous ways to add a twist to melted crayon art. Here are a few ideas:
- Layered Technique: Instead of melting all crayons at once, you can melt different layers in sequence. This allows you to create a gradient effect.
- Crayon Shavings: Use a sharpener to create crayon shavings. Sprinkle them on the canvas before melting for a fun, multicolored effect.
- Mixed Media: Combine melted crayon art with other media, such as watercolor or acrylic paints, for unique textures and effects.
- Themed Designs: Create specific themes for your artworks, such as holiday décor or seasonal scenes. Personalize for birthdays, anniversaries, or other special occasions.
Freezing and Storage
While melted crayon art doesn’t require freezing or storage in the traditional sense, here are tips on preserving your artwork:
- Display Space: Ensure that your artwork is displayed in a safe, dry area away from direct sunlight to prevent fading.
- Long-Term Storage: If you need to store your art, keep it flat in a protective sleeve or wrap it in tissue paper and place it in a cardboard box to avoid scratches.
- Cleaning: If your artwork gets dusty, gently wipe it with a soft, dry cloth. Avoid using water or cleaning products, as they can damage the wax.
Special Equipment
To create your melted crayon art effectively, consider gathering the following equipment:
- Heat Gun or Hairdryer: Essential for melting the crayons. A heat gun provides more control over the melting process.
- Parchment Paper: Useful if you opt for the oven method to catch the drips and minimize mess.
- Hot Glue Gun: Important for securely affixing the crayons to your canvas before melting.
- Protective Gear: Safety goggles and gloves are recommended, especially for children, to ensure a safe crafting experience.
- Drop Cloths: Protect your workspace with old newspapers or plastic cloths to ease cleanup after your project.
Frequently Asked Questions
Can I use any crayons for melted crayon art?
Yes, any wax crayons will work, but higher-quality brands may yield more vibrant colors and smoother melting.
Is melted crayon art safe for children?
Yes, but adult supervision is necessary when using heat tools. Ensure that children understand the safety precautions.
How long does the melted crayon art last?
If preserved properly and kept away from direct sunlight, melted crayon art can last for years.
Can I use other types of wax besides crayons?
Yes, you can experiment with other wax-based products, but crayons are the easiest and most accessible for beginners.
Can I create smaller pieces of art?
Absolutely! Melted crayon art can be created on a variety of sizes, from small coasters to large wall pieces, depending on your preference.
Conclusion
Melted Crayon Art is a delightful and imaginative way to express creativity. This art form provides countless opportunities for personalization and experimentation. With just a few materials, anyone can create stunning pieces that beautify any space. Furthermore, engaging in melted crayon art serves as a fantastic bonding activity for family and friends. So grab your crayons, prepare your canvas, and let your creativity flow!