Mastering the Art of Popping Boba: Your Ultimate DIY Recipe Guide
Hello, fellow crafting enthusiasts! I’m excited to share one of my favorite culinary projects with you today—making Popping Boba at home! If you’ve ever enjoyed the delightful burst of sweet juice landing on your tongue while sipping a bubble tea, you know exactly how enchanting these little spheres can be. Popping Boba is a trendy treat that adds not just a unique texture but also a flavorful twist to your drinks and desserts. In this guide, we’ll dive into the art of crafting your own Popping Boba, explore tips and tricks, and even navigate some common pitfalls along the way. So grab your apron and let’s get started!
What is Popping Boba?
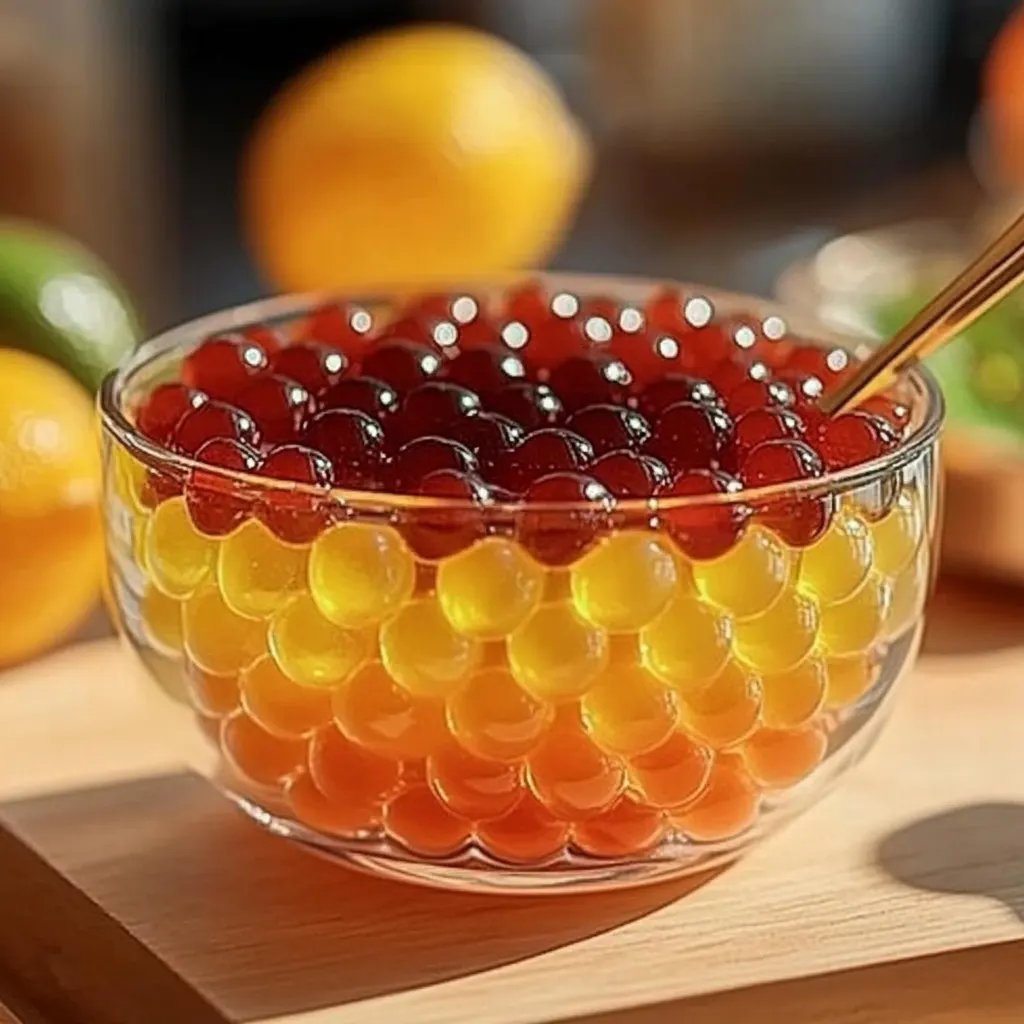
Popping Boba, also known as bursting boba, is a wonderfully playful addition to many beverages and desserts. Unlike traditional tapioca pearls, Popping Boba is filled with flavored juices that burst in your mouth, creating a delightful experience with every bite. This fun culinary creation is popular not only in bubble tea shops but also as a topping for frozen yogurt, ice cream, and creative cocktails.
It’s an incredibly versatile ingredient that can be used during summer BBQs, birthday parties, or any festive gathering—you’re bound to impress your friends and family with your skills!
Why Make Popping Boba at Home?
- Customization: You can experiment with flavors, colors, and even natural sweeteners to create a product that suits your taste.
- Quality Control: When you make it at home, you know exactly what goes into it. Commercial versions might have artificial colors or preservatives that you can avoid.
- Fun Activity: It’s a fantastic way to spend your afternoon, unleash your creativity, and learn something new.
Tools and Ingredients You’ll Need
Tools:
- Cooking Pot: For boiling.
- Whisk: For combining ingredients without lumps.
- Spoon: To scoop out your boba.
- Squeeze Bottle or Syringe: For shaping the boba.
- Strainer: To drain excess liquid.
- Bowl: For your set-up and mixing.
Ingredients:
- 1 cup of fruit juice: You can use any flavor you like, such as berry, mango, or passionfruit. Choose 100% juice for the best results.
- 1 tsp of agar-agar powder: This plant-based gelling agent is crucial for forming the boba.
- 1/4 cup of sugar: Adjust according to the sweetness of your juice.
- 1/2 cup of cold water: To mix with agar-agar.
- Calcium chloride: For the setting bath (this can be found at health food stores or online).
- 1 cup of water: For creating the bath.
Step-by-Step Tutorial
Step 1: Prepare Your Ingredients
Begin by gathering all your ingredients and tools. Measure out your fruit juice, agar-agar powder, sugar, and water. The preparation process is essential; having everything at hand will streamline the cooking process and prevent errors.
Step 2: Mix the Juice and Agar-Agar
In a saucepan, mix the 1 cup of fruit juice with 1 tsp of agar-agar powder and whisk until combined. Make sure there are no lumps, as they will affect the final texture of your boba. This mixture will form the outer layer of the boba.
Step 3: Heat the Mixture
Place the saucepan over medium heat while continuously stirring. Bring the mixture to a gentle boil, and keep stirring for about 2-3 minutes until the agar-agar completely dissolves and the liquid thickens slightly. Tip: Do not skip this step! If the agar-agar isn’t fully dissolved, your pearls may not hold together properly, causing them to fall apart.
Step 4: Create the Boba
Once your mixture is ready, remove it from the heat and let it cool slightly (not too much, as it should still be pourable). Using a squeeze bottle or syringe, carefully drip the mixture into a bowl of cold water mixed with calcium chloride. The drops will quickly form little beads that solidify upon contact. Be careful not to over-squeeze, as this can cause large blobs instead of round pearls!
Step 5: Set the Boba
Allow the pearls to sit in the calcium chloride bath for about 10-15 minutes. This step is crucial as it helps to solidify the outer layer while keeping the inside juicy.
Step 6: Rinse and Store
Once set, use a strainer to remove the boba and rinse them under cold water to remove the calcium chloride taste. You can store your freshly made Popping Boba in a simple syrup at room temperature or in the fridge for a week if you plan to use them later.
Common Issues and Troubleshooting
- Boba not popping: Make sure the agar-agar is completely dissolved before pouring. Also, the calcium chloride needs to be in sufficient concentration.
- Too sweet: Adjust the sugar level in the future, or opt for unsweetened juice for a natural taste.
- Blobs formed instead of pearls: This can happen if your drops are too large. Practice makes perfect—be patient and experiment with the size of your droplets!
Safety Considerations
While making Popping Boba is generally safe, always be cautious while handling boiling liquids and sharp tools like syringes. Additionally, ensure you’re using food-grade calcium chloride, as not all forms are safe for consumption.
Creative Variations
- Chocolate Boba: Use chocolate milk or mocha as your base.
- Herbal Boba: Infuse tea with basil or mint and adjust sweetness accordingly.
- Festive Colors: Use natural food coloring to create seasonal-themed boba for holidays.
Conclusion
Making Popping Boba is a fun and rewarding project that will elevate any drink or dessert. Once you master this technique, you’ll find endless possibilities for flavor combinations and creative uses. So embrace the mess, enjoy the process, and don’t be afraid to experiment! I hope my tips and guidance help you create a batch of boba that’s bursting with joy—both literally and figuratively! Happy crafting, and may your culinary journey be filled with delicious discoveries!