Making Underwater Magic Sand: A Fun and Engaging DIY Experiment
Welcome to my crafting corner! Today, I’m incredibly excited to share one of my favorite DIY experiments: making Underwater Magic Sand. This hands-on activity is perfect for all ages and provides a wonderful introduction to the principles of hydrophobic coatings and playful science. Whether you're a parent looking for an engaging activity to do with your kids or a teacher seeking a fun classroom project, this experiment will surely bring a splash of wonder and amazement.
What is Underwater Magic Sand?
Underwater Magic Sand, also known as hydrophobic sand, is a fascinating material that looks and feels like regular sand but boasts a superpower: it does not get wet! Instead of absorbing water, it repels it, allowing for some astonishing visual effects. This makes it popular for educational purposes, showcasing science concepts in a practical way, as well as for crafting and sensory play.
You can use Magic Sand for various occasions—family science nights, classroom demonstrations, summer camps, or even holiday gifts. Watching it perform its magic as it floats on water opens up a world of curiosity and excitement for both kids and adults alike!
Materials Needed
To make your own Underwater Magic Sand, you will need the following materials:
Basic Ingredients:
- Sand: Regular play sand, available at most craft stores or hardware stores.
- Hydrophobic coating: This can be achieved using silicone spray or adhesive (such as clear silicone sealant).
- Water: Regular tap water works just fine for this experiment.
Additional Tools:
- Plastic container: To mix everything together.
- Gloves: Recommended to keep your hands clean and safe, especially if using a silicone spray.
- Masking tape: Optional, for creating a designated workspace or for protecting areas you don’t want coated.
- Spray bottle: Optional, to apply water relatively easily once the magic sand is made.
Step-by-Step Tutorial
Now that you have your materials ready, let’s dive into the crafting season!
Step 1: Prepare Your Workspace
To create your Underwater Magic Sand, find a clean, dry workspace. Spray any surfaces with a protective covering, especially if using silicone sprays. This step ensures easy cleanup and prevents unwanted messes.
Step 2: Mix the Sand and Silicone Coating
In your plastic container, pour in about 2 cups of sand. With your gloves on, it’s time to apply the silicone coating. If using a spray, hold it about 6-8 inches away from the sand and evenly coat the sand in a thin layer. If using silicone sealant, squeeze a small amount into the sand and mix with a spoon—this can be messy, so take your time!
Tips & Tricks:
- Make sure the coating is applied evenly. You want each grain of sand to be coated with the silicone to ensure it will behave correctly underwater.
- If you think you’ve applied too much coating, you might see clumps forming. You can try to break these apart while mixing, but too much coating may lead to unsatisfactory results.
Step 3: Let It Dry
Once the sand is fully coated, spread it out on a tray lined with wax paper or parchment. Allow the sand to dry completely for about 24 hours. This step is crucial! If the sand isn’t dried fully, it won’t repel the water as intended, and you may end up with a soggy mess instead.
Step 4: Test Your Magic Sand
After the sand has dried, it’s time for the exciting part! Fill a container with water and sprinkle your dried Magic Sand on top. Watch in awe as the sand repels the water, creating amazing shapes and textures. You’ll see it float and even form beautiful patterns, showing off its unique properties.
What Could Go Wrong?
- If your sand gets soaked despite your efforts, it could mean there was insufficient silicone applied or it didn’t dry adequately. Don’t worry! Just re-coat it with silicone-based coating and allow it to dry again.
Step 5: Cleanup
Now it’s time for the cleanup! Remove any leftover sand and dispose of it appropriately. Make sure to clean any tools, containers, and your workspace since silicone can be tricky to remove if allowed to harden.
Safety Warnings
While this activity is relatively safe, a few precautions should be taken:
- Always work in a well-ventilated area, particularly when using aerosol sprays.
- Wear gloves to protect your skin from contact with silicone.
- Do not ingest any materials used in this experiment—this is strictly for play!
Personal Anecdote
I can’t help but chuckle when I remember the first time I did this experiment! An excited group of kids surrounded me, and when I demonstrated the sand’s water-repelling abilities, their eyes widened in disbelief. I vividly recall one little girl exclaiming, “It’s like magic!” Those moments are what I cherish as a crafter—seeing creativity ignite in others.
Creative Variations
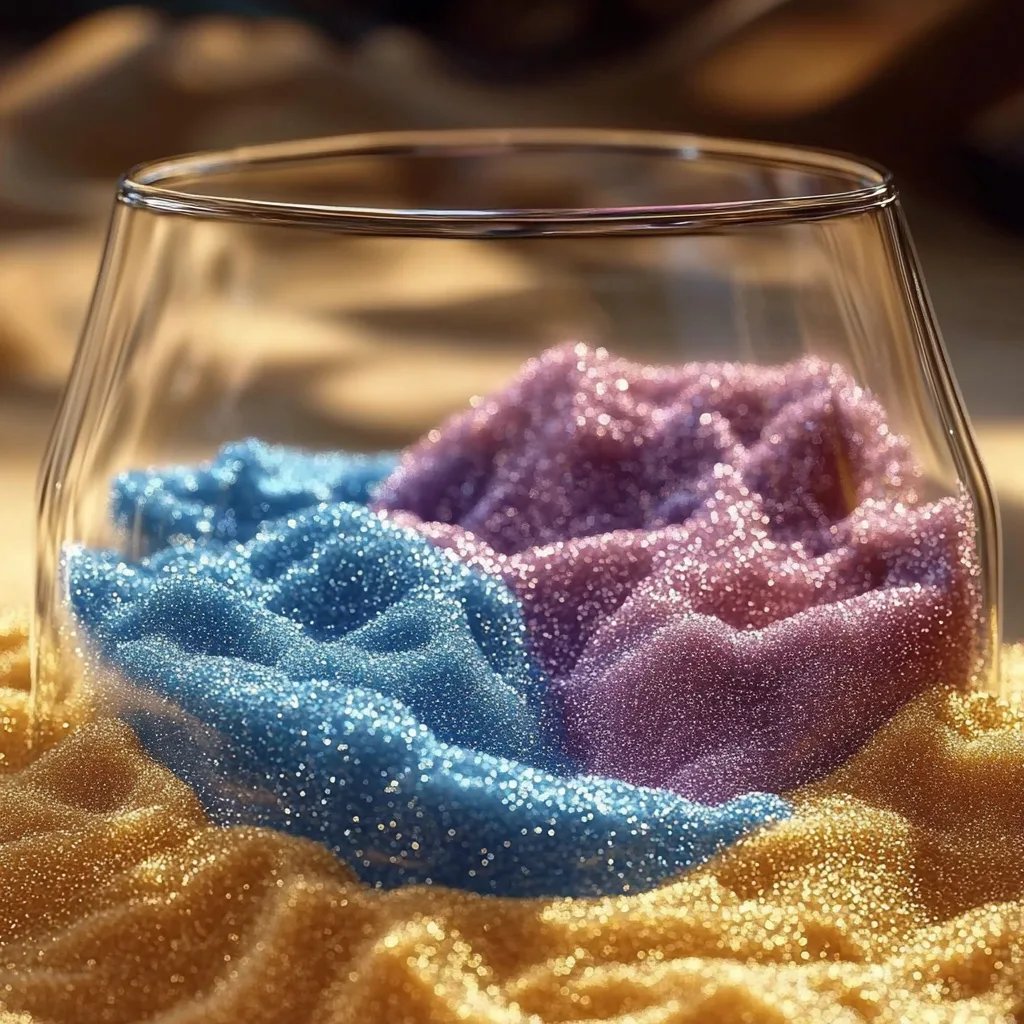
- Colorful Magic Sand: Feel free to add colored sand or mix in some non-toxic powdered colors before sealing the sand. This will create a vibrant underwater landscape.
- Sensory Play: Use different shapes, figures, or even mini-figurines in your water to transform this experiment into an engaging sensory adventure.
- Flooded Landscape: Create miniature landscapes and watch them become “flooded” as you pour water in, illustrating how landscapes interact with water in nature.
Conclusion
Creating Underwater Magic Sand is a rewarding experience that combines crafting with science in a unique way. With just a few materials and a sprinkle of patience, you can conjure up a wondrous plaything that captivates the imagination and promotes learning. Remember, the beauty of DIY lies in creativity—so feel free to innovate and make this project your own!
Happy crafting, and enjoy watching the magic unfold! If you have any questions or want to share your results, I’d love to hear from you in the comments below!