Illuminating Hearts and Homes: A Comprehensive Guide to Making Glowing Jar Crafts
Hello, fellow crafters! I'm thrilled to share one of my absolute favorite projects with you today—making beautiful glowing jars. These enchanting creations light up a room with a magical glow and are perfect for enhancing your home decor, creating whimsical outdoor settings, or even adding a touch of elegance to your events. Having made countless glowing jars over the years, I can confidently say they bring joy to both the maker and the beholder!
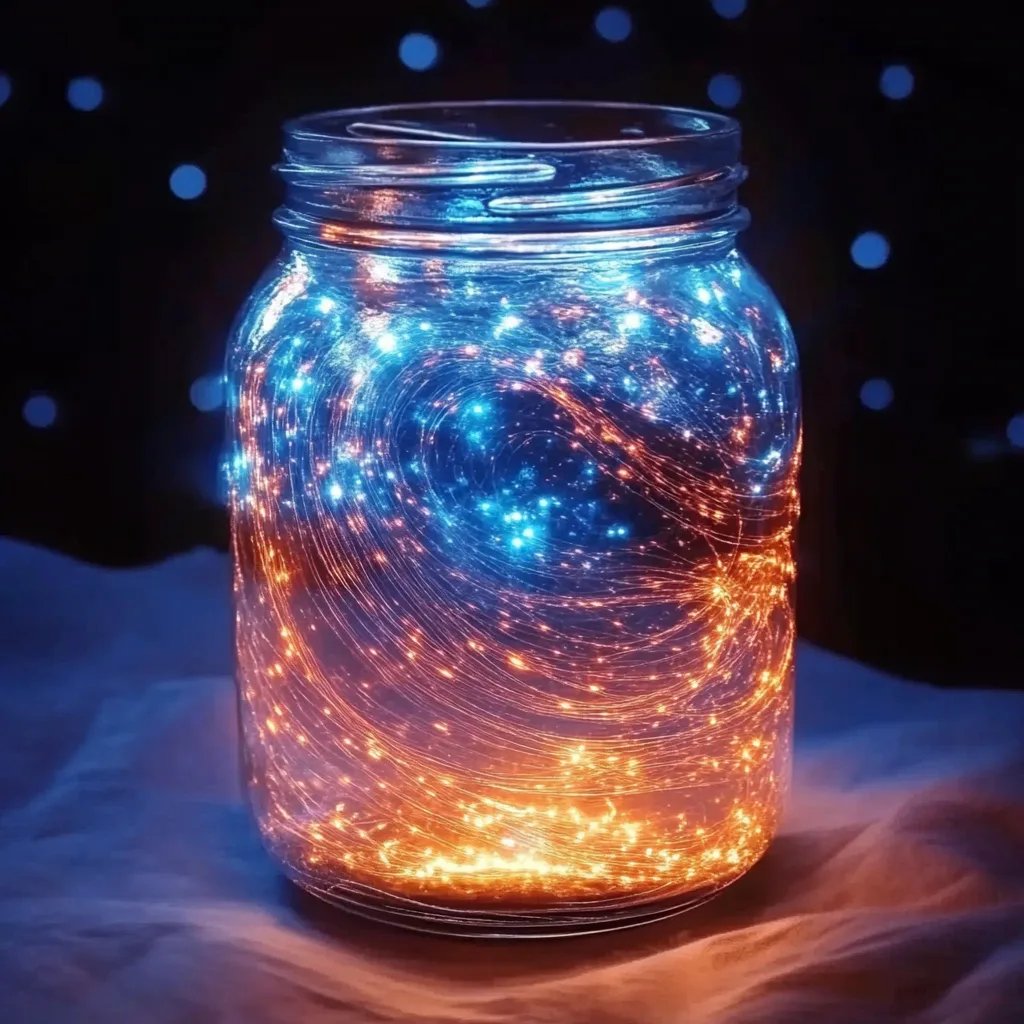
What Are Glowing Jars?
Glowing jars are decorative containers that emit a soft, enchanting light, often using glow-in-the-dark paint or gel. They can be created from a variety of materials, including glass jars, plastic containers, and even mason jars. Their popularity has soared not only because they add aesthetic appeal but also because they evoke a sense of nostalgia and childhood wonder—think fireflies in a jar!
Whether you're throwing a party, decorating your garden, or simply want to add some charm to your living space, these glowing jars are versatile and oh-so-beautiful. And the best part? They are incredibly easy to make!
What You Will Need
Before we dive into the step-by-step guide, let’s gather our supplies. Here’s what you’ll need:
Materials:
- Clean, empty jars (mason jars, glass jars from food products, etc.)
- Glow-in-the-dark paint or glow sticks (liquid or gel form)
- Paintbrush or sponge (if using paint)
- Water (if using glow sticks)
- Small LED tea lights (optional, for extra glow)
Tools:
- Paper towels or cloths (for cleanup)
- Mixing container (if diluting paint)
- Funnel or dropper (if using glow stick liquid)
Step-by-Step Tutorial
Step 1: Prepare Your Jars
Why This Matters: Ensuring your jars are clean and prepped sets the foundation for a successful craft.
Start by thoroughly cleaning and drying your jars. Remove any labels or stickers and wash them with warm soapy water. A clean surface will allow the paint (if used) to adhere better. Once cleaned, let them dry completely—this may take a little time, but it is so worth it!
Common Pitfall: If the jars are not cleaned properly, the paint might peel off or not adhere well. If you're facing stubborn residue from labels, soaking the jars in warm water can help.
Step 2: Apply the Glow-in-the-Dark Paint
Why This Matters: This step is crucial to achieving the desired glowing effect.
Using a paintbrush or sponge, apply glow-in-the-dark paint to the inside of your jar. Make sure to coat it evenly, ensuring there aren’t any missed spots for a smooth glow. If you want a more enhanced effect, apply multiple layers!
Tip: For a textured look, consider adding decorative elements like glitter or small dried flowers into the paint while it's still wet.
Common Pitfall: Using too much paint can lead to drips, leading to an uneven glow. If this happens, simply let it dry, sand it lightly once cured, and apply another coat carefully.
Step 3: Activate Your Glow
If you're using glow sticks, cut them open (wearing gloves is advisable) and pour the contents into your jar, mixing gently as needed. If you're using glow paint, let it sit under bright light (preferably sunlight) for several hours to charge.
Tip: To create a dreamy, radiant effect, consider mixing in a bit of clear craft gelatin before the paint sets!
Safety Warning: Glow sticks contain non-toxic chemicals, but it’s always best to handle them with care. Avoid contact with eyes, and if spilled, clean thoroughly with water.
Step 4: Let It Dry!
Now comes the tough part—waiting! Set your jars aside in a well-ventilated area. Depending on the paint's brand and thickness, drying time may vary from a few hours overnight.
Common Pitfall: Don’t peek too soon! Opening the jar during the drying process can disrupt the paint layer.
Step 5: Enjoy Your Craft!
Once your jars are fully dry, place them in your desired location. You can place small LED tea lights inside for an additional glow effect, or simply let the jars shine in their natural state.
Creative Variations and Personal Anecdotes
Feeling adventurous? There are endless variations to personalize your glowing jars! Try layering colors for a gradient look, or mix in natural items such as seashells or pebbles to add character. I've made a collection of jars with a ‘galaxy’ theme, using dark blue paint with glitter and small stars; they twinkled beautifully on my patio during summer nights!
Another variation I adore is creating themed jars—think spooky ghosts for Halloween or floral designs for spring celebrations. Each season, I love to refresh my display to match the changing moods.
Troubleshooting Tips
- Not glowing as expected? Ensure a good charge under direct light or consider adding another layer of paint to enhance brightness.
- Flaking or peeling paint? This could indicate improper cleaning of the jar. Try starting over with a fresh jar and ensuring it’s clean.
- Too much liquid from glow sticks? If your jar is too liquidy (which can happen), use a paper towel to absorb any excess without removing the design.
Final Thoughts
Though the process of making glowing jars requires patience, the end result is a whimsical decoration that brings warmth and charm to any space. Don't be afraid to experiment and make it your own!
As you embark on your glowing jar journey, remember that crafting is about the joy in creating and the memories made along the way. If you have any questions or want to share photos of your creations, I'd love to hear from you! Now go forth and let your glowing jars light up the world around you. Happy crafting!