How to Make Vibrant Layered Sand Art Bottles: Your Complete Guide
Hello, fellow crafters! Today, I'm super excited to share with you one of my favorite projects: making vibrant layered sand art bottles. This colorful craft not only brightens up any space but also serves as a wonderful creative outlet for both kids and adults alike. Whether you're looking to create a striking decoration for your home, a meaningful gift for a friend, or a fun activity to engage your kids during the weekend, sand art is always a hit!
What is Vibrant Layered Sand Art?
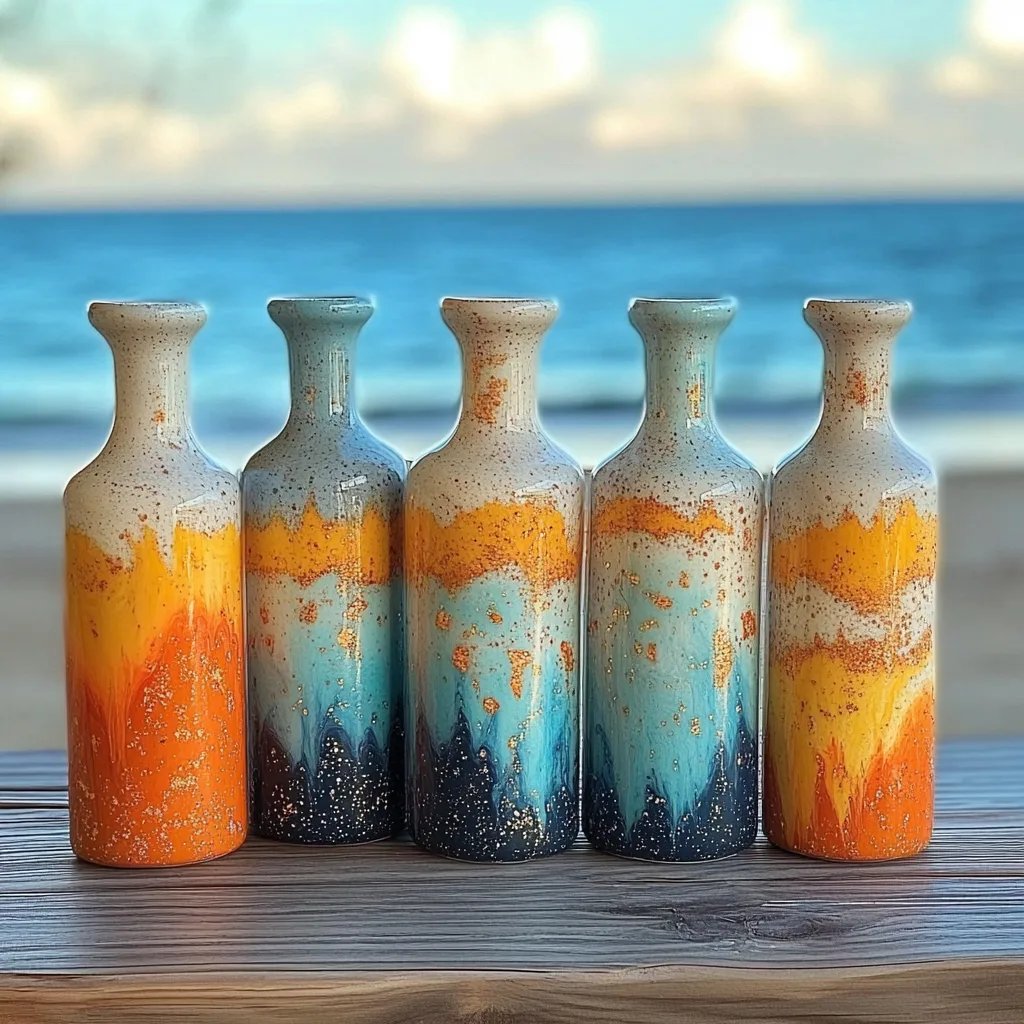
To put it simply, layered sand art bottles are clear containers filled with colorful sand arranged in beautiful patterns. The contrast of the different shades creates a mesmerizing visual effect that’s sure to invoke smiles and spark conversations. Ideal for parties, craft fairs, or just good old family fun, these sand art bottles also make for lovely centerpieces or party favors.
Why It’s Popular:
The appeal lies in its simplicity and versatility. It’s a fantastic way to unleash your creativity, you have total control over the colors, patterns, and shapes. Plus, making it is a tactile experience that engages all of our senses, making it incredibly enjoyable.
What You'll Need
Materials
- Colored Sand: You can buy pre-colored sand or make your own (more on this below!)
- Clear Glass or Plastic Bottles: Pick unique shapes for added flair—think vases, jars, or even recycled bottles.
- Funnels: To help pour the sand neatly into the bottles.
- Spoons: For scooping, if you need something smaller than your funnel.
- Craft Stick: For packing down the sand as you layer.
- Paper Towels: To catch spills or clean up excess sand.
Optional Materials
- Glitter: For extra sparkle!
- Essential Oils: Infuse your bottles with a lovely aroma by adding a few drops.
- Decorative Ribbon or Twine: To tie around the neck of the bottle for an extra touch of flair.
- Small Shells or Trinkets: These can be layered within the sands for unique designs.
Getting Started: A Step-by-Step Guide
Step 1: Gather Your Materials
Before getting your hands dirty, it’s important to gather all your materials. I like to set everything up on a large table covered with an old sheet to catch any spills. Make sure you’re in a well-lit, ventilated area.
Step 2: Create Your Colored Sand
If you’re opting for DIY colored sand, here’s how to make it:
- Get some regular sand or salt (non-toxic is a must if kids are involved).
- Add food coloring: A few drops will usually suffice; mix well until you achieve your desired color.
- Dry the sand: Spread it out on a baking tray and let it sit in the sun for a few hours, or place it in the oven on low heat for 10-15 minutes to ensure the color sets well.
*Tip:* Be cautious with food coloring—it can stain surfaces, so use an apron and protect your workspace!
Step 3: Layering the Sand
Now the fun begins! Here’s how to create those stunning layers:
- Prepare Your Bottle: If using a funnel, pop it into the opening of the bottle.
- Start with the First Layer: Begin by pouring in your first color of sand. Use a spoon or funnel to control the flow and avoid overfilling.
- *Pro Tip:* Use your craft stick to help pack the sand down gently. This creates a more defined layer.
- Switch Colors: After your desired height for the first color, add another layer. To achieve clean separation, gently pour the next color along the edge of the funnel or bottle neck, allowing it to run down slowly.
- *Common Pitfall:* If you pour too quickly, colors may mix. If that happens, simply let that layer dry and add another clean layer on top once it’s settled.
- Repeat: Keep alternating colors and packing them down until you reach the top. Don’t be afraid to get creative with your patterns—stripes, waves, and even swirls can be produced with careful pouring.
Step 4: Finishing Touches
Once your layers are complete, remove the funnel and gently tap the bottle to settle everything. If you want to secure your art piece, you can apply a layer of glue on the opening and cover it with a cork or cap. For an added touch, tie a ribbon around the neck of the bottle.
Step 5: Displaying Your Art
Find the perfect spot for your stunning piece! Whether it’s on a windowsill catching sunlight or as a vibrant centerpiece on your dining table, your sand art bottle is sure to shine.
Troubleshooting Common Issues
- Spills Everywhere: Sand can be messy! Keep extra paper towels on hand. If you spill, just collect the sand and reintroduce it into your container.
- Colors Bleeding: If your layers mix, let them dry before adding a new layer. When in doubt, go slow—patience is the key to avoiding unwanted mingling of colors.
Personal Anecdotes & Creative Variations
I vividly remember my first attempt at sand art. I was excited to create a gorgeous sunset transition, but rushed the layering and ended up with a brownish blob midway through! 🥲 I quickly learned the importance of patience and finesse.
You can experiment with different textures by mixing fine sand with coarse sand for interesting patterns. You could also collect colored sand from different beaches during your travels, giving your piece a unique story.
Creative Ideas to Consider:
- Theme-Based Bottles: For holidays or seasons—think red and green for Christmas or pastel shades for Easter!
- Incorporate Personal Mementos: Place small items such as beautiful stones or dried flowers within the layers for added character.
Safety Notes
- Keep materials out of reach of young children, particularly if using small items like shells.
- If using essential oils, ensure no one has allergies to them.
Conclusion
Creating vibrant layered sand art bottles is more than just a simple craft; it’s an experience that can rekindle creativity, spark joy, and create lasting memories—whether alone or with loved ones. I hope this guide inspires you to dive in and have fun with it! Remember, there are no mistakes in crafting—only opportunities for creativity. So gather your materials, unleash your imagination, and let’s create some magical sand art together! Happy crafting! 🌈✨