How to Make Unicorn Crunchy Slime: A Guide to Whimsical Crafting
Hey there, fellow crafters! Today, I want to dive into one of my all-time favorite crafting adventures—making Unicorn Crunchy Slime. If you haven’t heard about it yet, let me tell you, this delightful creation is not just a simple slime; it’s an explosion of colors and textures that captivates the imagination of both kids and adults alike. It’s become incredibly popular because it’s so sensory and satisfying—perfect for stress relief, sensory play, or just plain fun!
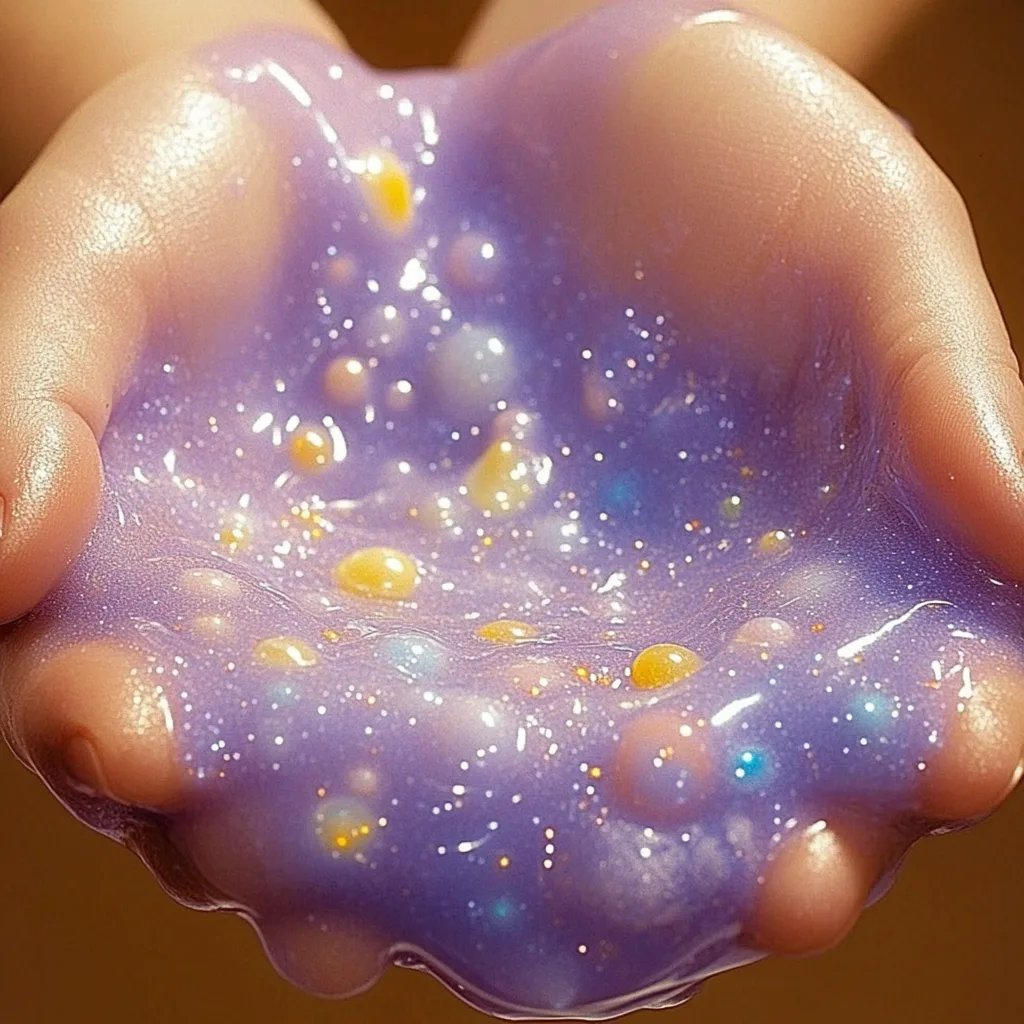
Unicorn Crunchy Slime is a magical concoction that embodies everything whimsical and sparkly. Imagine swirling pink, purple, and blue hues, topped with crunchy foam beads that provide an addictively satisfying texture. This slime can be used for various occasions: birthday parties, playdates, or even as a fun DIY gift for friends. It’s versatile, wonderfully tactile, and a great way to express creativity!
Now, let’s roll up our sleeves and dive into the crafting process. I've got all the insider tips, tricks, and detailed steps you need to create your very own Unicorn Crunchy Slime. Let’s make some magic!
Materials You'll Need
Before we jump into the steps, here’s a comprehensive list of materials you’ll need. Don’t worry; most of these are easily accessible, often found at craft stores or even the grocery store!
- White school glue (Elmer's Glue): 1 cup
- Liquid starch: 1/2 cup
- Baking soda: 1/2 teaspoon
- Foam beads: 1-2 cups (for added crunch)
- Food coloring: Pink, blue, and purple (or any colors you'd like!)
- Glitter: Optional but highly recommended for the added magical effect
- A mixing bowl
- A spatula or spoon for mixing
- An airtight container for storage
Step-by-Step Tutorial on Creating Unicorn Crunchy Slime
Step 1: Mixing the Base
Start by pouring 1 cup of white school glue into a mixing bowl. The glue serves as the base of our slime and gives it that stretchy quality we all love.
Why This Matters: School glue is specifically designed for crafting purposes, so it creates a robust flattened base for our slime. If you use nothing but plain water, you'll end up with a gooey mess that won’t hold together.
Common Mistake: Don’t skip measuring the glue! Too much or too little can affect the slime's consistency.
Step 2: Adding Color and Glitter
Now comes the fun part—adding color! Add a few drops of your first food coloring to the glue. I usually start with pink. To give it an enchanting sparkle, sprinkle in some glitter (this is optional but can really enhance the “unicorn” aesthetic).
Tip: If you want the colors to mix beautifully, go easy on the food coloring at first. You can always add more if needed. Just remember, a little goes a long way!
Step 3: Incorporating Baking Soda
Once you’re satisfied with the color, sprinkle in 1/2 teaspoon of baking soda and stir well.
Why This Matters: The baking soda acts as a thickening agent, helping bind everything together for that perfect slime consistency.
What Could Go Wrong: If the slime feels too firm, you might have added too much baking soda. You can fix this by gradually adding a tiny bit more glue.
Step 4: Activating the Slime
Next, slowly pour in 1/2 cup of liquid starch while stirring continuously. It’s key to go slow here; you’ll see the slime beginning to form.
Importance of This Step: Liquid starch is the activator that turns your gooey mixture into slime. Too quick of a pour can lead to an overly activated slime that’s hard to work with.
Troubleshooting: If you find that your slime is sticky, try adding a bit more of the liquid starch, a teaspoon at a time, until you reach your desired consistency.
Step 5: Kneading the Slime
Once you see that slime begin to pull away from the bowl, it’s time to take it out and start kneading. This is where the magic really happens!
Why Kneading?: Kneading helps to mix all the ingredients thoroughly and allows the slime to reach its full stretchy potential.
Tip: If the slime is still sticky after kneading for a few minutes, sprinkle a small amount of cornstarch – a little at a time – until you achieve a smoother texture.
Step 6: Customize with Crunchy Foam Beads
Now, for my favorite part: adding the crunchy foam beads! Gently fold in 1-2 cups of foam beads until evenly distributed.
Importance: This is what gives your Unicorn Crunchy Slime its delightful texture and that satisfying crunch.
Step 7: Final Touches and Storage
After mixing in all the ingredients and textures, your slime should be ready to play with! Store it in an airtight container when you're not using it to keep it fresh and prevent it from drying out.
Creative Variations
Feeling adventurous? Here are some unique twists you could try:
- Layered Slime: Create different layers in your slime using separate colors and stacking them to make a rainbow effect.
- Scented Slime: Add a few drops of essential oils to make your slime smell magical, like cotton candy or vanilla!
- Theme Slime: Adjust colors and shapes based on themes—like blue and white for a winter slime or orange and black for Halloween.
Safety Tips
While this project is generally safe, here are a few important safety warnings:
- Always supervise younger children while crafting.
- Avoid ingesting any of the materials, especially if there are younger siblings around.
- Store slime out of reach when not in use, particularly if you have pets or very young children.
Final Thoughts
Making Unicorn Crunchy Slime is more than just a crafting project; it's an experience! From the sensory delight of mixing colors to the satisfaction of kneading slime, it fosters creativity and fun.
I hope this guide inspires you to create your very own batch. Remember, crafting is about experimenting! Don’t be afraid to deviate from my instructions or put your personal twist on the slime. The most important thing is to have fun—after all, crafting is just as much about the journey as it is about the finished product!
Happy crafting, and may your slime be eternally crunchy and oh-so-sparkly! 🌈✨