How to Make Treasure Rocks Fizzing Activity: An Exciting DIY Craft for All Ages
Hi there, crafty friends! Today, I’m thrilled to share with you one of my all-time favorite activities to do with kids (or even for some solo creative time): making Treasure Rocks that fizz and bubble! This delightful craft combines the excitement of a treasure hunt with the wonder of a simple chemical reaction, resulting in a fizzy explosion of fun. Whether you’re planning a birthday party, looking for a rainy day activity, or just want to introduce a little science into your crafting, this project is perfect for you.
What Are Treasure Rocks?
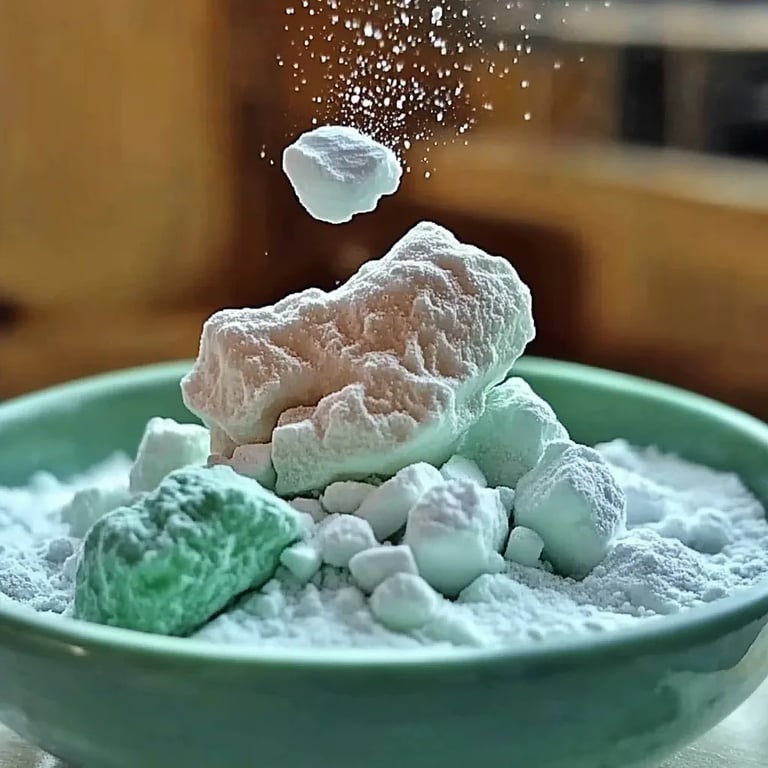
Treasure Rocks are essentially rock-shaped bath bombs that contain baking soda and citric acid, creating a fun fizzing reaction when they come into contact with water. But what makes them truly special is the surprise element! Inside these rocks, you can hide small treasures (like plastic gems, coins, or toys), waiting to be uncovered.
This craft has gained popularity because it's educational, entertaining, and allows for personalization. Kids love the anticipation of what treasure they’ll find, while adults enjoy the artistic aspect of shaping and decorating the rocks.
When to Use Treasure Rocks
Treasure Rocks are perfect for various occasions:
- Birthday parties: As a party activity or favor.
- Craft time: Rainy days or when you need something fun to keep the kids occupied.
- Learning opportunities: Great for introducing kids to basic chemistry concepts in a fun way.
- Gifts: Handcrafted goodies for friends or family.
Materials Needed
Before we jump into the fun part, let’s gather all the materials you’ll need:
- Dry Ingredients:
- 1 cup baking soda
- ½ cup citric acid
- ½ cup Epsom salt (or regular salt)
- ½ cup cornstarch
*These ingredients ensure the fizzing action when the rocks meet water.*
- Wet Ingredients:
- 2 tablespoons water (might need more or less, depending on the humidity)
- 2 tablespoons essential oil (optional, for fragrance)
- Food coloring (optional, for visuals)
- Extras:
- Small treasures (plastic gems, coins, mini figurines)
- Silicone molds or ice cube trays
- Mixing bowl
- Whisk or spoon
- Protective gloves (optional for sensitive skin)
Step-by-Step Tutorial
Step 1: Mix Your Dry Ingredients
In a large mixing bowl, combine 1 cup of baking soda, ½ cup of citric acid, ½ cup of Epsom salt, and ½ cup of cornstarch. I recommend using a whisk for this step—it helps break up any lumps and ensures that all the dry ingredients are evenly mixed.
Why This Matters: Proper mixing ensures that the reaction occurs evenly when the rocks are used, leading to a consistent fizzing effect.
Common Mistake: Not mixing the dry ingredients thoroughly could lead to uneven fizzing. If you see lumps, consider sifting them to prevent this.
Step 2: Add the Wet Ingredients
Now, in a separate small bowl, combine 2 tablespoons of water, 2 tablespoons of essential oil (if using), and a few drops of food coloring. Slowly drizzle this mixture into your dry ingredients while whisking continuously. You want to avoid adding all the liquid at once, as too much moisture can cause an immediate reaction.
Tip: Aim for a consistency similar to damp sand. It should hold its shape when squeezed in your hand but shouldn’t be soggy.
Step 3: Pack the Mixture into Molds
Once your mixture is at the right consistency, it’s time to pack it into your molds. I like to use silicone molds because they make it easy to pop out the finished product without breaking.
Why This Matters: Packing the mixture tightly is crucial; if it's too loose, your rocks may crumble instead of holding their shape.
Common Mistake: Not packing tightly can result in fragile rocks. If they crumble when removing from the mold, use a bit more moisture on your next batch.
Step 4: Add the Treasure
Before sealing off the tops of your molds (if applicable), place small treasures into the center of each rock—about halfway down works well. Cover them with another layer of the mixture to ensure they’re well hidden.
Tip: You can curate themed treasures depending on the occasion—dinosaur figures for a dino-themed party or shiny coins for a pirate adventure!
Step 5: Drying Time
Let your rocks dry for at least 24 hours. If your environment is particularly humid, they may take longer. Once they are dry, gently remove them from the molds.
Common Mistake: If they stick to the mold, try placing them in the freezer for about 10-15 minutes, as this can help them release more easily.
Step 6: Testing Your Fizz
Now comes the moment of truth! Fill a bowl or a basin with water, and drop in one of your beautifully crafted Treasure Rocks. Watch as it fizzes and reveals the hidden treasures inside.
Safety Warning: Although the ingredients are safe, avoid contact with eyes and don’t ingest the mixture.
Troubleshooting Common Issues
- Bubbles in Mixture: If you notice too many bubbles while mixing, you might have added too much liquid too quickly. Re-add some dry ingredients to balance it out.
- Rocks Crumbling: If they fall apart after drying, they may have been too damp or loose in the mold. In the future, try tweaking your dry-to-wet ratio slightly.
Creative Variations
- Add Glitter: For extra sparkle, mix in some biodegradable glitter.
- Color Layers: Layer different colors of the mixture in the molds for a beautiful striped effect.
- Themed Sets: For holidays or events, shape the rocks into seasonal symbols (like hearts for Valentine’s Day or pumpkins for Fall).
Final Thoughts
Making Treasure Rocks is a wonderfully engaging and educational activity that combines crafting and chemistry. As you embark on this fizzing adventure, remember to encourage the creativity in everyone involved. Each kid (or adult) will have their unique take, adding personal touches to their rocks.
Don’t forget to share your treasure-finding experiences with friends and family! Encourage them to join in the fun, create their own variations, and, most importantly, enjoy the joy of crafting together.
If you loved this activity as much as I do, be sure to check out more of my crafting tutorials, and happy crafting!