How to Make Tie-Dye Bouncy Balls: A Fun and Creative Craft Project
Hello, fellow crafters! Today, I’m excited to share with you one of my absolute favorite DIY projects: making tie-dye bouncy balls! These colorful creations are not only a joy to make, but they also make fantastic gifts and are perfect for all sorts of occasions, from birthday parties to rainy day fun. There’s something incredibly satisfying about watching your own handmade bouncy balls spring to life, and the added twist of a vibrant tie-dye design takes them to a whole new level.
Why Tie-Dye Bouncy Balls?
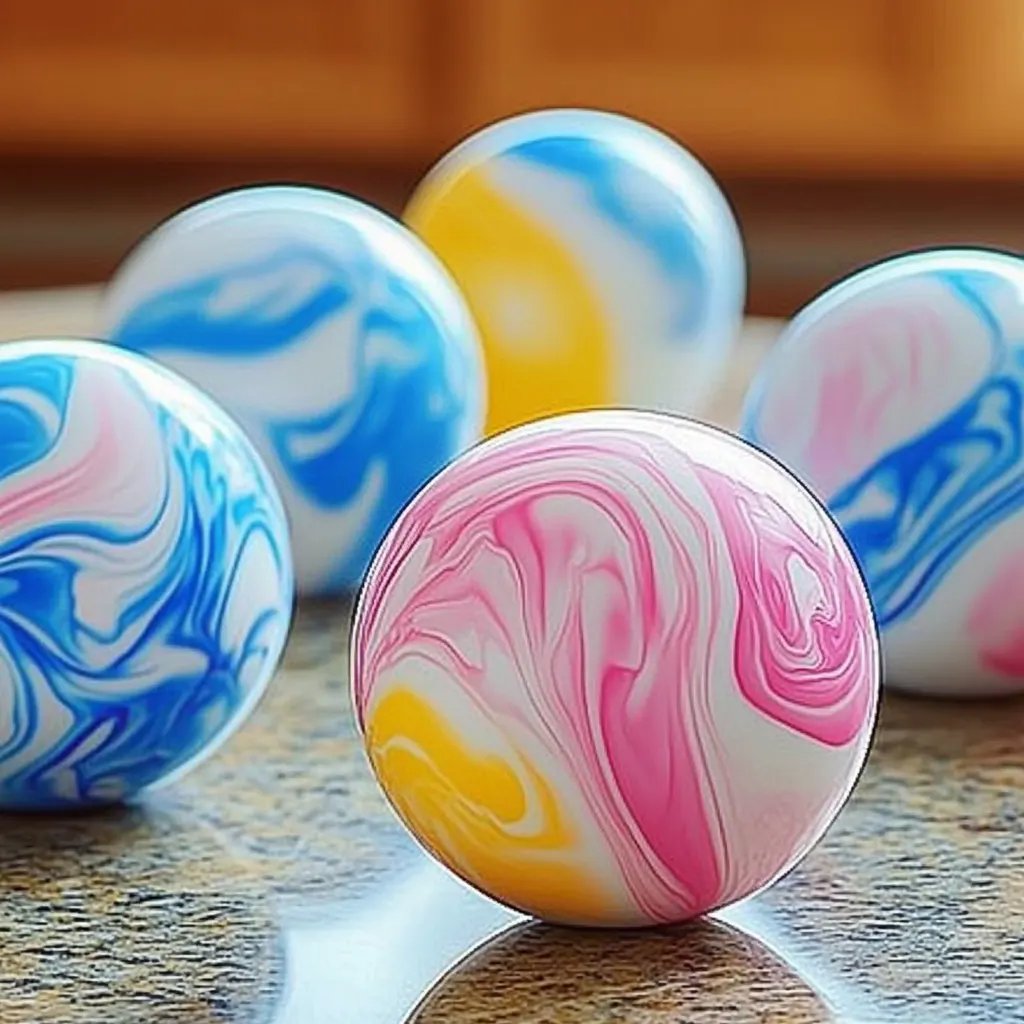
Bouncy balls have been a classic toy for generations, but when you turn them into a tie-dye spectacle, they become something truly special. The fun of watching vibrant colors swirl and meet creates a unique ball that reflects your creativity. These bouncy balls are not only delightful to play with but can also be used as stress relief, decoration, or even as part of a playful science experiment (think trajectory physics!). Whether you’re crafting with kids or looking to channel your inner artist, making tie-dye bouncy balls is sure to be a hit.
What You'll Need
Before we dive into the step-by-step process, let’s gather our materials. I promise, these supplies are quite simple to find and you may already have many of them at home!
Essential Materials:
- White PVA Glue (Elmer’s glue works great) – 1 cup
- Cornstarch – 1/2 cup
- Baking soda – 1/2 teaspoon
- Water – 1/2 cup
- Food coloring or liquid watercolors – assorted colors
- A mixing bowl and spoon
- Protective gloves (optional, but recommended)
- Wax paper or a silicone baking mat
- Plastic storage bags (optional for colors)
Optional Tools:
- Measuring cups/spoons
- Empty squeeze bottles (for more precise control with colors)
- A rolling pin (for smoothing the balls, if needed)
Step-by-Step Tutorial
Step 1: Preparing the Base Mixture
In our first step, we’re going to create the base for our bouncy balls.
Why this step matters: The glue acts as the primary binding agent while cornstarch provides the bounce. If you don’t mix these correctly, your bouncy balls can turn out too soft or not bouncy enough.
Instructions:
- In your mixing bowl, combine 1 cup of white PVA glue with 1/2 cup of water. Stir until fully blended.
- Add 1/2 cup of cornstarch and 1/2 teaspoon of baking soda to the mixture. This is where the bounce comes from!
- Mix it thoroughly until the ingredients are fully integrated. The mixture should be smooth without any lumps.
Common Mistakes and Fixes: If your mixture is too runny, add a touch more cornstarch. If it’s too thick, add a little more water. Just remember: you want a thick but somewhat fluid consistency.
Step 2: Dividing and Dyeing
Now comes the fun part—getting colorful!
Why this step matters: Dividing the mixture allows you to create your unique tie-dye patterns.
Instructions:
- Pour the base mixture into several small cups or bowls—enough to create separate colors.
- Add drops of food coloring or liquid watercolors to each cup. Start with about 5-10 drops and mix well.
- For a classic tie-dye effect, use a toothpick to swirl the colors gently without fully blending them. This step is crucial for achieving those vibrant, swirly patterns.
Tips: Using squeeze bottles to apply the dye offers better control and can lead to more intricate designs.
Step 3: Forming the Bouncy Balls
Once you’re satisfied with your colors, it’s time to bring it all together.
Why this step matters: Properly forming the balls ensures they hold their shape and bounce well.
Instructions:
- Using your hands or a spoon, scoop small amounts of the colored mixture and start rolling them into balls. Aim for a size similar to a ping pong ball.
- If the mixture is too sticky, dust a little cornstarch on your hands. This allows for a smoother rolling experience.
Professional Insight: The more you play with the mixture while forming the balls, the better they will bounce when dry!
Step 4: Drying the Balls
Now that we have our colorful creations, it’s important to let them set properly.
Why this step matters: This allows the bouncy balls to harden and retain their shape.
Instructions:
- Place your bouncy balls on wax paper or a silicone baking mat to prevent sticking.
- Allow them to dry for at least 24 hours, or until they are hard to the touch.
Safety Warning: Make sure they dry in a space that’s safe from pets or little hands to avoid any mishaps.
Step 5: Playing and Storing Your Bouncy Balls
Once they’ve fully dried, it’s time to test your creations!
Why this step matters: This is the moment where all your hard work pays off.
Simply toss them and see how high they bounce! If they don’t bounce much, they may need a bit more time to dry.
Creative Variations
After mastering the basic tie-dye bouncy balls, here are a few fun variations:
- Ombre Effect: Use varying amounts of the same color to create a nice gradient look.
- Layering Colors: Let one color set slightly before adding another layer.
- Glow-in-the-Dark Option: Incorporate glow-in-the-dark paint into the mixed colors for nighttime fun.
Personal Anecdotes
I remember the first time I made tie-dye bouncy balls with my kids on a rainy weekend. The joy on their faces as we experimented with colors brought us closer as a family, and we spent hours playing and bonding, all thanks to our crafty creations. It turned into a new tradition—an annual “rainy day bouncy ball fest” that we all look forward to.
Final Thoughts
Making tie-dye bouncy balls is an enjoyable craft that fosters creativity in both kids and adults alike. Remember to be patient, be willing to experiment, and most importantly, have fun! Whether you keep your bouncy balls as cherished creations, use them as gifts, or simply enjoy bouncing them around, I assure you the joy of crafting them will linger long after the final product is in your hands. Happy crafting!