How to Make Taste-Safe Kinetic Sand: A Comprehensive Guide for Crafting Fun!
Hello there, fellow crafters! I’m excited to share one of my all-time favorite DIY projects with you—making taste-safe kinetic sand. If you’re looking for a fun, sensory-rich activity suitable for all ages, especially for little ones who love to explore with their hands (and mouths!), you’ve come to the right place.
What is Kinetic Sand and Why is It So Popular?
Kinetic sand is a special type of sand that sticks together without any mess, allowing you to mold and manipulate it in various creative ways. Its unique texture and consistency provide an engaging sensory experience, making it a go-to option for parents, educators, and caregivers who want to support fine motor skill development in children.
Kinetic sand is not only fun to play with; it’s also incredibly versatile! You can use it for sensory bins, art projects, or even as a calming tool for kids (and adults!) seeking a relaxing and engaging activity.
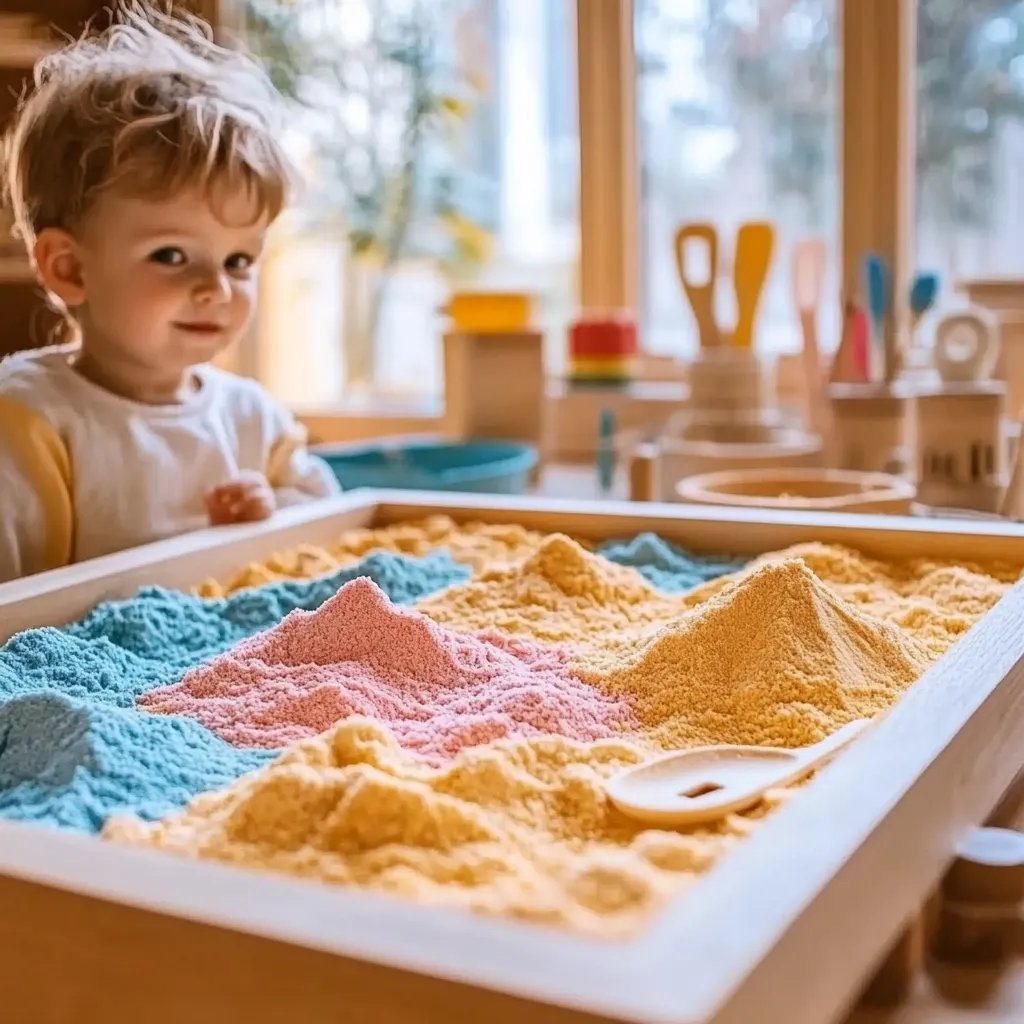
But here's the kicker: traditional kinetic sand can be non-edible, which can be concerning for those of us with curious toddlers who love to explore EVERYTHING with their mouths. Enter: taste-safe kinetic sand! This safe alternative allows little ones to enjoy squishing and molding their sand without the worry of potential hazards.
Getting Started: Materials You'll Need
Creating taste-safe kinetic sand is simple and can be done with ingredients that are likely already in your kitchen. Here’s what you’ll need:
Base Ingredients:
- Fine Play Sand or Flour: *Use non-toxic play sand or flour for a taste-safe option.*
- Vegetable Oil: *This helps create that signature texture and keeps the sand moldable.*
- Cornstarch: *This ingredient helps with adhesion and gives the sand a soft, smooth feel.*
- Food Coloring (optional): *For those that want a splash of color in their kinetic sand.*
Tools:
- Large Mixing Bowl
- Measuring Cups and Spoons
- Mixing Spoon or Hands (yes, I said it!)
- Storage Container: *For keeping your kinetic sand fresh when not in use.*
Step-by-Step Guide to Making Taste-Safe Kinetic Sand
Step 1: Choose Your Base
First things first, pick your base. You can use flour for a soft and fluffy texture or go with fine play sand for a more traditional feel. Personally, I've had great success with using fine play sand; it offers the ultimate kinetic experience. Just ensure that it's clean and free of contaminants.
Step 2: Combine the Dry Ingredients
In a large mixing bowl, combine 2 cups of your selected base (sand or flour) with 1 cup of cornstarch. Stir the mixture thoroughly to eliminate clumps and ensure an even consistency. This step is crucial because it lays the foundation for your sand’s texture.
*Tip: If you find the mixture too dry during this step, you can always add just a bit more cornstarch or base to achieve your desired consistency.*
Step 3: Add the Moisture
Next, slowly add 1/4 cup of vegetable oil to the dry mixture. The oil is what makes the kinetic sand moldable and gives it that delightful smooth texture. As you add the oil, use your mixing spoon or your hands to combine everything until you reach a cohesive texture.
Here’s a pro tip: if the mixture feels too oily or wet, add a tablespoon more of cornstarch or your base. Alternatively, if it feels too dry, a drizzle of water can help balance it out.
Step 4: Add Color (Optional)
If you’d like to add color to your sandy creation, this is the time to do it! Add a few drops of food coloring to the mixture and continue to knead it until the color is evenly distributed. Feel free to experiment with different colors or create fun patterns!
Step 5: Test the Consistency
Here’s the moment of truth! Take a handful of your kinetic sand and squeeze it. It should hold together well but still crumble slightly when you let it go. If it’s too crumbly, add a tiny bit more oil. If it’s too wet or sticky, add more cornstarch. *Consider this trial and error like a crafting adventure!*
Step 6: Store Your Kinetic Sand
Once you’re happy with the final product, store your taste-safe kinetic sand in an airtight container to prevent it from drying out. When stored correctly, it can last for weeks (if not longer)!
Creative Variations and Personal Anecdotes
Now that you’ve mastered the basic recipe, why not get a little creative? Here are some variations and fun ideas:
- Scented Kinetic Sand: Add a few drops of flavored extracts (like vanilla or almond) for an aromatic experience!
- Texture Addition: Incorporate a bit of glitter, small beads, or even tiny shell fragments to add another dimension to the sensory experience.
- Theme Play: Use themed cookie cutters or molds (like ocean shapes for summer) to create an even more immersive play session with your little ones.
I remember the joy on my child's face when we made a beach-themed kinetic sand play day! We added little plastic sea creatures and some shells, and it turned into an unforgettable adventure in our living room.
Common Mistakes and How to Fix Them
- Too Sandy or Dry? If your sand feels too dry, adding a small amount of water or additional oil can help achieve the right consistency.
- Too Oily? If you’ve added too much oil, incorporating more cornstarch or flour can help balance it back out.
- Color Not Blending? If the food coloring isn’t blending well, use more kneading to ensure it’s evenly distributed.
Safety Warnings and Final Thoughts
While this taste-safe kinetic sand is safe for kids, always supervise little ones during playtime. It’s not a food product; it’s just taste-safe.
In conclusion, making taste-safe kinetic sand is an enjoyable and straightforward DIY project that creates hours of entertainment and sensory exploration for everyone involved. With simple materials, a few easy steps, and a bit of creativity, you can craft your own version tailored to your family’s needs. So gather your supplies, roll up your sleeves, and get ready for some delightful sand-sculpting adventures! Happy crafting!