How to Make Swirl Glowing Bounce Balls: A Fun Craft Project for All Ages
Hello there, fellow crafters! Today, I'm thrilled to guide you through the enchanting process of making Swirl Glowing Bounce Balls. If you’re like me, you’ve often found joy in simple pleasures—whether that's playing in the sun, enjoying a nighttime picnic, or sharing laughs over family games. These bounce balls are not just toys; they are a fantastic blend of creativity, science, and fun!
What Are Swirl Glowing Bounce Balls?
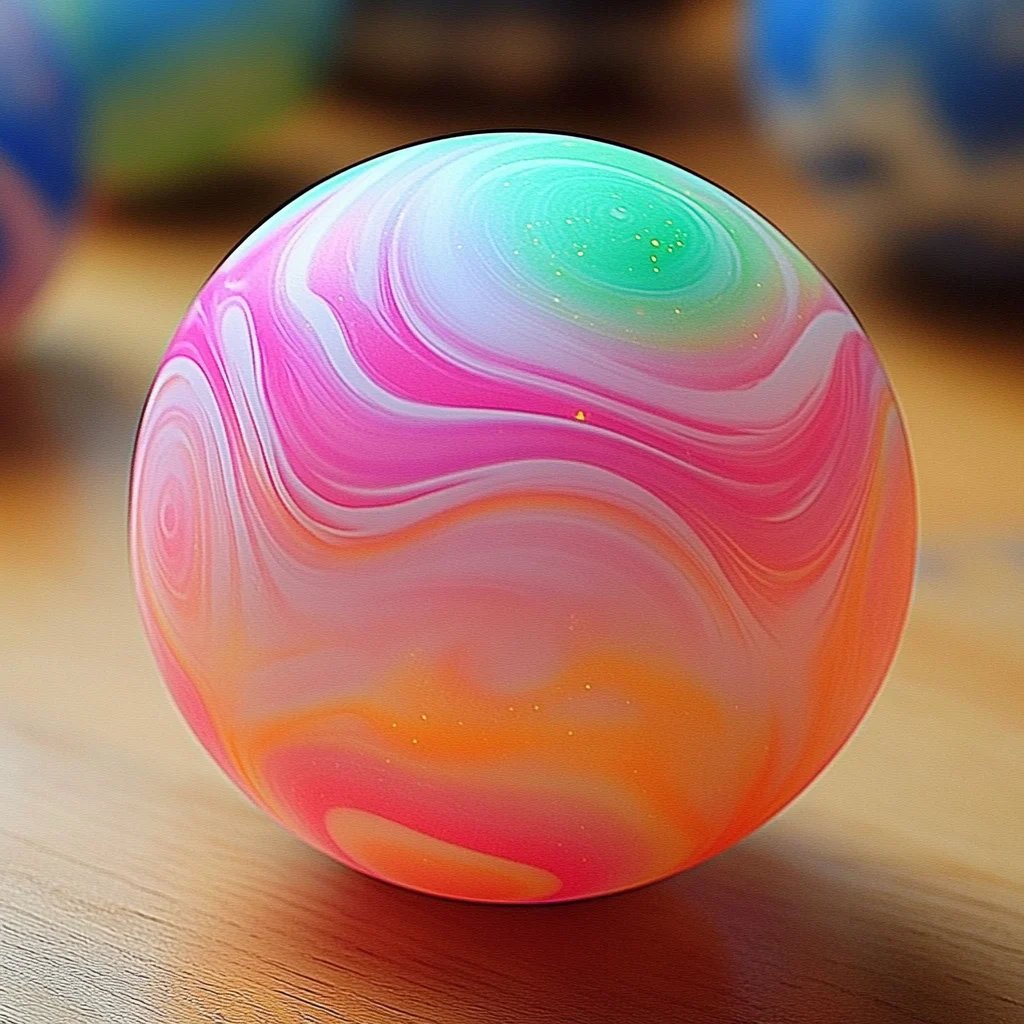
Swirl Glowing Bounce Balls are vibrant, colorful orbs that light up and bounce, making them perfect for children’s playdates, festive gatherings, or even safe night-time fun in your backyard. They're physically responsive, meaning they soar to great heights with just a light touch, which can spark joy in both kids and adults alike. Think of them as a delightful fusion of whimsy and wonder.
Due to their eye-catching glow and colorful twirls, these bounce balls have gained tremendous popularity among crafters and families looking for engaging DIY projects. Plus, they make fantastic gifts for birthdays or holidays!
What You'll Need
Before we dive into the crafting process, let’s gather our materials. You’ll need the following:
- White school glue (about 1 cup)
- Water (1 cup)
- Borax (1 tablespoon)
- Glow in the dark paint (various colors, if available)
- Gel food coloring (multiple colors for swirls)
- A mixing bowl
- Two smaller bowls
- Spoon or spatula
- Gloves (to keep your hands clean)
- Measuring cups and spoons
- Plastic wrap or wax paper (for drying)
- Plastic squeeze bottles or a piping bag (optional for swirls)
Step-by-Step Tutorial
Let's get crafting! Follow my detailed instructions for a smooth experience.
Step 1: Prepare the Borax Solution
To start, we need to prepare our Borax solution. This step is crucial as it will help us achieve that perfect bounce.
- In a smaller bowl, mix 1 tablespoon of Borax with 1 cup of warm water. Stir until the Borax has dissolved completely. This solution activates the glue and will give our balls their bounce.
*Tip*: If you're having trouble dissolving the Borax, try using hot water. Just be cautious not to burn yourself!
Step 2: Mix the Glue and Water
- In a separate mixing bowl, combine 1 cup of white school glue with 1 cup of water. Stir gently to mix.
*Why this matters*: The glue is the base that gives our balls their structure, so make sure it's mixed well without creating bubbles.
Step 3: Add Color and Glow
- If you want colorful swirls, this is the fun part! Add a few drops of gel food coloring into the glue-water mixture. Choose different colors for a vibrant effect. You can also mix in glow-in-the-dark paint to enhance the effect—a tablespoon or so of paint works wonders.
*Creative Variation*: Instead of mixing the colors directly, you can separate the glue solution into different bowls, color each one a different hue, and create a swirling effect later.
Step 4: Combine Both Mixtures
- Slowly pour your Borax solution into the glue mixture while stirring constantly. This step is crucial! The two should combine moderately, ensuring one mixture doesn’t overpower the other.
*What could go wrong*: If you pour too quickly, you may end up with a lumpy mixture. If this happens, continue to stir and, if necessary, add a bit more water to help smooth it out.
Step 5: Form Your Bounce Balls
- Once the mixture starts to thicken and clump together, take off your rings (if any) and put on your gloves. Begin kneading the mixture together with your hands until it forms a dough-like consistency.
*Tip*: If it sticks too much to your hands, sprinkle a little more Borax solution on it.
- For those who want that *swirl* effect, take small portions of your colored mixtures and layer them on top of each other before rolling into a ball. This creates the beautiful patterns.
Step 6: Mold and Dry
- Roll the mixture into a ball shape, about the size of a golf ball.
*Why this matters*: Ensuring they're uniform in size will help them bounce similarly later on.
- Place your completed balls on a piece of plastic wrap or wax paper to dry for at least 24 hours. This step allows them to harden and creates that bounce we desire.
Step 7: The Final Step—Glow and Test Your Balls!
- Once your bounce balls have dried, it’s time for the moment of truth! Take them outside or into a dark room to see them glow. Test them out by bouncing them gently against the ground—witnessing the swirl of colors along with the bounce brings about a child-like glee!
Safety Warnings
- Borax can be harmful if ingested, so keep it out of reach of young children.
- Always supervise young crafters while using these materials.
- Wear gloves if you have sensitive skin.
Troubleshooting Common Issues
In crafting, things don’t always go as planned. Here are some common issues and how to approach them:
- Too sticky to mold: Add more Borax solution to increase firmness.
- Doesn’t bounce well: Check the consistency again; it might need more kneading.
- Color fades: Use fresh glow-in-the-dark paint, as older paint loses its potency.
Personal Anecdote
I recall the first time I created these bounce balls with my young cousins. I didn’t get the glow-in-the-dark mixture right the first time—let me tell you, it was quite the scene when the balls came out a bit less vibrant than expected! But the joy of experimenting bonded us, and we ultimately ended up creating a rainbow of bouncing fun, learning to embrace the craft, mistakes included.
The laughter we shared as they bounced their unique creations all over the backyard is a cherished memory I hold dear.
Conclusion
Making Swirl Glowing Bounce Balls is an exciting and engaging project that everyone can enjoy, from kids to adults. It ignites creativity, fosters bonding, and—most importantly—creates delightful little artifacts of fun. So roll up your sleeves, gather your materials, and let the crafting adventure begin! Not only will you have something to enjoy, but you’ll also create lasting memories along the way. Happy crafting!