How to Make Super Bouncy Balls at Home: A Step-by-Step Guide
Hello, fellow crafters! Today, I am excited to share a fun and satisfying DIY project that will take you back to your childhood: making super bouncy balls at home! These wonderfully vibrant balls are popular not only because of their impressive bouncing abilities but also because they serve as a fantastic hands-on science experiment. Whether you want to impress your kids with a colorful craft, host an entertaining party activity, or create unique gifts, making super bouncy balls is an engaging project that everyone will enjoy!
Why Super Bouncy Balls?
Super bouncy balls are a delightful blend of chemistry and creativity. The satisfaction of watching your handmade ball bounce higher than you expected is truly exhilarating. Plus, these balls can be customized in color and size, allowing you to create a unique keepsake or toy. Use them during outdoor games, create playful decorations, or even throw them as party favors. The possibilities are endless, and the best part? This craft is simple enough for beginners yet engaging enough for experienced crafters.
Materials You'll Need
Before we dive into the step-by-step process of making these bouncy balls, let me walk you through the materials you'll need. Luckily, most of these are easily found at craft stores or even your local grocery store!
Essential Materials
- Warm Water (1/4 cup)
- This helps dissolve the borax, which is a key component in the bouncing reaction.
- Borax Powder (1/2 teaspoon)
- This common household product is what gives your ball its impressive bounce due to the polymer formation.
- School Glue (3 tablespoons)
- Use white or clear school glue. This is the base of your bouncy ball and provides the necessary adhesive properties.
- Cornstarch (2 tablespoons)
- This thickening agent gives your bouncy ball its firm structure and helps it retain its shape.
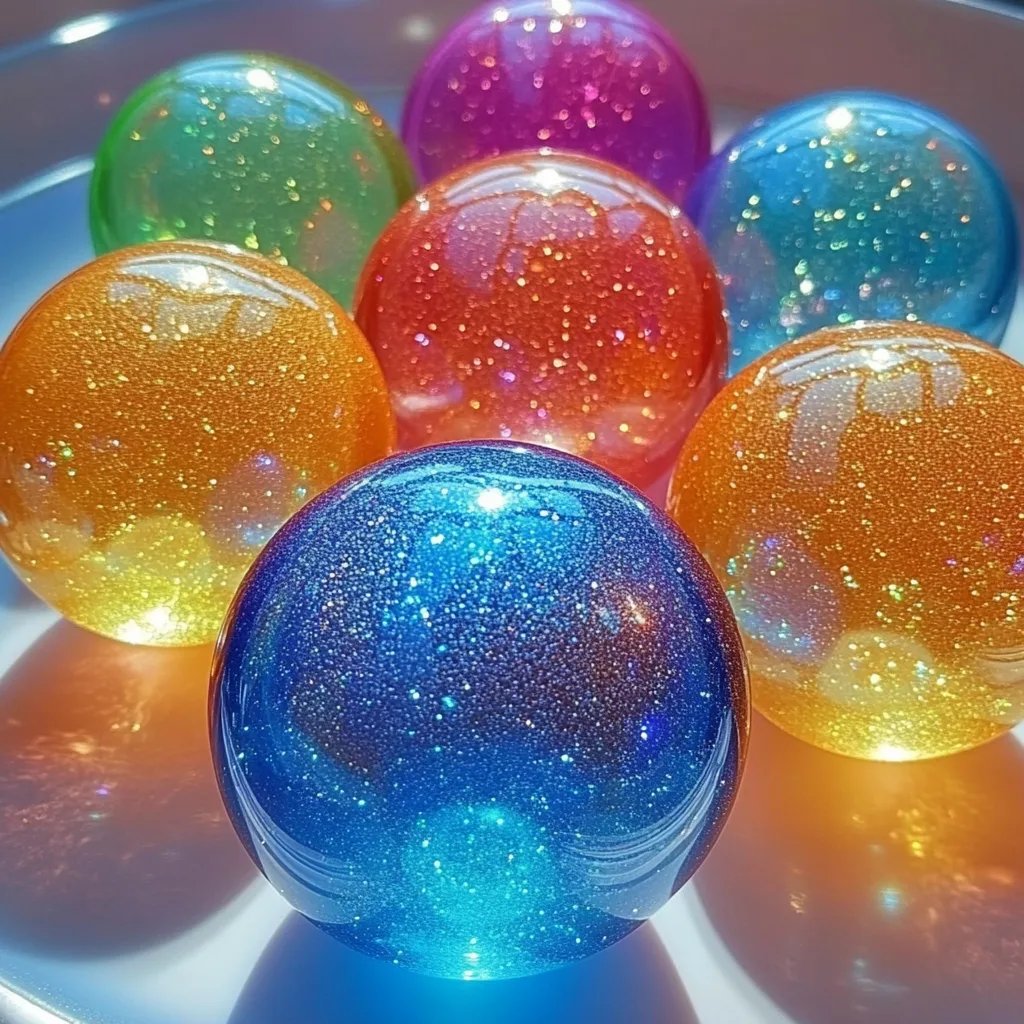
- Food Coloring (Optional)
- Want to make your ball pop with color? Add a few drops of food coloring for a vibrant look!
- Rubber Gloves (Optional)
- If you want to keep your hands clean, these are great to have on hand, as the glue can be sticky.
- Measuring Spoons and Cups
- For accurate measurements to ensure your ball bounces just right.
- Mixing Bowl
- A medium-sized bowl where you’ll combine the ingredients.
Step-by-Step Tutorial: Making Your Super Bouncy Balls
Step 1: Dissolve the Borax
In a mixing bowl, combine 1/4 cup of warm water with 1/2 teaspoon of borax powder. Stir this mixture well until the borax is completely dissolved. Why is this step important? The dissolved borax is crucial for the chemical reaction that creates the bouncy material. If you skip or rush this step, your ball may end up too soft or not bouncy at all!
Potential Pitfall:
If you notice some residue at the bottom of the bowl, you haven’t fully dissolved the borax. Just add a bit more warm water and stir until it’s clear.
Step 2: Mix Glue and Cornstarch
In a separate container, mix 3 tablespoons of school glue with 2 tablespoons of cornstarch. Why use cornstarch? This ingredient helps to bind the glue and create a stronger structure for your bouncy ball. At this stage, if you want to add color, now is the time to add a few drops of food coloring.
Creative Variation:
Mix different colors together to create a marbled effect! Swirl the colors gently rather than mixing them completely for a striking design.
Step 3: Combine the Mixtures
Once your glue and cornstarch mixture is well combined, it's time to add the dissolved borax water. Why combine them separately? Mixing them this way allows you to control the texture before the balls start to form and solidify quickly. Stir this combination until it becomes a gloopy mass.
Step 4: Knead the Mixture
After a few moments of mixing, you’ll notice the mixture starting to pull together. This is the time to take it out of the bowl and start kneading. If you’re using gloves, now is the moment to put them on! Knead the dough-like ball in your hands for about 1 minute. Why knead it? This process activates the polymers in the glue, contributing to that signature bounce.
Common Problem:
If your ball feels too sticky, add a pinch more cornstarch. If it feels too crumbly, sprinkle a few drops of water and knead again.
Step 5: Shape Your Bouncy Ball
Once you’ve got a firm and non-sticky ball, shape it into a perfect sphere with your hands. Take your time with this part to ensure it’s evenly formed. This will help maintain a consistent bounce.
Step 6: Let It Cure
Set your bouncy ball aside to cure for at least 24 hours. This step is crucial, as it allows the ingredients to fully react and create a durable sphere.
Step 7: Testing Your Bouncy Ball
After waiting, it’s time for the exciting moment of truth! Test your bouncy ball by dropping it from a height. Watch it soar! If it doesn't bounce as high as you'd hoped, don’t worry. It might need more time to cure, or you could have measured the ingredients incorrectly.
Tips and Safety Warnings
- Supervise Children: If kids are involved, make sure an adult is supervising, especially since borax can be harmful if ingested.
- Environment: Make sure you’re working in a well-ventilated space to avoid inhaling any dust from the borax.
- Storage: Store your bouncy balls in a cool, dry place. Keeping them away from excessive heat will ensure they maintain their bounce over time.
- Alternative Ingredients: If you want to experiment further, consider using glow-in-the-dark paint to make your bouncy balls glow or use glitter for an added sparkle.
Personal Anecdote
When I first made these bouncy balls with my kids several years ago, we were amazed by the transformation. We spent the afternoon taking turns trying to see who could bounce their ball the highest! It was the surprise of the reaction when we combined the glue and borax that got us all squealing with joy. It became a cherished family tradition to experiment with different colors and sizes every few months.
Conclusion
Making super bouncy balls at home is not just a craft; it’s an opportunity for creative expression and playful learning. By following this detailed guide, you’ll be able to unleash your inner crafter and create bouncy balls that will bring joy, laughter, and a bit of scientific wonder into your life. Whether you are crafting solo or with family, I hope your experience is as fulfilling and fun as mine has been. Now, let’s get bouncing!