How to Make Super Bouncy Balls at Home: A Fun and Fluffy Crafting Experience!
Welcome, fellow crafters! Today, I’m thrilled to share my passion for creating super bouncy balls, a nostalgic and engaging DIY project that promises to spark joy not just in children but also in the heart of any adult explorer! Whether you’re reminiscing from your childhood or simply seeking a fun-filled crafting session to brighten your day, these colorful bouncy balls can add a delightful twist to your activities. Imagine bouncing them first on the floor, then outside, throwing them in the air, or even incorporating them in games with friends and family. The possibilities are endless!
In this guide, I’ll walk you through the step-by-step process of creating your very own super bouncy balls at home. Through this experience, I’ll provide essential tips for ensuring your project is a success, share some stories from my own crafting journey, recommend materials that are readily available, and even suggest a few creative variations to make your bouncy balls truly unique. So, roll up your sleeves because we’re about to dive in!
Why Make Super Bouncy Balls?
Super bouncy balls are a fantastic way to explore basic chemistry while having loads of fun! They’re not only popular as toys but have also become a popular educational tool in schools to demonstrate elasticity and basic chemical reactions. Plus, there’s nothing quite like seeing your creation bounce back at you after you’ve crafted it with your own hands!
Materials You’ll Need
To get started on this bouncy adventure, you’ll need a few simple ingredients. Don’t worry; these items are commonly found around the house or are easy to obtain at your local store!
Essential Materials:
- Cornstarch – 1 tablespoon (a thickening agent that gives your ball its shape)
- White Glue (PVA glue) – 1 tablespoon (for binding)
- Baking soda – 1/2 teaspoon (helps to create a reaction that enhances bounce)
- Water – 1 teaspoon (to help mix everything together)
- Food Coloring – Optional (for adding a splash of color)
- Rubber Gloves – Optional (to keep your hands clean)
Equipment:
- Bowls for Mixing – 2 small bowls
- Spoon or Stirring Stick
- Measuring Spoons – For accurate measurements
- Plastic Wrap – Optional, to cover your bowl
Step-by-Step Tutorial
Step 1: Gather Your Materials
Gather all your materials and make sure you have a clean workspace. Crafting is more fun when you don't have to worry about cleanup mid-project!
Step 2: Create the Mixture
- In the first bowl, combine 1 tablespoon cornstarch, 1 tablespoon PVA glue, and 1/2 teaspoon baking soda.
- Why this matters: The combination of these materials will create the perfect chemical structure needed for elasticity and bounce.
- Add 1 teaspoon water to the mixture. If you're feeling creative, add a few drops of food coloring at this stage.
- Tip: If you want a lighter-colored ball, use a small amount of food coloring. Keep in mind, the color will darken slightly as it dries.
- Stir it well until there are no lumps. This will take a minute or two, so be patient!
- What could go wrong: If it’s too runny, your ball will not hold its shape. If it’s too dry, it won't have a bouncy texture. Aim for a thick yet pliable consistency.
Step 3: Mold the Bouncy Ball
- Start molding the mixture into a ball shape with your hands. The ideal size is around 1 to 2 inches in diameter.
- Personal Anecdote: When I first tried this, I made my ball too big! It wouldn’t bounce effectively and ended up more like a lump. Now I always roll them small and compact for optimal bounce.
- Tip: If your hands get sticky, lightly dust them with cornstarch to maintain a smooth molding process.
Step 4: Let It Cure
- Once you have shaped your ball, allow it to sit in a bowl or wrap it in plastic wrap for about 24 hours.
- Why this duration: This curing time allows the ball to firm up and ensures that it bounces perfectly when dry.
- What could go wrong: If it’s not left long enough, your ball might fall apart or fail to bounce. Patience is key here!
Step 5: Test the Bounce
After the curing period, take your bouncy ball and find a suitable surface to test it out! A hard floor works best. When you bounce it, be sure to watch in awe as it springs back up!
Troubleshooting Guide
As with any crafting project, you might run into some issues. Here are some common problems and their solutions:
- Ball Doesn’t Bounce Well: If your ball is too soft, consider adding a bit more baking soda next time.
- Too Stiff: Add a touch of water to the mixture in your next attempt for a softer texture.
- Sticky Surface: Dust your hands or the mixture with cornstarch to reduce stickiness.
Creative Variations
If you're feeling adventurous, here are a few fun variations:
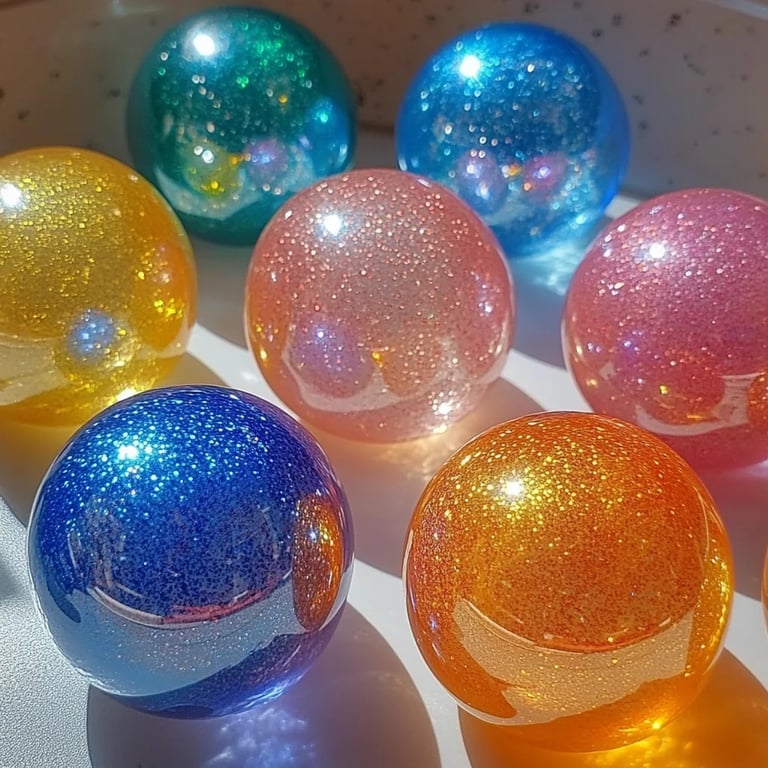
- Add Glitter: For a sparkle effect, mix in some fine glitter with your ingredients.
- Essential Oils: Drop in a drop or two of essential oil for a scented bouncy ball.
- Make it 3D: Mould multiple smaller balls and combine them into one larger ball for a unique design.
Safe Crafting Practices
Safety is always vital when crafting, especially when working with children. Always supervise kids during the process and encourage them to wash their hands after crafting to avoid any residue. If there are any allergies to the materials used, ensure alternatives are readily accessible.
Final Thoughts
Crafting super bouncy balls at home is not only easy but immensely gratifying. It allows for endless experimentation with colors, designs, and sizes, making every batch uniquely yours. Whether you're crafting with kids, friends, or solo, this activity fosters creativity and brings back playful memories.
I hope this guide inspires you to take on your own bouncy ball crafting adventure! Share your experience and any tips you find along the way—I’d love to hear how your creations turn out. So gear up, gather your materials, and let’s get bouncing! Happy crafting!