How to Make Super Bouncy Balls at Home: A Crafting Adventure
Hello fellow crafters! Today, I'm excited to share one of my absolute favorite DIY projects with you—making super bouncy balls at home. Not only does this fun activity tap into the joys of crafting, but it also creates a product that brings hours of entertainment! These homemade bouncy balls have been a hit not just with my kids, but also with friends and family during gatherings, and I can’t wait for you to experience the joy of bouncing them too!
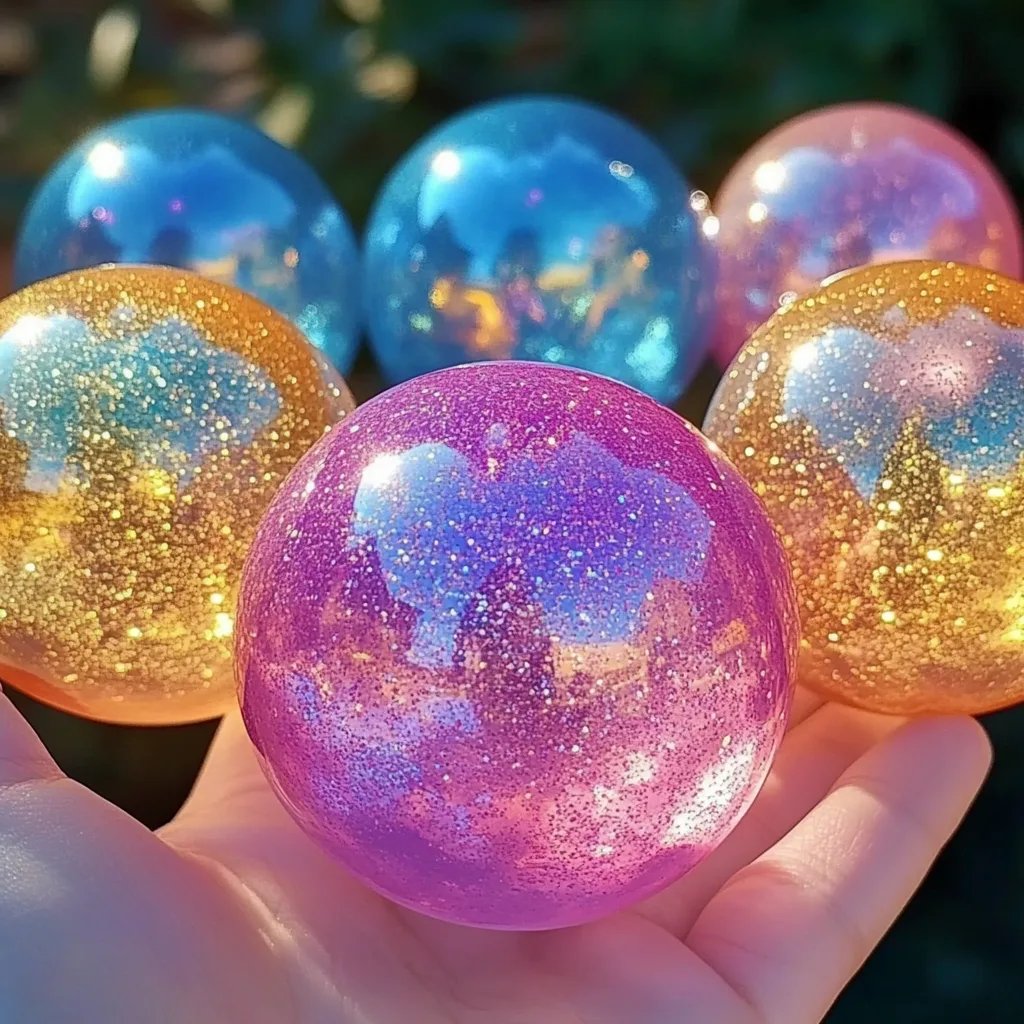
What are Super Bouncy Balls?
Super bouncy balls are small, colorful spheres made from unique elastic materials that allow them to bounce incredibly high. They became popular in the 1960s and 70s, thanks to their simplicity and the sheer joy of watching them defy gravity. You can use these balls for games, party favors, or simply as a stress reliever. Plus, making them yourself adds a personal touch that store-bought ones just can't match.
Why Make Your Own Bouncy Balls?
There are several reasons why I love making my own bouncy balls. First, it’s a fantastic way to spend time with kids or even embark on a fun solo crafting journey. Second, you can customize colors and sizes to your liking, which makes each ball unique. Finally, it’s an excellent way to recycle household items! So gather your materials and let’s bounce right into it!
—
Materials You’ll Need
Here's a list of materials for this fun DIY project:
- 1 tablespoon of corn starch (the binding agent)
- 1 tablespoon of white school glue (provides stickiness)
- 1 tablespoon of water (to mix everything together)
- 1 teaspoon of Borax (enhances elasticity; handle with care!)
- Food coloring (for color, optional but fun!)
- Two small bowls (for mixing)
- Measuring spoons
- Popsicle sticks or toothpicks (for mixing)
- Wax paper or a tray (for drying)
Optional Material Substitutions
- If you don't have Borax, you can substitute with *liquid starch*, which provides a similar effect.
- Instead of food coloring, you could experiment with *washable paint* for a different color texture and vibrancy.
—
Step-by-Step Instructions
Step 1: Prepare Your Workspace
Before diving in, it’s essential to set up a clean and organized workspace. Lay down some newspaper or a craft mat to catch any spills. Trust me; the last thing you want is to find glue in unexpected places!
Step 2: Combine the Glue Mixture
- In one of your small bowls, combine 1 tablespoon of white school glue and 1 tablespoon of water.
- If you’re using food coloring, add a few drops now. Mix the ingredients well with a popsicle stick to achieve an even consistency.
Why This Step Matters: This step creates the base of your bouncy ball. The goal is to dissolve the glue in water to allow for better mixing with cornstarch and Borax later.
Step 3: Mix the Cornstarch
- In the second bowl, add 1 tablespoon of cornstarch.
- Carefully add the glue mixture from the first bowl into the cornstarch and stir with your popsicle stick until combined.
Troubleshooting Tip: If your mixture is too dry and crumbly, add a few drops of water. If it’s too sticky, sprinkle in a bit more cornstarch until you reach the right consistency.
Step 4: Prepare Your Borax Solution
- In a separate cup, dissolve 1 teaspoon of Borax in 1 tablespoon of warm water. Stir until all the Borax is dissolved.
Safety Warning: Always wash your hands after handling Borax, and keep it out of reach of young children and pets, as ingestion can be harmful.
Step 5: Combining the Mixtures
Now, add the Borax solution to the cornstarch and glue blend. This is where the magic happens!
- Stir immediately with your popsicle stick until combined.
- In a few seconds, you’ll notice the mixture binds together and begins forming into a ball.
What Could Go Wrong? If it seems too liquidy, let it sit for a minute; it will thicken as it sits. If it won’t hold together, you probably added too much water, and in that case, add more cornstarch until it firms up.
Step 6: Start Shaping
Once you have a cohesive ball, take it out and start kneading it in your hands. This part may get a bit sticky, so take your time.
- Form it carefully into a sphere. If it’s too sticky, sprinkle on a little cornstarch to help with the texture.
- Roll it gently until it’s smooth and firm.
Step 7: Let it Dry
Place your bouncy ball on a piece of wax paper or a tray and let it dry for at least 24 hours. The longer you let it dry, the bouncier it will be!
Creative Variation: You can create multiple balls with different color combinations to make a vibrant collection or even create layered colored balls by filling one layer, letting it dry a bit, then adding another color layer.
Step 8: Time to Bounce!
Once your super bouncy ball has dried, it’s time to test its springiness! Outside on a concrete surface is the best place for the ultimate bounce experience.
Tips for Success
- Keep Experimenting: If your first batch doesn't turn out as expected, don't get discouraged! Crafting is about trial and error, and with practice, you’ll know just how much of each material works best.
- Adjust the Size: Use less or more of the glue and cornstarch mixtures if you want smaller or larger balls.
- Store Properly: Keep your bouncy balls in a cool, dry place to maintain their bounce.
Final Thoughts
Making super bouncy balls is not only a rewarding craft project, but it's also an opportunity to engage with loved ones, get creative, and bask in the sheer joy of bouncing! Don't hesitate to share your unique creations with friends and family—or even challenge them to a bouncing contest! Remember that every crafting journey comes with its unique bumps and bounces, and that's what makes it special.
So, gather your supplies, roll up your sleeves, and let’s make some bouncy magic together! Happy crafting!