How to Make Super Bouncy Balls: A Fun and Engaging DIY Craft
Hello, fellow crafters! Today, I'm thrilled to share one of my all-time favorite DIY projects—making Super Bouncy Balls! These delightful little toys are not only a blast to play with but also universally loved by kids and adults alike. Whether you want to entertain your little ones or impress your friends with a cool science experiment, super bouncy balls are a fantastic project you can whip up in no time.
Why Bouncy Balls?
Super bouncy balls have become iconic in the realm of DIY crafts. They are incredibly satisfying to make and showcase the fascinating interplay of science and creativity. As the name suggests, they bounce impressively high, providing endless entertainment in parlor games, backyard fun, or even indoor play on a rainy day. Also, they make for perfect party favors or stocking stuffers—personalized gifts that offer a crafty touch.
Materials You’ll Need
Before we dive in, let’s gather the materials! Here’s what you'll need for this project:
- Boric acid (available at pharmacies or online)
- White school glue (PVA glue—make sure it’s not washable)
- Cornstarch (for added texture)
- Food coloring (optional, for customization)
- Water
- Mixing bowls or cups
- Measuring spoons
- A whisk or stirring stick
- Gloves (for handling boric acid)
- Plastic wrap or wax paper (for easy cleanup)
- A storage container (for your bouncy balls after they’re made)
Step-by-Step Guide
Now, let’s jump into the fun part—making your own super bouncy balls!
Step 1: Prepare Your Ingredients
Start by setting up your workspace. Cover your table with plastic wrap or wax paper to catch any spills. It’s good to have everything in reach so you can focus on creating. For this project, I usually mix small batches to see how different colors turn out, so I recommend doing it one at a time.
Step 2: Combine the Glue and Water
In a mixing bowl, combine 1 tablespoon of white glue with 1/2 tablespoon of water. The water dilutes the glue slightly, making it easier to mix with other ingredients. This step ensures your mixture has the right consistency.
Tip: If you want colored balls, add a drop or two of food coloring at this stage and mix well. Adding more coloring can deepen the shade, which I enjoy doing for vibrant balls.
Step 3: Mix in Cornstarch
Add 1 tablespoon of cornstarch to your glue mixture. Cornstarch adds a bit of thickness and helps create that ideal bouncy texture. Stir until there are no lumps. This step is crucial; lumpy mixtures won’t yield a smooth ball.
What could go wrong: If you skip mixing thoroughly, your balls may end up uneven in texture. If you happen to notice lumps at this stage, add a bit more water and whisk it vigorously until smooth.
Step 4: Incorporate Boric Acid
This is where the magic happens! Carefully add 1/2 teaspoon of boric acid to your mixture. Use gloves for safety, as boric acid can be irritating if it comes into contact with skin. Mix it until it starts to form a cohesive mass. You’ll notice it begins to thicken quickly.
Safety Warning: Always handle boric acid with care, and avoid ingesting it or getting it in your eyes.
What could go wrong: If your mixture is too runny, you can always sprinkle a tiny bit more boric acid until you reach a manageable consistency. If it’s too thick, simply add a little more water—keep adjusting until you find the perfect balance!
Step 5: Knead Your Mixture
Once your mixture reaches a dough-like consistency, take it out of the bowl and start kneading it with your hands. This step not only combines everything thoroughly but also helps develop the elasticity you want in your ball.
Tip: If your hands feel sticky, sprinkle a little cornstarch on them to help reduce the stickiness.
Step 6: Form the Balls
Now comes the fun part! Take small pieces of the mixture and roll them into balls. Aim for a size of about an inch in diameter. You can make them larger or smaller based on your preference.
Personal Anecdote: For my son’s birthday party, we created a rainbow of colored bouncy balls, and the kids had a blast competing to see whose could bounce the highest!
Step 7: Let Them Cure
Once you've shaped your balls, it’s essential to let them cure for at least 24 hours. This process helps them firm up, ensuring they bounce just right. Place them on a plate lined with wax paper to avoid sticking.
What could go wrong: If the balls aren't allowed to cure properly, they may lose their bounciness, which can be frustrating. Don’t rush this stage; patience really pays off!
Step 8: Test Your Bouncy Balls
Once your bouncy balls have cured, it’s time for the big reveal! Drop them on a hard surface and watch them soar. I often take mine outside for a test run. It’s always delightful to see how high they bounce!
Creative Variations
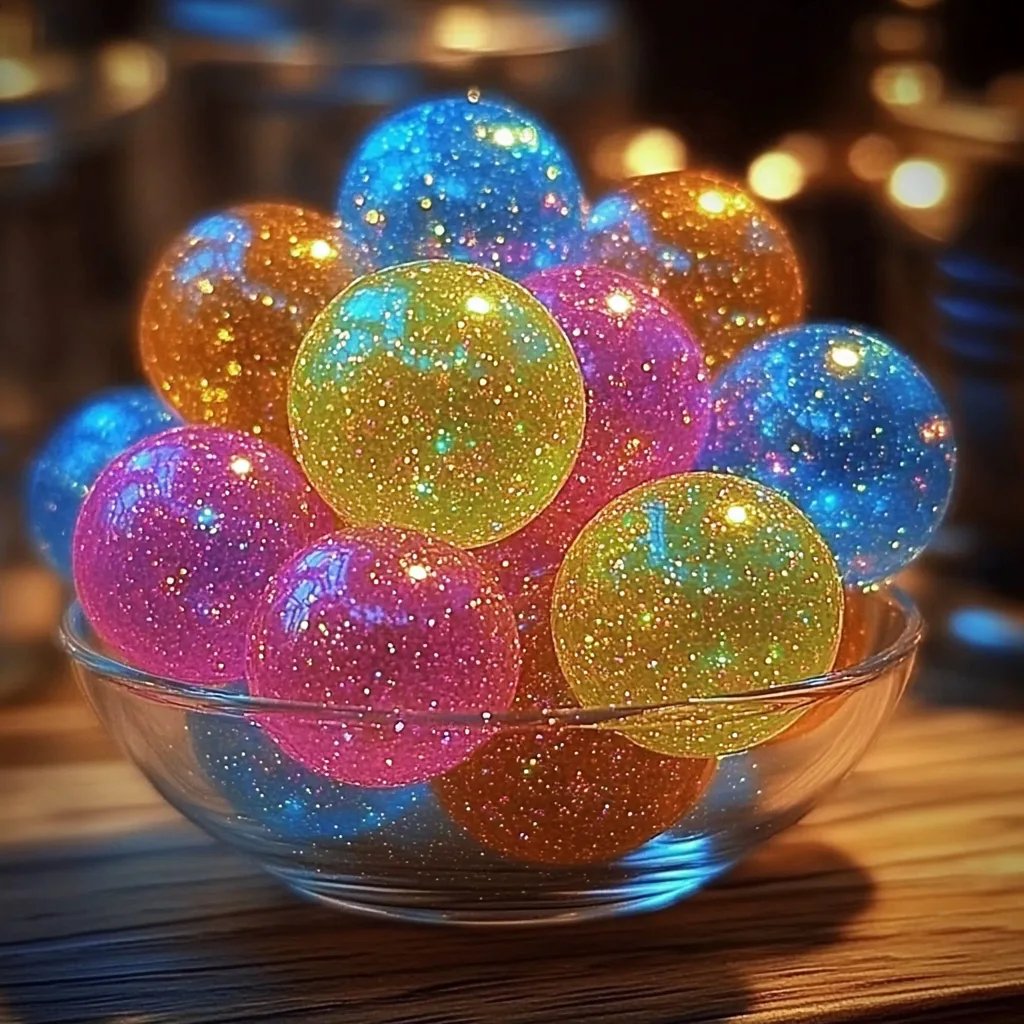
- Glitter Balls: Add fine glitter to your mixture for a sparkly effect!
- Scented Balls: Incorporate a drop of essential oil into your mix for fragrant bouncing balls.
- Mixed Colors: For a tie-dye effect, swirl together different colors instead of fully combining them.
Troubleshooting Tips
If your balls aren’t bouncing as expected:
- Too Sticky? You may need more cornstarch to achieve the right texture.
- Not Bouncing? Ensure enough boric acid was added and that they’ve cured long enough.
Conclusion
Making super bouncy balls is not only a fun and engaging craft but also a great way to explore creativity and science. I hope this guide inspires you to get crafting, and I can’t wait to see the vibrant creations you come up with! Remember, crafting is about having fun and enjoying the process. Happy bouncing, everyone!
Feel free to share your experiences or any questions you have in the comments below! Let’s keep the crafting community thriving together!