How to Make Suncatcher Crafts: A Personal Journey into Colorful Creativity
Hello, fellow crafting enthusiasts! Today, I’m thrilled to dive into something absolutely delightful—making Suncatchers! Having spent countless afternoons immersed in the joy of crafting, I can assure you that creating suncatchers is not only relaxing but also incredibly rewarding. They are perfect for brightening up any space, whether it’s your kids' rooms, a sunny window in the kitchen, or even outside on the porch. The way sunlight dances through these crafts fills me with joy every time I see them!
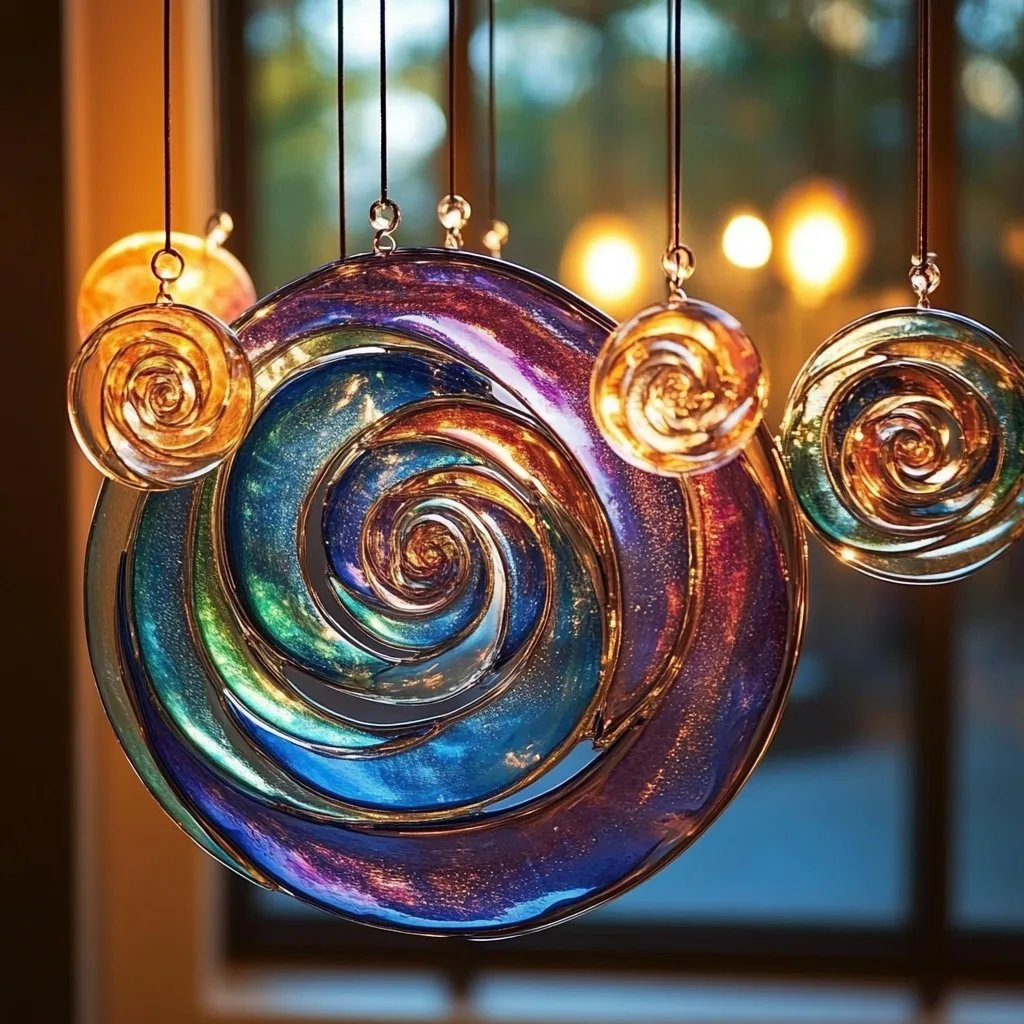
What is a Suncatcher?
A suncatcher is a decorative piece typically made of translucent materials that catch sunlight, casting beautiful patterns of color on nearby walls or surfaces. They have gained immense popularity for their mesmerizing aesthetic and the joy they bring to home decor. They are especially popular during spring and summer, but honestly, who doesn’t love a little sunshine all year round?
Whether you want to create a simple version with your kids or embark on a more intricate masterpiece for your living room, I’m here to guide you through this colorful journey, step by step!
Materials You'll Need
Before we dive into crafting, let’s gather our supplies. Here’s what you’ll need:
- Translucent Plastic Sheets or Parchment Paper: These will be the canvas for your suncatcher. You can also use other materials like old CDs, colored plastic film, or even pressed flowers.
- Permanent Markers or Colored Pencils: For adding vibrant designs and colors.
- Scissors: To cut your shapes.
- Hole Punch: For making a hole if you’d like to hang your suncatcher.
- String or Fishing Line: To suspend your suncatcher in the light.
- Tacky Glue or Mod Podge: If you are layering materials.
- Black Construction Paper (optional): This will create a great contrast and enhance the colors of your suncatcher.
- Cardboard: For creating a sturdy backing, if desired.
Step 1: Design Your Suncatcher
I like to start with some sketches. Grab a piece of paper and design your suncatcher. Think about the shapes and colors you want. Will it be a butterfly, a flower, or an abstract design? This is where your creativity can shine!
Tip: Consider the color palette you want to work with. Light colors will create gentle hues, while darker, more vibrant colors will produce bold, striking impacts.
What could go wrong? Sometimes, the design doesn't translate as well when rendered in different materials. Don’t hesitate to make adjustments on your sketch until you are satisfied!
Step 2: Prepare Your Material
Once your design is final, it’s time to cut your chosen material accordingly. If you are using plastic sheets, cut them into a rectangular or circular shape according to your design. If you’re using construction paper, outline your design in black for contrast.
Why this step matters: Your cut shapes will define your suncatcher's overall look. If they’re too small or incorrectly shaped, the design may lose its intended effect.
Step 3: Decorate and Assemble
Now that your base is ready, it’s time to decorate! Use your permanent markers or colored pencils to fill in your design. Don’t be shy—layer your color, mix techniques, and play around with patterns!
Personal Anecdote: I remember my first attempt at a suncatcher. I overfilled my colors, causing some bleeding. At first, I was disappointed, but then I realized that those little "accidents" added a unique charm to my piece!
If you’re using pressed flowers or other embellishments, apply a thin layer of Mod Podge over the design to secure them in place. Once everything is dry, apply another layer on top for added protection.
Step 4: Adding the Hanging Mechanism
Once your design is complete and thoroughly dry, it’s time to add a hanging mechanism. Use a hole punch to make a hole at the top of your suncatcher. Thread through a piece of string or fishing line and tie a knot.
Safety Warning: Be cautious when handling scissors and the hole punch—these are sharp tools. Keep your workspace organized to avoid accidental cuts.
Step 5: Displaying Your Masterpiece
Now, it’s time for the grand reveal! Hang your suncatcher in a spot where it will catch the maximum amount of sunlight—this could be a window or even outside in your garden.
Tip: If you are hanging it outside, consider using materials that are more weather-resistant to preserve your suncatcher’s beauty over time.
Creative Variations
The beauty of crafting suncatchers lies in their adaptability. Here are a few variations you can try:
- Mason Jar Suncatchers: Fill a mason jar with colored tissue paper and mod podge for a beautiful glowing effect.
- Seasonal Themes: Create suncatchers that reflect seasonal changes—leaves for autumn, snowflakes for winter, flowers for spring, and seashells for summer!
- 3D Suncatchers: Layer several cut-out designs with varying depths to create a multi-dimensional look.
—
Final Thoughts
Crafting suncatchers not only helps brighten your living space but also turns into a meditative experience. As you immerse yourself in colors and ideas, the joy that comes from creating something special remains unmatched.
Remember, crafting is all about enjoying the process and expressing yourself. So, if something doesn’t turn out perfect, don’t fret! Embrace those moments of imperfection; they add character to your creation.
So gather your materials, let your creativity run wild, and dive into making your own beautiful suncatchers. I can’t wait to hear about your experiences and see your fantastic creations! Happy crafting! ☀️🌈