How to Make Summer Car Crayons: A Comprehensive Guide for Crafting Fun!
Hello friends! Today, I want to take you on an exciting journey into the world of crafting by making something that brings a splash of joy and creativity to summer days—Summer Car Crayons! As an experienced crafter and a self-proclaimed crayon enthusiast, I can tell you that these vibrant and whimsical creations aren’t just fun to make; they’re equally enjoyable to use!
What Are Summer Car Crayons?
Summer Car Crayons are uniquely shaped crayon creations that often resemble colorful vehicles, perfect for little artists or adult coloring fans alike. Ideal for summer road trips, playdates, or creative afternoons at home, these crayons can transform any mundane coloring session into an imaginative adventure. They are a hit with kids and adults, and you can customize colors and shapes to match personal preferences or themed events. Plus, they make fantastic gifts or party favors!
Why Are They So Popular?
- Versatile Use: From coloring books to doodling on packing paper, the possibilities are endless!
- Eco-Friendly: Making crayons from broken ones or leftover bits is a great way to reduce waste.
- Personalization: You can mix colors and customize shapes, allowing your creativity to shine.
- Kid-Friendly: Kids adore them! Unique shapes inspire imaginative play and storytelling.
So, let’s roll up our sleeves and dive into crafting these delightful Summer Car Crayons!
What You Will Need
Materials
- Broken or old crayons (or new ones, if you prefer)
- Crayon molds (car-shaped molds are available online or in craft stores)
- Baking sheet (optional)
- Parchment paper (optional)
- Oven or microwave
- Cooking spray (optional, for ease of removal)
Tools
- Knife (to chop crayons)
- Mixing bowl or small cups
- Stirring sticks (popsicle sticks work well)
- Rubber gloves (optional)
Step-By-Step Tutorial to Create Summer Car Crayons
Step 1: Gather and Prepare Your Crayons
Why It Matters: This is where we start selecting our color palette! Using a mix of broken crayons helps reduce waste and gives a fun variety of colors in your crayons.
What to Do:
- Collect your broken or old crayons. If they’re not already in small pieces, take your time and carefully chop them using a knife. You can mix colors as you go; light colors generally mix well with darker ones for interesting swirls!
What Could Go Wrong: Take care while using a knife! A dull blade is often safer than a sharp one when cutting crayons, but make sure you keep your fingers away from the blade. If you don’t have broken crayons, you can use new ones, but be prepared to enjoy a lot of chopping!
Step 2: Preheat Your Oven or Microwave
Why It Matters: Proper heating ensures an even melt, giving your crayons a smooth texture.
What to Do:
- Preheat your oven to 250°F (120°C) if you’re using this method. For the microwave, you can set it to medium power.
Tip: Using the oven gives more consistent melting, while a microwave is quicker for smaller batches.
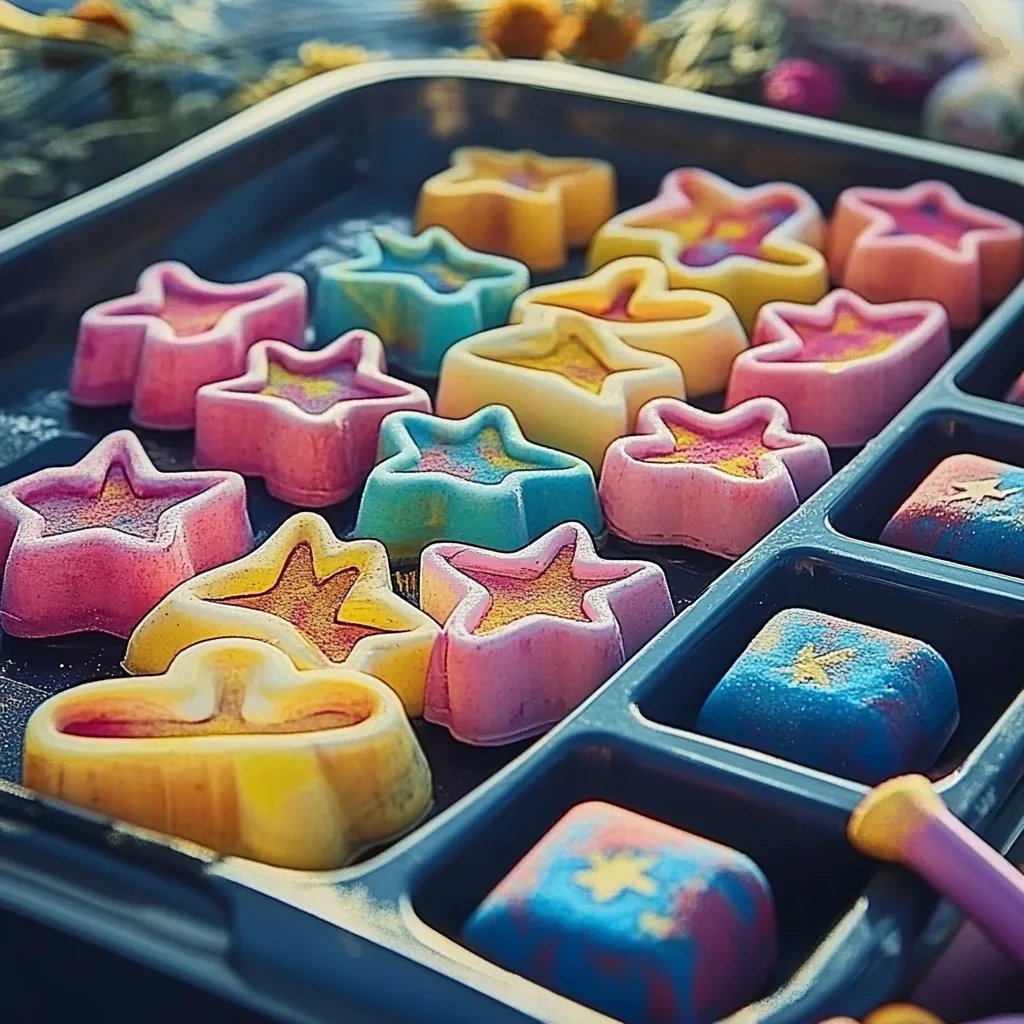
Step 3: Fill the Molds
Why It Matters: Filling the molds with the right amount allows for a proper formation of your shapes.
What to Do:
- Lightly grease your molds with cooking spray for easy removal (optional).
- Pack the crayon pieces into the molds. Don’t overfill—leave some space for expansion as they melt.
Creative Variation: Try layering colors! Fill molds with different colors for a striped or marbled effect. Just remember, lighter colors will usually dominate dark ones.
Step 4: Melting the Crayons
Why It Matters: Melting correctly prevents burning your crayons, which can change the color or scent.
What to Do:
- If you’re using the oven, place your filled molds on a baking sheet and bake for 10-15 minutes, checking frequently.
- For the microwave, heat in 30-second intervals until melted, stirring carefully to avoid bubbles.
What Could Go Wrong: Overheating can lead to burnt crayons with a nasty smell. If they start to smoke or darken in color, remove them immediately! If you burn them, don’t despair; just let them cool and start with a new batch.
Step 5: Cool and Remove from Molds
Why It Matters: Cooling allows the crayons to set properly and hold their shape.
What to Do:
- Once melted, remove the molds from the oven or microwave and let them cool at room temperature until firm (about 30 minutes).
- If you’re in a hurry, you can place them in the refrigerator for quicker cooling.
- Once cool, gently flex the molds to release the crayons.
Tip: If they’re stuck, place them in the freezer for about 10 minutes. They should pop out easily, almost like magic!
Step 6: Enjoy Your Creation!
Why It Matters: Finally, this is the most rewarding part—using your beautiful Summer Car Crayons!
What to Do: Grab some paper and let the creativity flow! Whether doodling, coloring in books, or creating art pieces, enjoy every stroke with your new summer-themed car crayons.
Safety Warnings
- Always supervise children when using sharp tools or hot appliances.
- Ensure the workspace is well-ventilated, especially when using multiple crayon colors which can release their own scents.
Alternative Methods or Ingredient Substitutions
- If you’re out of molds, consider using silicone ice trays, cookie cutters, or even muffin tins lined with parchment paper for fun shapes.
- For additional texture, you could mix in small bits of colored chalk for a unique appearance and grip.
Final Tips & Personal Anecdotes
I remember the first time I made these crayons with my niece during one of our summer afternoons. We filled the molds with zany combinations of colors and giggled as they melted in the oven. It became a cherished tradition! As you embark on this colorful journey, don’t hesitate to experiment and take creative liberties with your crayon combinations.
Remember, crafting is all about enjoying the process—it’s okay if they aren’t perfect! The joy lies in the details and the fun you’ll have using them. I encourage you to share your creations with friends or even host a crayon-making party!
Conclusion
Creating Summer Car Crayons is not just a fun crafting activity; it’s an opportunity to unleash your creativity while making unique art supplies. So gather your materials, follow these steps, and soon you’ll have a collection of colorful, car-shaped crayons ready to spark joy and inspiration! Happy crafting, and may your summer be filled with creativity and color!