How to Make Star-Shaped Cookie Wands: A Magical Treat for Every Occasion
Hello crafty friends! Today, I’m excited to share with you my beloved recipe for making star-shaped cookie wands—a whimsical delight that brings a sprinkle of magic to any celebration. Whether you’re preparing for a birthday party, a holiday gathering, or even a simple afternoon treat, these charming cookies are not just delicious; they’re captivating to look at and fun to make!
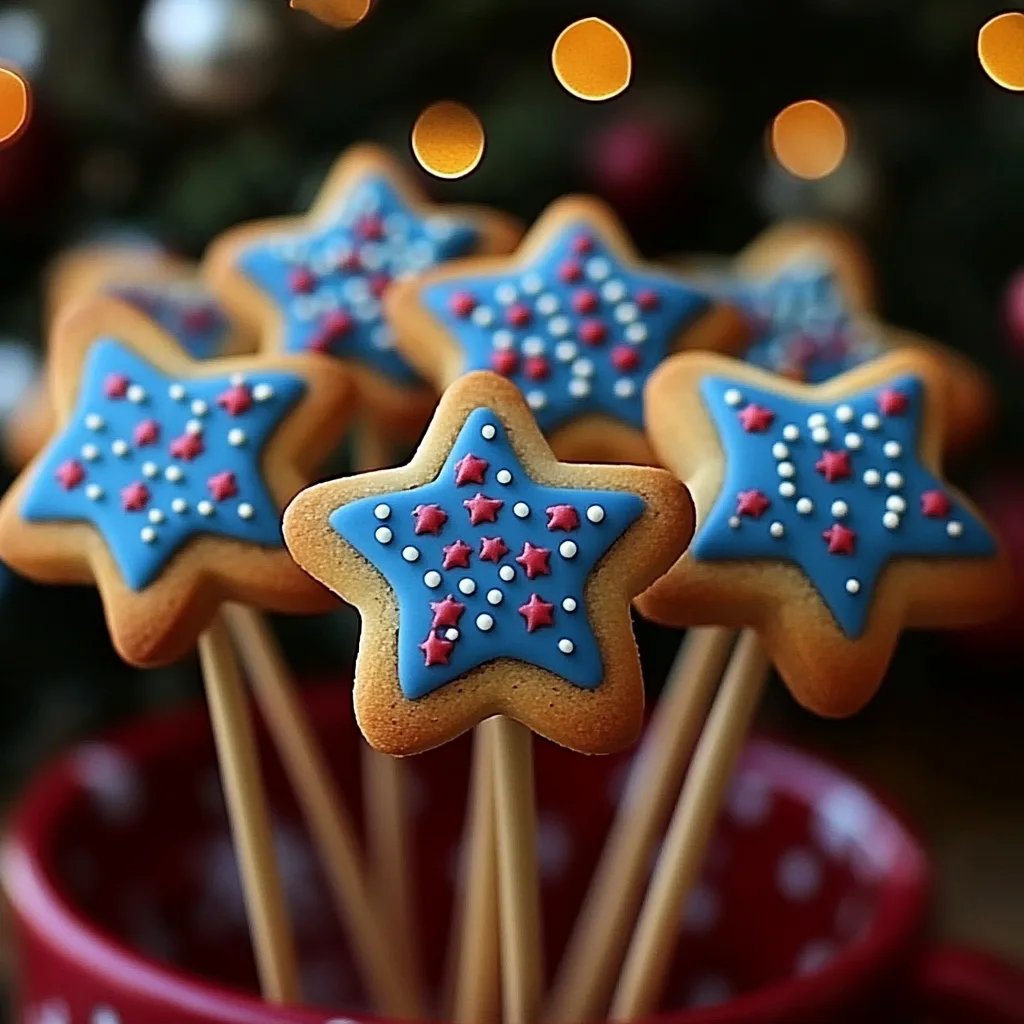
There’s something enchanting about presenting a cookie on a stick, and trust me, these Star-Shaped Cookie Wands are sure to be a hit with kids and adults alike. The beauty of these cookies lies not only in their starry shape but also in the joyous process of creating them. So grab your baking gear and let’s roll up our sleeves!
Why Star-Shaped Cookie Wands?
The star symbolizes aspiration and magic, making these cookies perfect for celebrations where you want to infuse a little sparkle! They are great for birthday parties, bridal showers, or any festive occasion. Plus, they can be customized with different colors and toppings, allowing you to fit them into any theme.
Supplies You’ll Need
Before we start, let’s gather our materials:
- For the Cookies:
- 2 3/4 cups all-purpose flour
- 1 teaspoon baking powder
- 1/2 teaspoon baking soda
- 1/2 teaspoon salt
- 1 cup unsalted butter, softened
- 1 cup granulated sugar
- 1 large egg
- 1 teaspoon vanilla extract
- 1 teaspoon almond extract (optional for a nutty flavor)
- For Decoration:
- Royal icing or fondant
- Sprinkles (edible glitter, colored sugar, or thematic sprinkles)
- Star-shaped cookie cutters (various sizes)
- Lollipop sticks (6-8 inches long)
- Equipment:
- Mixing bowl
- Electric mixer or whisk
- Rolling pin
- Baking sheets
- Parchment paper
- Cooling rack
Step-by-Step Tutorial
Step 1: Prepare the Dough
- Mix Dry Ingredients: In a mixing bowl, combine the flour, baking powder, baking soda, and salt. Whisk these ingredients together until well blended. This even distribution of the leavening agents is essential for a consistent and well-risen cookie.
- Cream Butter and Sugar: In another bowl, use an electric mixer to cream the softened butter and sugar together. Beat on medium speed until the mixture is light and fluffy, about 3-5 minutes. This step is crucial because it incorporates air into the dough, which will help your cookies rise beautifully.
- Add Egg and Extracts: Add in the egg, vanilla extract, and almond extract (if using). Beat until combined—around 1-2 minutes—at which point, the mixture should be smooth and creamy.
- Combine Wet and Dry Ingredients: Gradually add the dry ingredients to the wet mixture. Mix on low speed until a soft dough begins to form. Avoid overmixing, as this can lead to tough cookies. If the dough feels too sticky, sprinkle in a little extra flour to reach a workable consistency.
Step 2: Chill the Dough
It's essential to chill the dough for at least 1 hour. This not only makes it easier to roll but also helps the cookies hold their shape during baking. Wrap the dough in plastic wrap and let it rest in the refrigerator.
Step 3: Roll and Cut Out Cookies
- Preheat Your Oven: As your dough chills, preheat your oven to 350°F (175°C).
- Roll Out the Dough: Once chilled, take the dough out and, on a floured surface, roll it to about 1/4 inch thick. Remember to flour your rolling pin as well to prevent sticking!
- Cut Shapes: Using your star-shaped cookie cutters, cut out the shapes from the dough. Make sure to leave enough space between each cookie on your baking sheet for even baking.
- Insert Sticks: Carefully place the lollipop sticks into the bottom of each star-shaped cookie, pressing just enough so they hold but are not overly deep into the dough.
- Bake: Line your baking sheet with parchment paper and place the cookies on it. Bake for 8-10 minutes until the edges are slightly golden. Keep a close eye on them, as every oven differs. If you overbake, you’ll lose that lovely soft texture!
Step 4: Cool and Decorate
Once baked, let your star wands cool on a rack. This process is key to avoid smudging your decorations.
- Prepare Royal Icing: While the cookies cool, prepare your royal icing or fondant. With royal icing, use a piping bag to create designs and outlines.
- Decorate: Get creative! Dip each cookie in icing and then sprinkle with edible decorations—think colorful sprinkles or edible glitter for that extra magical touch. You can even pipe additional details like stars or swirls for added flair.
Step 5: Let it Set
Allow the icing to dry thoroughly for at least 2 hours. If you’re using royal icing, I recommend letting it set overnight for best results.
Troubleshooting Tips
- Dough Too Sticky: If your dough is too sticky to handle, add a little more flour while rolling it out. Make sure to keep your workspace floured as well.
- Cookies Spread Too Much: If your cookies spread while baking, it might be due to the dough being too warm. It's crucial to chill both the dough and the cookie before going in the oven.
- Icing Not Setting: If the royal icing doesn’t set, check if you’ve added enough powdered sugar or if you need to let it dry longer.
Creative Variations
- Flavor Variations: Don’t hesitate to experiment! Substitute the vanilla extract with lemon or peppermint to mix up the flavors. Adding citrus zest can also give your cookies an uplifting zing.
- Theme Colors: Decorate the cookie wands to match any party theme. For example, use gold and silver sprinkles for a celestial theme, or vibrant colors for a rainbow party.
- Different Shapes: Besides stars, you can play around with other shapes like hearts or moons, making these wands feel unique and fit for any occasion!
A Personal Touch
I remember the first time I made these star-shaped cookie wands for my daughter’s birthday. She was so enchanted, waving the wands around like magic scepters, and her friends couldn't get enough! Seeing their faces light up was pure joy. This is why I cherish crafting these cookies, and I hope you create wonderful memories with your loved ones as you bake and decorate together.
Safety Warning
- While baking is generally safe, always supervise children during the process, especially with sharp cookie cutters and any hot surfaces.
Last Words of Encouragement
As you embark on this delightful DIY culinary adventure, remember: the best part is the fun you’ll have and the smiles you’ll create. It doesn't have to be perfect; it just needs to be made with love. I hope you enjoy creating—and indulging—in these star-shaped cookie wands as much as I do! Happy crafting!