How to Make St. Patrick's Day Green Slime: A Crafty Guide to a Festive Favorite
St. Patrick's Day is not just a celebration of all things Irish—it’s also a whimsical opportunity to bring a bit of magic, mischief, and creativity into your life. One of my favorite ways to embrace the festive spirit is by making St. Patrick’s Day Green Slime. This playful concoction is not only a fun activity for children but also a delightful sensory experience that sparks joy and creativity in everyone. Whether you’re hosting a St. Paddy’s gathering or simply looking for a festive indoor activity, this slimy DIY project is sure to bring smiles and excitement to your celebration.
In today’s guide, I’ll share my tried-and-true method for creating the perfect gooey green slime, along with tips, tricks, and creative variations. So roll up your sleeves, grab your supplies, and let’s dive into the world of slime-making!
Why Green Slime Is Popular
Green slime has become a staple in both crafting and playtime. Its stretchy, gooey texture is irresistible for kids and adults alike. Not only does it provide hours of entertainment, but it also offers an engaging way to explore basic scientific concepts such as viscosity and polymerization. Plus, what could be better than a fun green slime in honor of St. Patrick’s Day?
What You'll Need
Before we start bubbling with excitement, let’s gather all the necessary materials. Most of these ingredients are easily accessible, and you likely have them around the house!
- White school glue (8 oz) – This is the base of your slime.
- Baking soda (1 tsp) – This helps in thickening the slime.
- Contact lens solution (1-2 tablespoons) – Make sure it contains boric acid; this is crucial for the slime to form.
- Green food coloring – To achieve that festive St. Patrick’s Day color. You can also use glitter or shimmer for added flair!
- Mixing bowl and spoon – For combining your ingredients.
- Airtight container – To store your slime if you want to keep it for later.
Optional Add Ins:
- Leprechaun glitter – or any shiny glitter to sprinkle some luck.
- Essential oils (like peppermint for a fun scent) – Just a few drops to make it extra special!
Step-by-Step Tutorial
Step 1: Mix the Glue and Baking Soda
Start by pouring the entire bottle of white school glue into a mixing bowl. I love the way it sloshes and glides! Then, add in your baking soda. Why baking soda? It helps make the slime stretchy and gives it that desired texture. Use a spoon to mix everything thoroughly until the baking soda is fully dissolved.
Tip: Avoid lumps!
If you see any clumps in your mixture, continue to stir until smooth. This ensures that your slime will have a nice, uniform texture.
Step 2: Add Color
Now comes the fun part—coloring your slime! Add a few drops of green food coloring to your glue mixture. Start with a small amount and mix it in. You can always add more if you want a bolder green. If you’re feeling adventurous, consider combining yellow and blue food coloring to achieve a custom shade of green.
Personal Anecdote:
I once had a little mishap with color mixing. I was trying to create a vibrant green by adding too much yellow, and it turned out more like a muddy green! The lesson? Always start with a small amount and build up.
Step 3: Activate the Slime
Next, it’s time to add the contact lens solution. Add one tablespoon at first and stir it into the mixture. You’ll notice it starts to come together as the glue reacts with the saline solution, creating our beloved slime consistency. If it’s still too sticky after a good stir, gradually add another tablespoon of contact lens solution.
What Could Go Wrong:
If your slime turns out too sticky, it means you need more activator. However, adding too much can lead to a rubbery texture. It’s a delicate balance; take your time!
Step 4: Knead the Slime
Once everything is well combined, it’s time to get your hands into the mixture and start kneading. This is where the magic happens! As you knead the slime, it will become more cohesive and stretchy. If it's too sticky, add a few drops of contact lens solution directly onto your hands while kneading.
Safety Warning:
Make sure to wash your hands before and after handling the slime—while it’s non-toxic, it’s always important to maintain good hygiene.
Step 5: Store Your Slime
Once you’re satisfied with the texture, it’s time to store it. Place your slime in an airtight container to keep it fresh. It can typically last for up to a week if stored correctly.
Creative Variations
Feeling extra creative? Here are some variations you might enjoy:
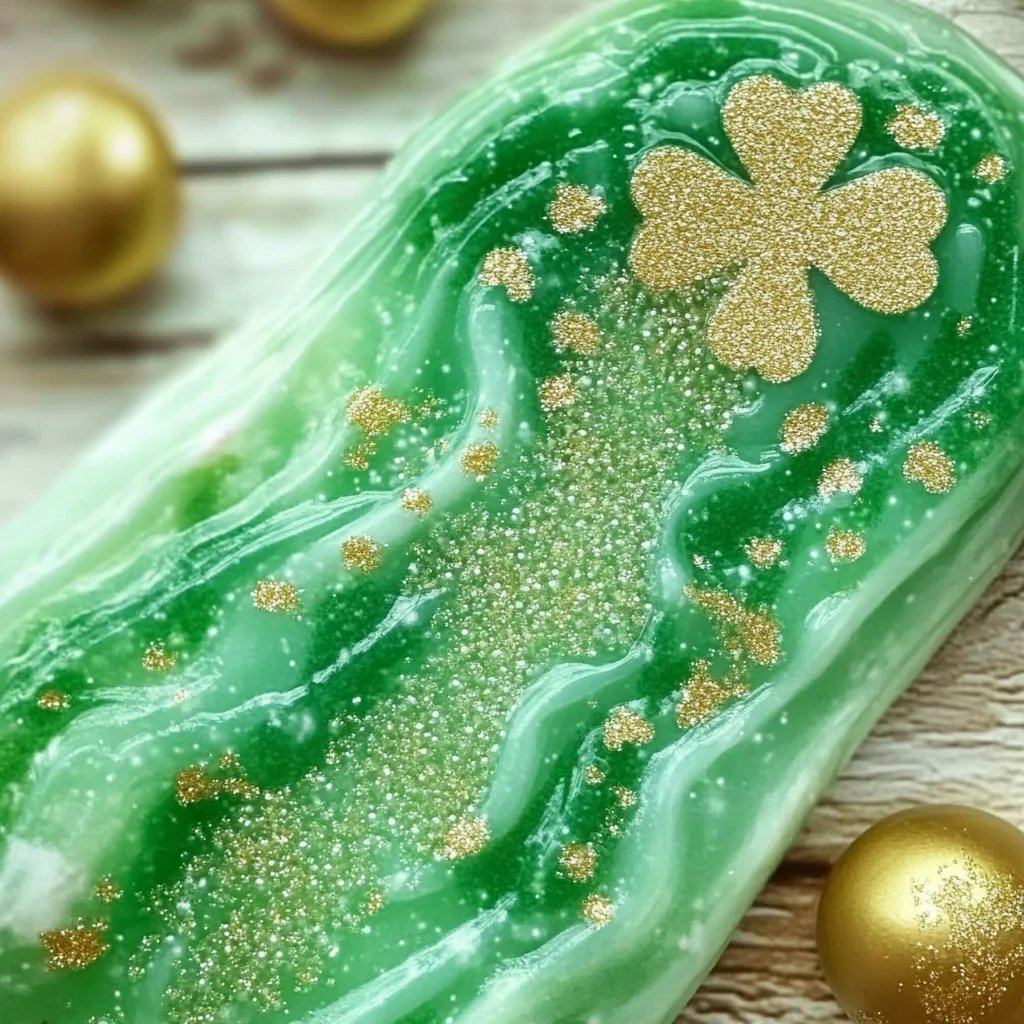
- Leprechaun Slime: Add gold glitter to mimic the treasure at the end of the rainbow.
- Scented Slime: A few drops of mint essential oil can give your slime a delightful added aroma, perfect for the holiday.
Final Tips and Tricks
- Clean Up: Slime can be messy, but it washes off easily with warm water. Just be mindful to avoid getting it on fabric or carpets.
- Experiment: Don’t hesitate to modify the recipe. Add more baking soda for a thicker slime, or mix in small beads for some texture.
- Playtime: This slime isn’t just for kids! Take some time to enjoy it yourself; there’s a certain joy in playing with gooey textures.
Conclusion
Making St. Patrick’s Day green slime is more than just a creative endeavor; it’s a delightful way to connect with loved ones, explore your crafty side, and celebrate the joyful spirit of the holiday. I hope my guide inspires you to gather your supplies and whip up this playful project to share with family and friends. Remember that crafting is all about creativity and enjoyment—don’t stress about perfection.
Happy crafting, and may your St. Patrick's Day celebrations be full of laughter, slime, and a dash of Irish luck! If you give this project a try, I’d love to hear about your experiences or any variations you’ve made. Cheers! 🍀