How to Make Spider Suncatchers: A Crafting Journey
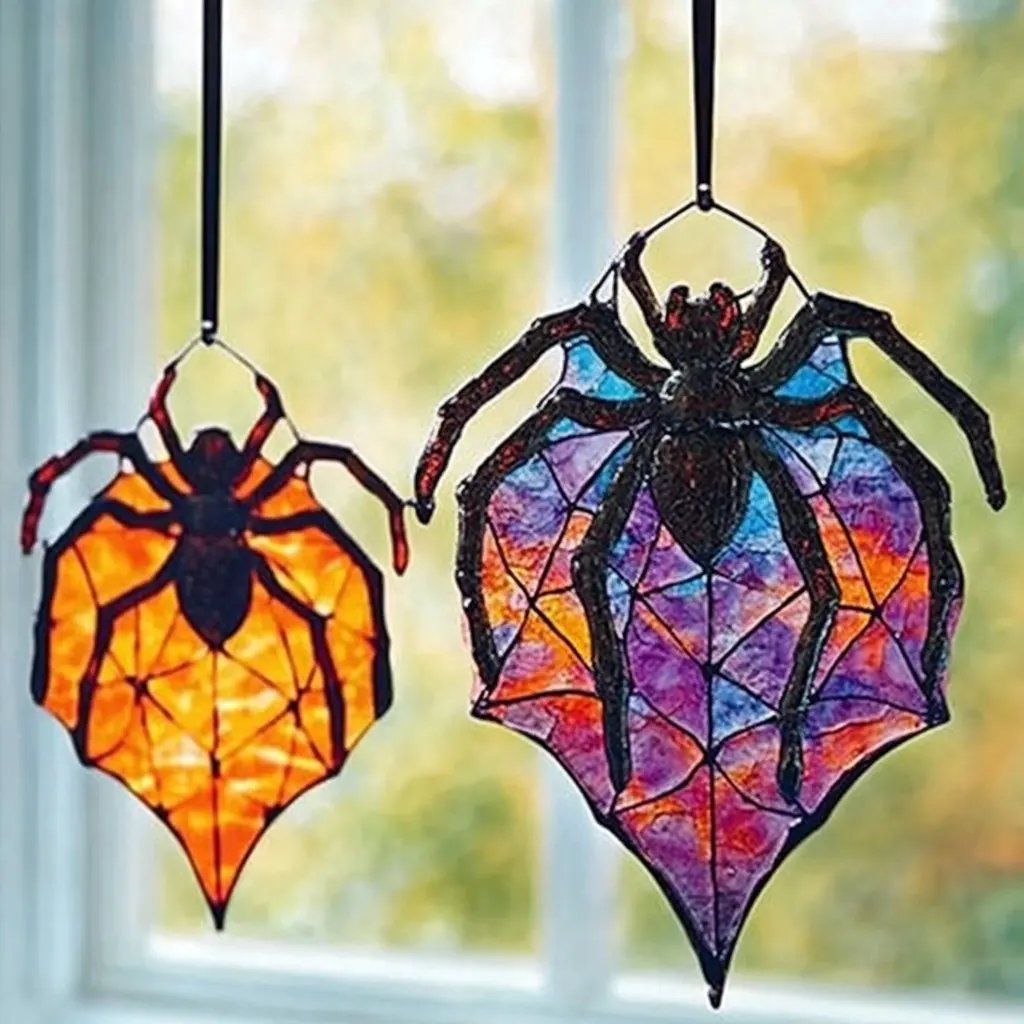
Hello, dear crafters! Today, I’m thrilled to share my experience with one of my favorite projects: Spider Suncatchers. These delightful creations not only add a whimsical touch to your home decor but also complement the changing seasons beautifully—making them a fun addition to fall and Halloween time. I love how they catch the light and cast playful shadows, creating a warm ambiance in any room.
Why Spider Suncatchers?
Spider Suncatchers have gained popularity for several reasons. They offer a unique blend of creativity and functionality, adding charm to windows, gardens, or even as gifts. They’re an excellent activity for families, perfect for classroom projects, and an enjoyable way to embrace the crafting spirit with friends. The best part? You can personalize them! Whether you're going for cute and cartoonish or spooky and realistic, the possibilities are endless!
Materials Needed
Before we dive into the steps, let’s gather our materials.
- Clear Contact Paper or Transparent Plastic: This serves as the "canvas" for your suncatcher.
- Black Construction Paper: For creating the spider's body and details.
- Colored Tissue Paper: Reds, oranges, yellows, greens—all the colors of fall!
- Scissors: For cutting out the shapes.
- Markers or Paint: For adding extra details.
- String or Fishing Line: To hang your suncatcher.
- Tape: To secure the string and any loose parts.
Step-by-Step Tutorial
Now that you've gathered your materials, let’s make your Spider Suncatcher step by step!
Step 1: Prepare Your Workspace
Why it matters: A clean, organized space will help you work efficiently and minimize mess.
Find a good spot, preferably where you have ample light and no distractions. Lay down a protective covering, like an old newspaper, to catch any stray bits of tissue paper or cutouts.
Step 2: Create the Spider Template
- Using your black construction paper, draw a simple spider shape. It can be as cartoonish or as realistic as you prefer. Don’t forget to add eight legs!
Tip: If drawing isn’t your strength, you can find templates online or trace a spider image to maintain uniformity.
Step 3: Cut Out the Spider
- Carefully cut out the spider shape.
What could go wrong: If your cuts are jagged or uneven, your spider might not look seamless.
Fix it: Make small adjustments as you cut. Smooth edges can enhance the overall appearance—so take your time here!
Step 4: Create the Web
- Now it’s time for the web! On a separate piece of clear contact paper, draw a simple spider web design with a pencil or marker. This will serve as a guide.
Tip: You can make it as intricate as you like, but remember that simpler designs are often more effective at displaying the vibrant colors of the suncatcher.
Step 5: Assemble Your Suncatcher
- Peel off the backing of the contact paper and lay it sticky side up.
- Start filling in your web design with small pieces of colored tissue paper. Just dab them randomly!
Why this matters: The light will shine through the tissue paper, creating brilliant colors in your suncatcher.
- Once you're happy with the design, place the spider shape on top.
Tip: If you like, go back in with your markers or paint to add more details to the spider—like eyes or patterns on the body!
Step 6: Seal it Up
- Carefully place another piece of contact paper on top of your creation, sticky side down to seal everything inside.
What could go wrong: If there are air bubbles trapped beneath, this can distort the appearance.
Fix it: Use a piece of cardstock or a ruler to press out the bubbles starting from the center and moving outward.
Step 7: Cut Out the Edges
- Cut off any excess contact paper around your suncatcher, leaving a narrow border around your design. This helps to seal the edges and gives an appealing finish.
Step 8: Add the String
- On the top of the suncatcher, use tape to attach a length of string or fishing line for hanging.
Tip: Consider reinforcing the spot with an additional piece of tape to ensure it stays put.
Step 9: Hang and Enjoy!
Find a sunny spot in your home (or outdoors) to hang your suncatcher. Don’t forget to step back and admire your handiwork!
Alternative Methods and Ingredient Substitutions
- Instead of using contact paper, you can use clear plastic sheets if you want a different texture or effect.
- For added sparkle, include decorative glitter or sequins between the layers of tissue paper. This can enhance the visual appeal, especially when the light hits them right.
Final Thoughts & Variations
The beauty of Spider Suncatchers is that you can adapt the process. Consider creating larger webs incorporating colorful leaves or even food-themed suncatchers for other seasons! I often find myself experimenting with different shapes and colors, letting inspiration guide me.
Safety Warnings
When crafting, especially with scissors, be mindful of sharp edges. Grown-ups should supervise younger children to ensure safety.
Personal Anecdote
I remember making my first Spider Suncatcher with my niece. We spent a delightful afternoon manipulating colors, discussing how light changes the way we see the world. Watching her face light up as the suncatcher danced in the sunlight brought us both joy I hope to share with others.
Crafting should be fun and liberating, so don't stress too much about perfection. Your unique touch makes every creation special! Happy crafting, friends! Let your imagination take flight, just like the light through your suncatchers!