How to Make Snowy Mountain Slime Balls: An Expert Crafter’s Guide
Introduction
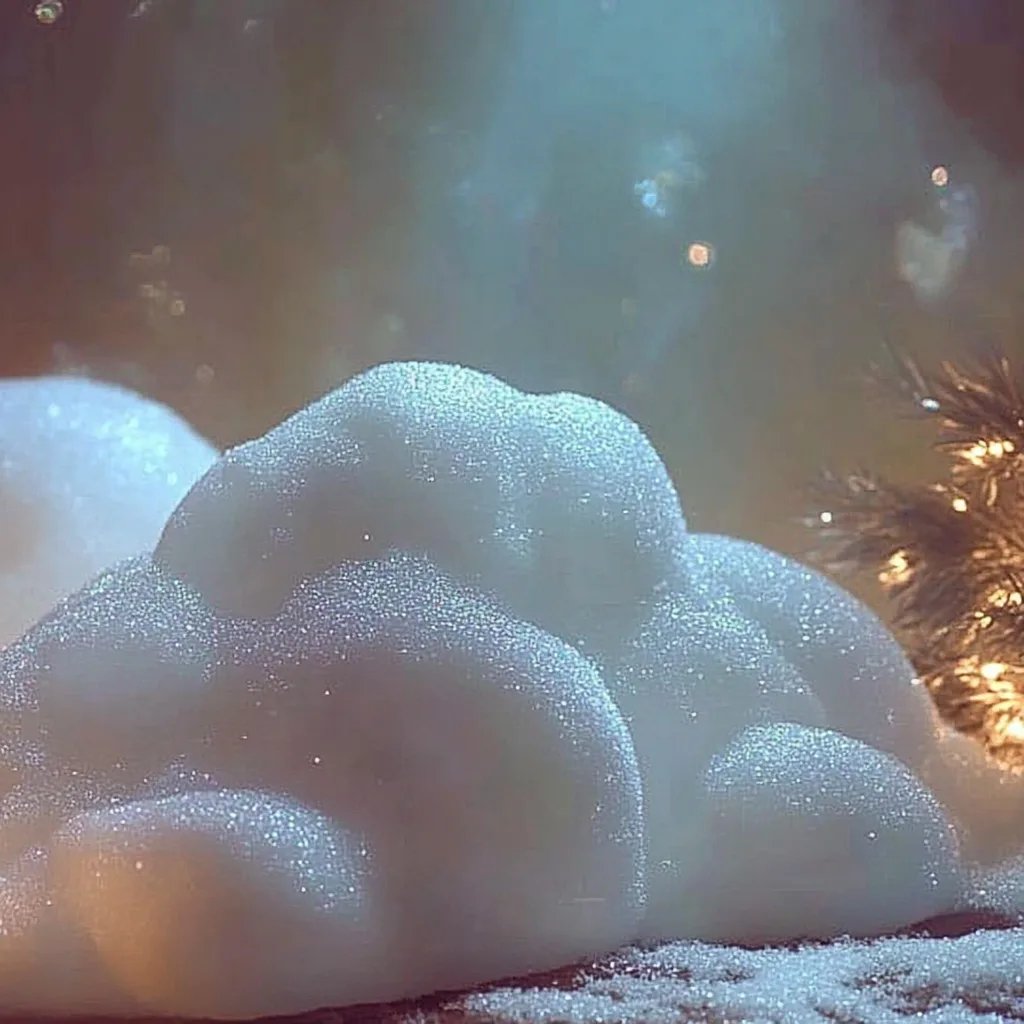
Hello fellow crafters! Today, I'm absolutely thrilled to guide you through one of my favorite DIY projects: making Snowy Mountain Slime Balls. If you’re not familiar, Snowy Mountain Slime Balls are delightful, squishy creations that look just like mini snowballs. They are popular for their aesthetic appeal and tactile satisfaction, making them perfect for play, stress relief, or even as a unique addition to gifts and decor.
What makes these slime balls so enchanting is their fluffy texture and the mesmerizing way they squish and mold. You can use them during a cozy night in, as a calming sensory toy, or even for festive decorations during the holiday season. The possibilities are endless!
Whether you’re a seasoned crafter or a complete beginner, I’ll walk you through every step necessary to make your own Snowy Mountain Slime Balls—from the materials you need to expert tips that come from my personal experience. So let’s dive in!
Materials You Will Need
To get started, gather the following materials:
Essential Ingredients
- White school glue (PVA glue): This will be our base and is crucial for giving the slime its structure.
- Foam shaving cream: This adds that fluffy, snowy texture we all love.
- Liquid laundry detergent (or contact lens solution): This acts as the slime activator, transforming your gooey mixture into a cohesive ball.
- Baking soda: To help enhance the texture and make the slime less sticky.
- Cornstarch (optional): For an extra fluffy consistency.
Optional Ingredients for a Personal Touch
- Glitter or snow-like particles: To give your slime an extra sparkle, resembling freshly fallen snow.
- Essential oils: For a pleasant scent—think peppermint for a wintery feel or vanilla for a cozy vibe.
Tools
- Mixing bowl: A large bowl works best to mix and knead your slime without making a mess.
- Mixing spoon or spatula: I recommend using a silicone spatula for ease of cleaning.
- Measuring cups and spoons: Accurate measurements will make a big difference in the final product.
- Airtight container: Perfect for storing your slime when you’re not playing with it.
Step-by-Step Tutorial
Now that we have our materials organized, let’s get started with making Snowy Mountain Slime Balls!
Step 1: Create the Glue Base
Why It Matters: This is where the slime magic begins! The glue provides the foundation for your slime.
- Measure: Pour 1 cup of white school glue into your mixing bowl.
- Mix: Add 1 tablespoon of baking soda. This will help your slime maintain its shape. Stir the mixture until they are fully combined.
Pro Tip: If you’re making a larger batch, remember the 1:1 ratio of glue to your other ingredients. Adjust measurements accordingly!
Step 2: Add Fluffiness
Why It Matters: Shaving cream is the secret ingredient that gives our slime its unique fluffy texture.
- Blend: Gradually add 2 cups of foam shaving cream to the glue mixture. This is where the fun starts!
- Whip: Stir vigorously until everything is combined and the mixture appears fluffy. You want a consistency similar to whipped cream.
What Could Go Wrong: If the mixture is too watery, don’t worry! Just add more shaving cream until you reach that fluffy texture.
Step 3: Activate the Slime
Why It Matters: This step solidifies your mixture, transforming it from a gooey mess into actual slime.
- Add Activator: Slowly drizzle in about 1/4 cup of liquid laundry detergent (or contact solution), mixing continuously.
- Knead: Once it starts to come together, use your hands (make sure they’re clean!) to knead the slime until it no longer sticks to your fingers.
Fix It: If your slime feels too sticky, add more detergent slowly, a tablespoon at a time.
Step 4: Final Touches
Why It Matters: Personalizing your slime adds an enjoyable and unique flair.
- Mix in optional ingredients: Fold in any glitter or snow-like particles for that winter wonderland feel.
- Scents: If you’re adding essential oils, start with just a drop or two; you can always adjust according to your preference.
Step 5: Form the Slime Balls
Why It Matters: The visual aesthetics of these fluffy snowballs are what make them appealing.
- Roll: Take scoops of the slime in your hands and gently roll them into small balls about the size of a golf ball.
- Shape: Aim for a rough texture; the more organic, the better—it should resemble a snowball!
Creative Variations
The best part about making Snowy Mountain Slime Balls is that you can get incredibly creative! Here are some alternative ideas:
- Color Variations: Add a drop or two of food coloring (keeping it light for a pastel look) for colorful snowballs.
- Scent Variations: Experiment with various essential oils or scents; lavender for relaxation or citrus for freshness.
- Texture Changes: Incorporate small beads or foam balls for a tactile experience.
Safety Warnings
- Always supervise children while crafting, especially when using any chemicals.
- Ensure that none of the materials you use are toxic or cause skin allergies.
- Store slime in an airtight container to prevent it from drying out.
My Personal Insights
As I was crafting my first set of Snowy Mountain Slime Balls, I learned the beauty of patience. I remember my first attempt ended in a sticky disaster! But through trial and error, I discovered the joy of kneading and mixing. It turned into a meditative experience that I now cherish.
So, embrace the process! Even if your first batch isn’t perfect, each attempt brings you closer to the ideal slime. And remember, the fun is in the creativity that comes with it.
Conclusion
And there you have it—your very own Snowy Mountain Slime Balls! Whether you’re gifting them to a friend, using them for a sensory play session, or simply enjoying the crafting process, I hope this guide inspires you to unleash your creativity.
Feel free to share your experiences and any tips you discover along the way! Crafting is all about learning and growing together. Happy crafting, and may your Snowy Mountain Slime Balls bring endless joy!