How to Make Sea-Glass Teal Foam Tide: A Step-by-Step Guide
Hello fellow crafters! If you’re seeking to bring the serene and refreshing aesthetics of seaside treasures into your home, then you’re in for a real treat. Today, I’m excited to share my journey into crafting Sea-Glass Teal Foam Tide—a beautiful, eye-catching art piece that captures the sparkling allure of sea glass and the mesmerizing waves of the ocean. This project is not only popular for home décor but it also serves as a fantastic gift or centerpiece for beach-themed events.
I love telling my crafting story alongside techniques, so grab your supplies, settle in, and let’s ride this creative wave together!
What is Sea-Glass Teal Foam Tide?
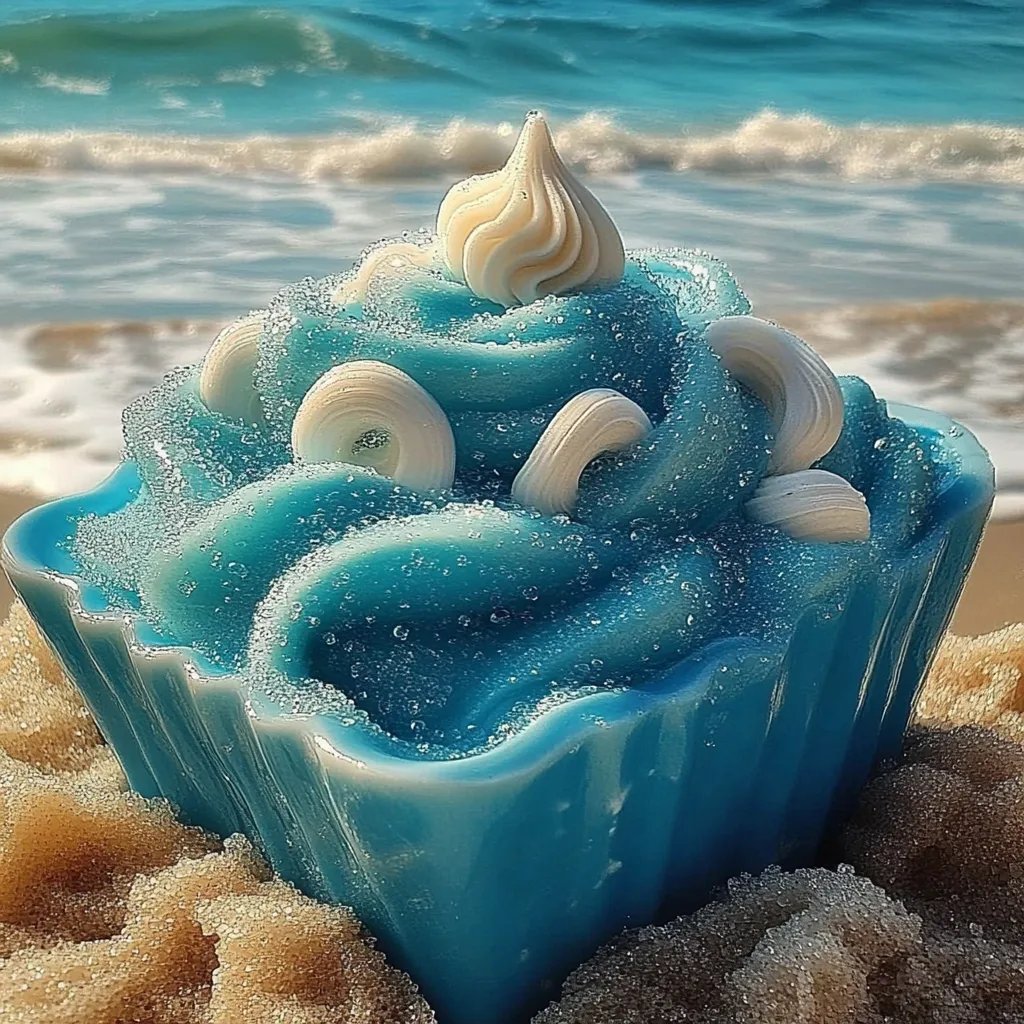
Before we dive in, let’s talk about what this creation entails. Sea-Glass Teal Foam Tide is essentially a decorative piece that blends teal and white hues, resembling the stunning interplay of sea foam against the sandy shores. This piece can be used in a variety of ways: as a tabletop centerpiece, a decorative bowl, or simply as a stunning showpiece that adds a splash of coastal charm to your living space.
What makes Sea-Glass Teal Foam Tide especially popular is its organic and unique aesthetic—no two pieces are exactly alike! Additionally, it evokes feelings of tranquility and reminds us of those refreshing ocean breezes we all crave.
Supplies You'll Need
Let’s gather our supplies! You don’t need fancy equipment for this project, just some accessible materials that you might already have at home or can easily find.
Essential Materials:
- Resin Kit: You can choose a two-part epoxy resin suitable for crafts. Look for one labeled as “non-toxic” for safety.
- Teal and White Pigment Dyes: Look for pigments that are designed for resin to ensure vibrant color.
- Silicone Molds: A shallow bowl mold or anything that can mimic the shape of a tide pool.
- Rubbing Alcohol: This helps in cleaning your tools and eliminating air bubbles.
- Mixing Sticks and Cups: These are essential for accurate measuring and mixing.
- Disposable Gloves and Safety Glasses: Safety first! Protect your skin and eyes from resin exposure.
- Heat Gun or a Torch: This helps remove bubbles from the resin after pouring.
Optional Decorative Elements:
- Sea Glass or Colored Stones: For added texture and visual appeal.
- Shells or Small Starfish: A great way to elevate your beach theme.
- White Sand: To mimic the shores and enhance the coastal vibe.
Step-By-Step Tutorial
Step 1: Prepare Your Workspace
To ensure a smooth crafting experience, start by preparing your workspace. Choose a flat, well-ventilated area where you can work without interruptions. It’s essential to protect your surfaces with newspaper or a disposable tablecloth, as resin can be sticky and challenging to clean up if it spills.
Tip: I always work on a few layers of old newspapers. If I do spill, I simply let it set, then peel off the dried resin—easy cleanup!
Step 2: Measure and Mix Your Resin
Following the manufacturer’s instructions, measure out the appropriate ratio of resin and hardener. Most resin kits recommend a 1:1 ratio, but double-check to be certain.
Why this matters: Accurate measurements are crucial for the resin to cure properly. Messing up the ratio can result in an incomplete cure, leaving your piece soft and tacky.
Once measured, mix the two parts in a cup for at least 3-4 minutes. Use a stick to scrape the sides and bottom of the cup to make sure everything is blended well. This is where I often remind beginners to be cautious; if you don’t mix long enough, some resin may remain unmixed, leading to sticky patches.
Step 3: Add Pigment Dyes
Now comes the fun part—adding your teal and white pigment dyes! Start by adding a few drops of teal dye into your mixed resin. I like to start with less and add more until I achieve my desired shade. Mix it in thoroughly.
For the white dye, you might want to keep it a bit more muted, so add it gradually. Don’t forget to reserve a small amount of clear resin for the foam effect.
Step 4: Pour Resin into Molds
Next, slowly pour the teal resin into your mold, making sure to cover the bottom and create a slight mound that resembles a tide pool. If you're adding decorative pieces like sea glass or shells, now's the time to place them strategically in the resin.
Common Mistake: Pouring too quickly can create bubbles. Always pour slowly and in a controlled manner.
Step 5: Create the Foam Effect
Once your teal layer is set, it’s time to create that foamy, white top layer. Take the reserved clear resin, mix in some white dye, and pour it on top of the teal layer gently. Use a stick or spatula to slightly swirl the colors together, creating that organic wave effect.
Step 6: Remove Bubbles
Now, grab your heat gun or torch! This part is essential to ensure your resin transforms into a smooth, bubble-free surface. Wave the heat source across the surface, not too close to avoid overheating but close enough to pop any visible bubbles. This moment is magical; watching the bubbles dissipate unveils the glossy surface of your masterpiece.
Step 7: Let It Cure
Allow your Sea-Glass Teal Foam Tide to cure as per the resin instructions, typically 24 hours. Resist the temptation to touch it—this is when your creation takes form!
Step 8: Demold Your Creation
After waiting the appropriate time, gently pop your piece out of the mold. A silicone mold should release easily. If you encounter any resistance, consider putting it in the freezer for a few minutes and then try again.
Creative Variations and Personal Anecdotes
Over the years, I’ve experimented with different elements to enhance my Sea-Glass Teal Foam Tide. I once added a sprinkle of biodegradable glitter to my mixture, which added a magical sparkle reminiscent of sunlight dancing on waves. You can also incorporate fine sea salt for texture or layer in additional colors for a more dramatic effect.
Safety Note: Always wear gloves and work in a well-ventilated area when handling resin. Keep pets and children away from your work area during the curing process.
Conclusion
Creating a Sea-Glass Teal Foam Tide is a fulfilling crafting experience that not only beautifies your surroundings but fills your heart with that relaxed, coastal vibe. I hope this guide inspires you to embark on your crafting journey while enjoying the process!
Remember, crafting is about exploration and personal expression. Do not be afraid to modify the instructions or add your flair. You’ll soon find each piece is a unique reflection of your creative spirit.
With practice, patience, and a sprinkle of creativity, you can conjure a stunning Sea-Glass Teal Foam Tide that brings the serenity of the ocean right to your home.
Happy crafting!