How to Make Sand Slime: A Fun and Engaging Craft for All Ages
Hello fellow crafting enthusiasts! Today, I am absolutely thrilled to share one of my all-time favorite projects: making Sand Slime! If you haven’t tried it yet, trust me, you're in for a delightful surprise. Sand Slime marries the beloved gooeyness of traditional slime with the unique texture of sand, delivering a refreshing twist that’s sure to enchant kids and adults alike.
Why Is Sand Slime So Popular?
The allure of Sand Slime lies in its sensory experience—it's not only fun to play with but also provides a satisfying tactile sensation. Children adore the way it feels in their hands, and it’s a wonderful medium for imaginative play, whether they're creating sand castles or squishing it between their fingers. Additionally, it serves as an educational tool, promoting fine motor skills and encouraging creativity.
I love to pull out my batch of Sand Slime during family gatherings, playdates, or even just a cozy afternoon at home. It's an activity that transcends age, making it perfect for birthday parties or rainy days inside. Plus, Sand Slime is easily customizable, meaning you can tailor it to match any theme or personal preference!
Gather Your Supplies
Before diving into the fun part, let’s make sure we gather all the materials you'll need. Here's what I recommend for a classic batch of Sand Slime:
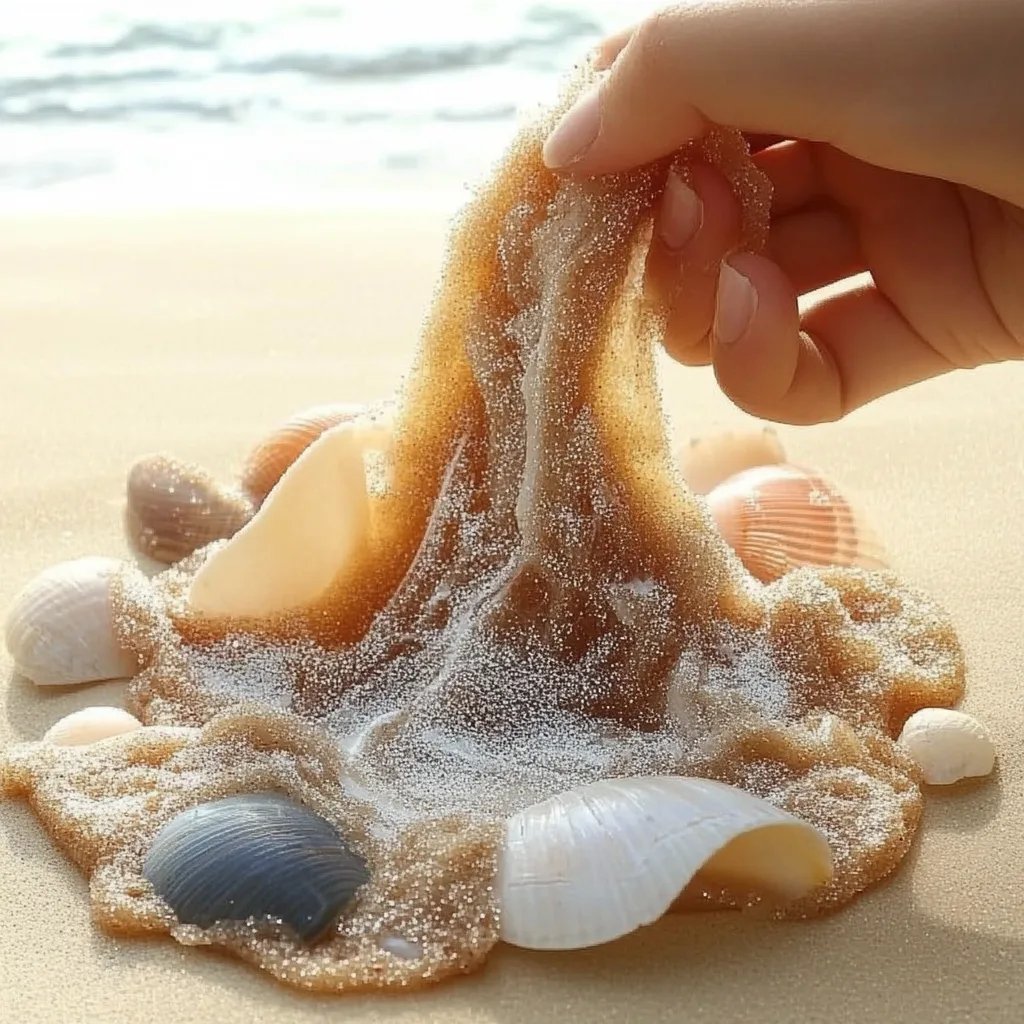
- White or Clear School Glue: About 1 cup. This will act as the base for your slime.
- Fine Sand: About ½ cup. This is where the "sand" in Sand Slime comes from. Fine sand works best to give it that desired texture.
- Liquid Starch: About ½ cup. This will help bind the glue and sand together to create that delightful slime consistency.
- Food Coloring (Optional): To make your slime pop, add 2-3 drops of your desired color.
- Mixing Bowl and Spoon: For combining everything together.
- Airtight Container: To store your slime once you’re finished playing.
Step-by-Step Tutorial to Make Sand Slime
Step 1: Prepare Your Workspace
Before I start any crafting project, I make sure my workspace is clean and clutter-free. Trust me—this can make a huge difference in your crafting experience. Lay some newspaper or a plastic tablecloth down to catch any spills.
Step 2: Combine the Glue and Sand
In your mixing bowl, pour in your 1 cup of school glue. Next, add in about ½ cup of fine sand. This step is essential as it forms the primary structure of your slime and sets the tone for its texture. Stir these ingredients together until they’re fully combined. You want a uniform mixture where the sand is evenly distributed throughout the glue.
Tip: If you want a coarser texture, you can use slightly bigger sand granules, but be aware that this may impact the slime's stretchiness.
Step 3: Add Color (If Desired)
If you’re feeling vibrant—this is the fun part! Add a few drops of food coloring to your mixture. I usually recommend starting with two drops and mixing thoroughly, adding more if you desire a deeper hue. This step is purely for aesthetic—crafting should be fun, and a little splash of color can bring a smile to anyone’s face!
Step 4: Incorporate the Liquid Starch
Now, it’s time for the magical ingredient: liquid starch! Slowly pour in about ½ cup of liquid starch while continuously stirring. The viscosity will start changing immediately, pulling the mixture into that classic slime texture. This step is critical because the starch activates the glue, transforming it into slime.
What Could Go Wrong: If your slime remains too sticky even after the liquid starch is added, don’t fret! Just gradually add more liquid starch, a tablespoon at a time, until the desired texture is achieved.
Step 5: Knead the Slime
Once your mixture comes together, it’s time to get your hands involved! Take the slime out of the bowl and begin kneading it with your hands. You might find this part a bit sticky at first, but don't worry, keep kneading! As you work the slime, it will become smoother and less sticky. If it sticks excessively to your hands, add a bit more liquid starch.
Safety Warning: While all the materials used in Sand Slime are generally safe, I recommend letting the slime air out for a while if your little ones have sensitive skin or allergies.
Step 6: Store Your Sand Slime
Once you're happy with the consistency and feel of your Sand Slime, place it in an airtight container. Properly stored, your Sand Slime can last for a few weeks! Just remember to keep it out of direct sunlight and excessive heat.
Creative Variations and Alternatives
Variety is the spice of life, right? Here are a few delightful twists you can try with your Sand Slime:
- Scented Slime: Add a few drops of essential oils to your mixture for a sensory experience that smells as good as it feels. Lavender for relaxation or orange for an energizing pick-me-up!
- Add-Ins: Consider mixing in small beads, glitter, or even tiny shell shapes for added texture and visual appeal.
- Color Blending: Try creating a marbled effect by mixing different colors of slime together instead of fully blending.
Personal Reflections
One of my fondest memories is making Sand Slime with my niece during a summer visit. We spent hours experimenting with different colors and textures, laughter filling the air as we squished our creations between fingers. It’s these moments that I cherish and hope to inspire others to create with their loved ones.
Final Thoughts
Crafting should always be a joyful experience and Sand Slime encapsulates that beautifully. With a simple list of materials and a few easy steps, you can create this wonderfully versatile product that's perfect for sensory play. As you embark on your Sand Slime journey, I encourage you to experiment, find your own groove, and most importantly—have fun! Happy crafting!