How to Make Rainbow Swirl Bouncy Balls: A Fun and Colorful Crafting Adventure
Hello, fellow crafters! As someone who absolutely adores hands-on projects that combine creativity and a hint of science, I can't wait to dive into the delightful world of Rainbow Swirl Bouncy Balls with you. If you've ever wished to make a vibrant, squishy ball that not only provides hours of entertainment but also adds a splash of color to your day, you’re in the right place!
Rainbow swirl bouncy balls are popular for several reasons. They are fantastic for kids' parties, creative play, or as personalized gifts for friends and family. Beyond their entertaining purpose, they also spark curiosity about basic science concepts, like polymerization and elasticity – making them a perfect educational craft. But let’s get right into it!
What You’ll Need
Before we start, let’s gather all our materials. Here's a comprehensive list:
Materials:
- 1.5 teaspoons of Borax
- 1 cup of warm water
- 1 cup of white school glue (PVA glue)
- 2 cups of cornstarch
- Food coloring (multiple colors for the rainbow effect)
- Measuring spoons and cups
- A mixing bowl
- A whisk or stick for stirring
- Plastic gloves (for hygiene and cleanliness)
- Wax paper (for drying the bouncy balls)
- Optional: Glitter to add some magical sparkle!
Safety Note:
While these materials are generally safe, ensure that younger kids are supervised while crafting, especially when dealing with Borax and glue. Always encourage handwashing after the crafting session.
Step-by-Step Tutorial
Let’s jump into crafting these bright globes of joy!
Step 1: Prepare Your Workstation
I always make it a point to organize my workspace before diving into a project. Lay down some wax paper to keep the area clean and less chaotic. Set out all your materials where you can easily grab them.
Step 2: Dissolve the Borax
In a bowl, combine 1.5 teaspoons of Borax with 1 cup of warm water. Stir it well until the Borax completely dissolves. (Why this matters: Borax helps in the chemical reaction that will make our glue turn into a bouncy ball! If any tiny granules remain, it can affect the ball's final texture.)
Step 3: Combine the Glue and Cornstarch
In another mixing bowl, pour in 1 cup of white school glue. Next, add 2 cups of cornstarch to the glue. Mix these two ingredients thoroughly using a whisk or stick until a consistent, dough-like texture forms.
(Potential Mistake: If your mixture is too runny, you may need to slowly add more cornstarch. If it’s too stiff, a little water will help loosen it up—just add a bit at a time!)
Step 4: Color It Up!
Now comes the fun part! If you want to create a rainbow effect, separate your cornstarch-glue mixture into different bowls (one per color). Then, add a few drops of food coloring to each bowl. (Tip: Mixing colors can yield fantastic results too! Don’t be afraid to experiment.) Mix until you achieve your desired hues.
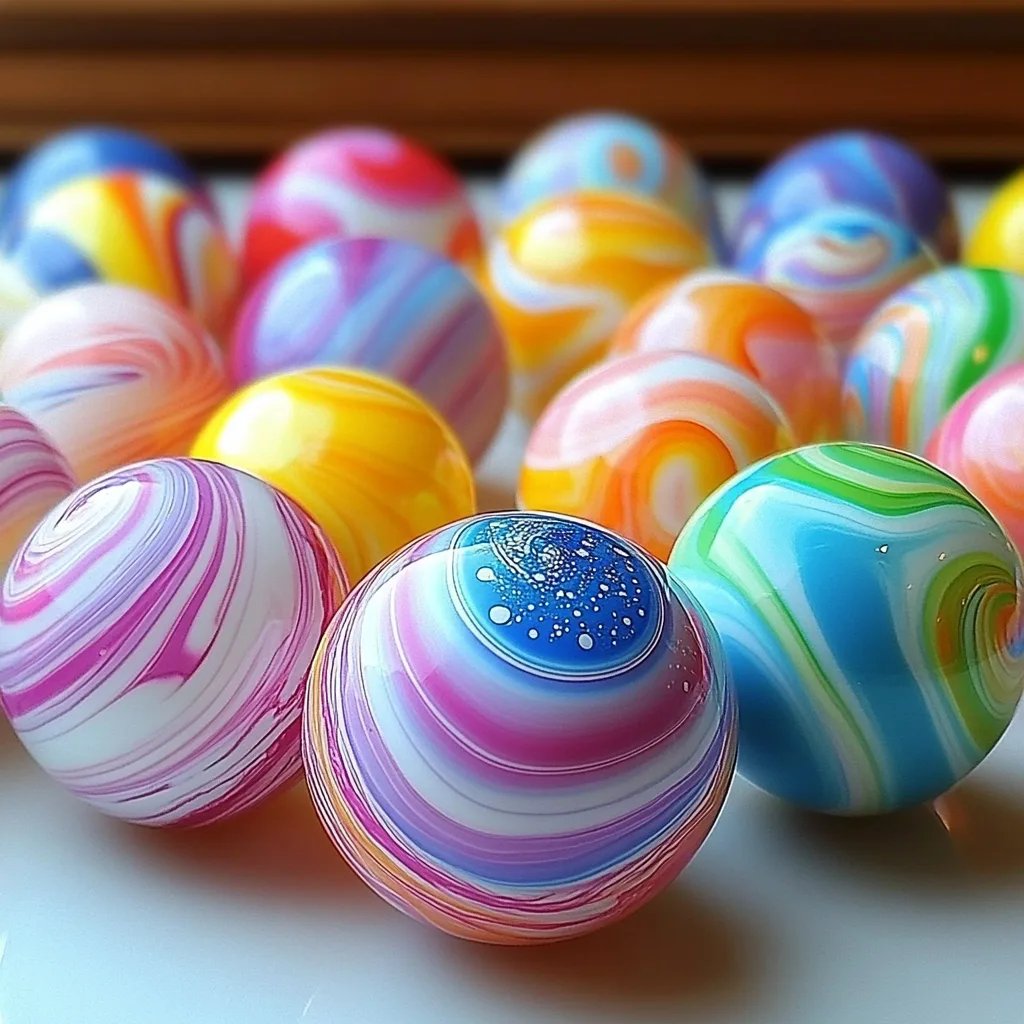
Step 5: Form the Rainbow Swirls
Using your gloves, take small amounts of each colored mixture you prepared. Begin with one color and then layer in tiny bits of the next color, creating a “rainbow” effect. Carefully roll these small portions together into a ball shape.
(Pro Tip: The tighter you pack the colors together, the better the swirling effect and bounciness of your ball will be. If pieces start falling apart, simply squeeze them together more firmly.)
Step 6: Combine with Borax Solution
Once your bouncy ball is formed, dip it into your Borax solution for a few seconds. This will help to firm up the structure. Then, remove it and roll it gently in your hands for a minute or so.
(Common Issue: If the ball doesn’t bounce well, it could be due to insufficient scoop and mix time. Take your time here for the best end result.)
Step 7: Dry and Cure
Place your finished bouncy balls on the wax paper and let them dry for at least 24 hours. They need time to fully set and reach their maximum bounce potential.
(Anecdote: When I first made these, I was impatient and tried to bounce one after just a few hours. It was a bit like a rubber pancake rather than a bouncy ball! So trust the waiting game.)
Step 8: Play and Enjoy!
Once they’re dry, it’s time for the best part—bounce time! Test them out on different surfaces and see how high they go. Challenge your friends to a good old “bouncy ball challenge” and see who can get the highest bounce!
Creative Variations
Feeling adventurous? Here are a few creative variations to consider:
- Glitter Add-Ins: Mix in a pinch of glitter to your colorful mixtures for some extra sparkle.
- Themed Colors: Create themed balls for holidays or events (think red and green for Christmas, pastel shades for Easter, etc.).
- Scented Balls: Add a few drops of essential oils to the glue mixture for a delightful smell as you play!
Final Thoughts and Tips
Making Rainbow Swirl Bouncy Balls is a fantastic way to explore your creativity and enhance fine motor skills, especially for kids. It's truly wonderful to see how simple ingredients can create such joyful results!
If any steps feel tricky, don’t hesitate to reach out to the crafting community or consult videos online. Your crafting journey is all about experimentation—some of the best creations come from trying things differently. Most importantly, have fun with it!
I can’t wait to hear about your Rainbow Swirl Bouncy Balls – the colors, the swirls, and most importantly, the smiles they bring! Happy crafting! 🌈🎉