How to Make Rainbow Gummy Soda Pops: A Fun and Colorful Treat!
Hello, crafty friends! Today, I'm thrilled to share one of my all-time favorite DIY projects: Rainbow Gummy Soda Pops. Bursting with vibrant colors and playful flavors, these treats are not only visually stunning but also incredibly delicious. Perfect for summer parties, children's birthday celebrations, or just a fun afternoon project, these gummy pops evince a sense of nostalgia while still being trendy and appealing.
What Makes Rainbow Gummy Soda Pops Special?
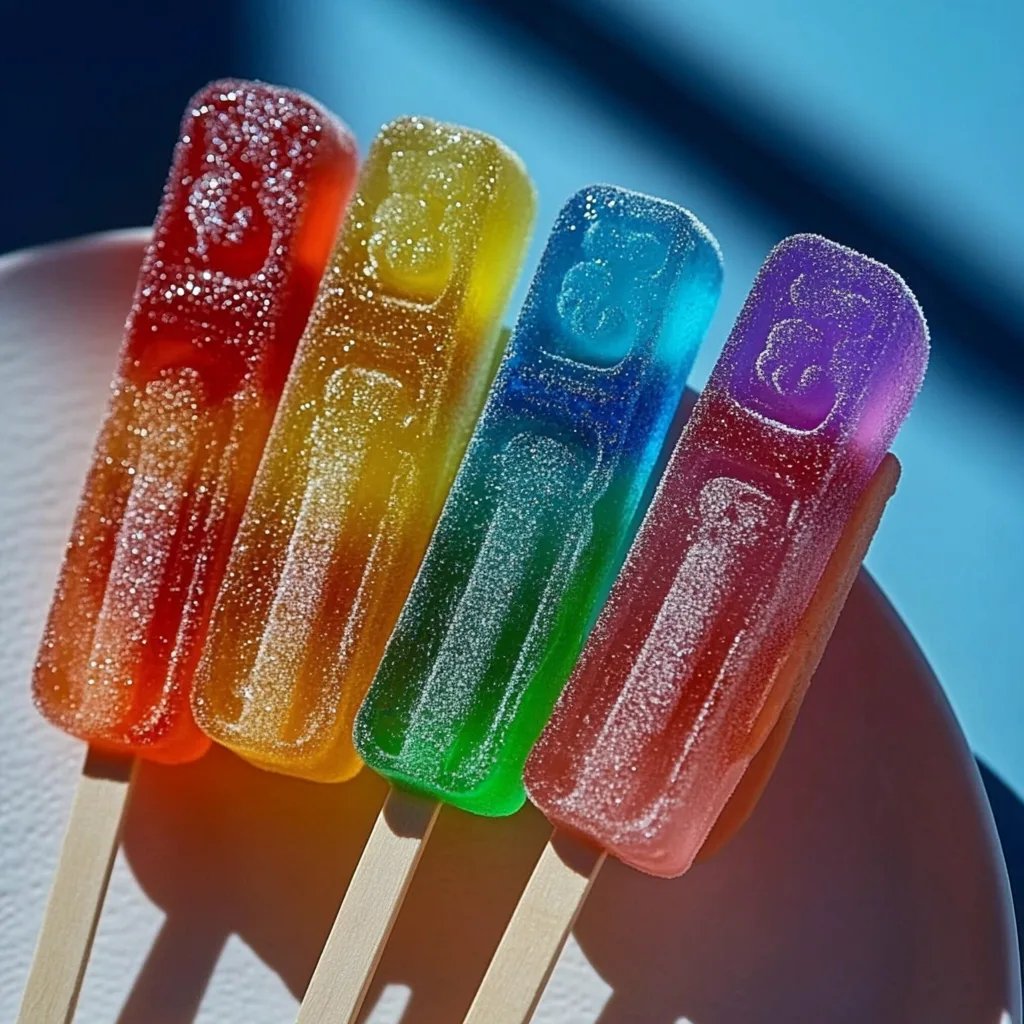
Rainbow Gummy Soda Pops are essentially colorful gelatin treats filled with bubbly soda. Each layer brings its own flavor and color, creating a yummy treat that delights both the eyes and taste buds. I've seen these pops take center stage at many gatherings, and they make a great conversation starter. Plus, who doesn’t love a treat that reminds them of the carefree days of childhood?
When to Make Rainbow Gummy Soda Pops
You can whip up these delightful pops anytime! Here are a few occasions that might inspire you:
- Birthday Parties: Surprise the birthday child with a rainbow of flavors.
- Summer Pool Parties: Refresh your guests with a cool, bubbly treat.
- Family Movie Nights: Make a fun activity out of creating these treats together.
- Festive Holidays: Customize the colors to match specific holidays—imagine red and green for Christmas or pastel hues for Easter!
Let's Get Started on Your Rainbow Gummy Soda Pops!
Materials Needed
- Gelatin: I prefer using unflavored gelatin for a classic gummy texture (about 4-6 packets).
- Flavored Gelatin: You’ll need your favorite flavors (e.g., cherry, lemon, lime, blue raspberry, etc.). Aim for at least five different flavors for a full rainbow effect.
- Soda: Clear soda like lemon-lime or sparkling water works best. Avoid dark sodas, as they will muddy the colors.
- Sugar: Optional for added sweetness.
- Popsicle Molds: Silicone molds are ideal for easy removal.
- Mixing Bowls: For combining the ingredients.
- Whisk: To mix the gelatin and soda together.
- Measuring Cups and Spoons: For precise ingredient measurements.
- Dropper or Funnel: For layering the gelatin in the molds.
Step-by-Step Tutorial
Step 1: Prepare Your Molds
Before you start mixing anything, it's essential to get your molds ready. Make sure they are clean and dry. I like to lightly coat silicone molds with a tiny bit of non-stick spray to ensure easy removal, but be careful not to add too much, or it can interfere with the flavor.
Step 2: Dissolve the Gelatin
In a mixing bowl, pour about 1/2 cup of boiling water. Add one packet of unflavored gelatin to the water and whisk until it is completely dissolved. This is crucial—if the gelatin isn’t fully dissolved, it might lead to a chunky texture later on.
Tip: Use a fine-mesh strainer to ensure there are no undissolved bits.
Step 3: Add the Soda
Slowly pour in 1 cup of your chosen clear soda to the dissolved gelatin mixture. It’s important to gently mix this in to avoid losing too much carbonation, which adds the bubbly element to our pops.
Step 4: Layer the Colors
Here comes the fun part! To create those beautiful rainbow layers, you need to pour the gelatin mixture into your molds. Use a dropper or funnel to carefully layer each color, allowing each layer to set before moving to the next.
Why Layering Matters: Not only does it create the beautiful rainbow effect, but layering helps control the texture. If you pour all at once, the flavors may blend too much, and you won't get that distinct taste with each layer.
Step 5: Let Them Set
Once your molds are filled with the first layer, place them in the refrigerator for about 20-30 minutes. You’ll know it's ready for the next layer when the surface feels firm to the touch but slightly tacky.
Troubleshooting: If your layers mix, your previous layer might not be set enough. Don’t worry too much! It can still taste great, though it’ll be less visually appealing.
Repeat the dissolving and pouring process for the different flavored gelatin mixtures until your molds are filled to the top.
Step 6: Final Freeze
After you’ve added the last layer, let the molds set in the refrigerator for at least 3-4 hours, or for the best results, overnight. This ensures all layers are perfectly set.
Step 7: Remove from Molds
Once set, gently pull the popsicle sticks or molds away from the sides. If they stick, you can fill a shallow dish with warm water and place the molds in it for just a few seconds to loosen them.
Creative Variations
- Fruit Additions: Add small fruit pieces such as berries or small citrus slices between layers for added texture and flavor.
- Color Themes: For themed parties, customize the colors according to the theme—pastel colors for spring, bright colors for a summer bash, or even icy blues and whites for winter.
- Alcoholic Version: For adult gatherings, replace soda with flavored sparkling wine or even cocktails.
- Dairy Layer: A creamy layer using coconut milk or yogurt can add an exciting twist.
Personal Anecdotes
I remember the first time I attempted these pops—it was a birthday party for my niece. I ended up having more fun than the kids! When we pulled them out of the fridge, their vibrant colors and shiny layers brought absolute joy to everyone. It’s moments like those that make crafting so rewarding!
Creating Rainbow Gummy Soda Pops is not just about the final product; it's about the process and the joy of creating something magical. Feel free to experiment and make the recipe your own—there’s no “one right way.”
Safety Warnings
- Watch out for any potential allergies, especially if you’re adding fruits or using flavored gelatin. Always check the labels.
- Ensure any children participating under 12 are supervised while using sharp objects or boiling water.
Conclusion
Rainbow Gummy Soda Pops are not only a worthy addition to any gathering but also an opportunity to unleash your creativity in the kitchen. I hope this guide helps you navigate the wonderful world of crafting your treats. Embrace the process and, most importantly, have fun with it! You’ll not only end up with delicious snacks but perhaps even create a tradition of making these colorful pops every summer. Happy crafting!