How to Make Race Car Ice Rescue: A Fun and Creative Craft
Hello there, fellow crafters! Today, I’m thrilled to share my thoughts on a beloved project of mine: making Race Car Ice Rescue! Whether you’re a seasoned artist or a curious beginner, this fun-filled craft is sure to ignite your creativity and bring a sparkle to your day.
What is Race Car Ice Rescue?
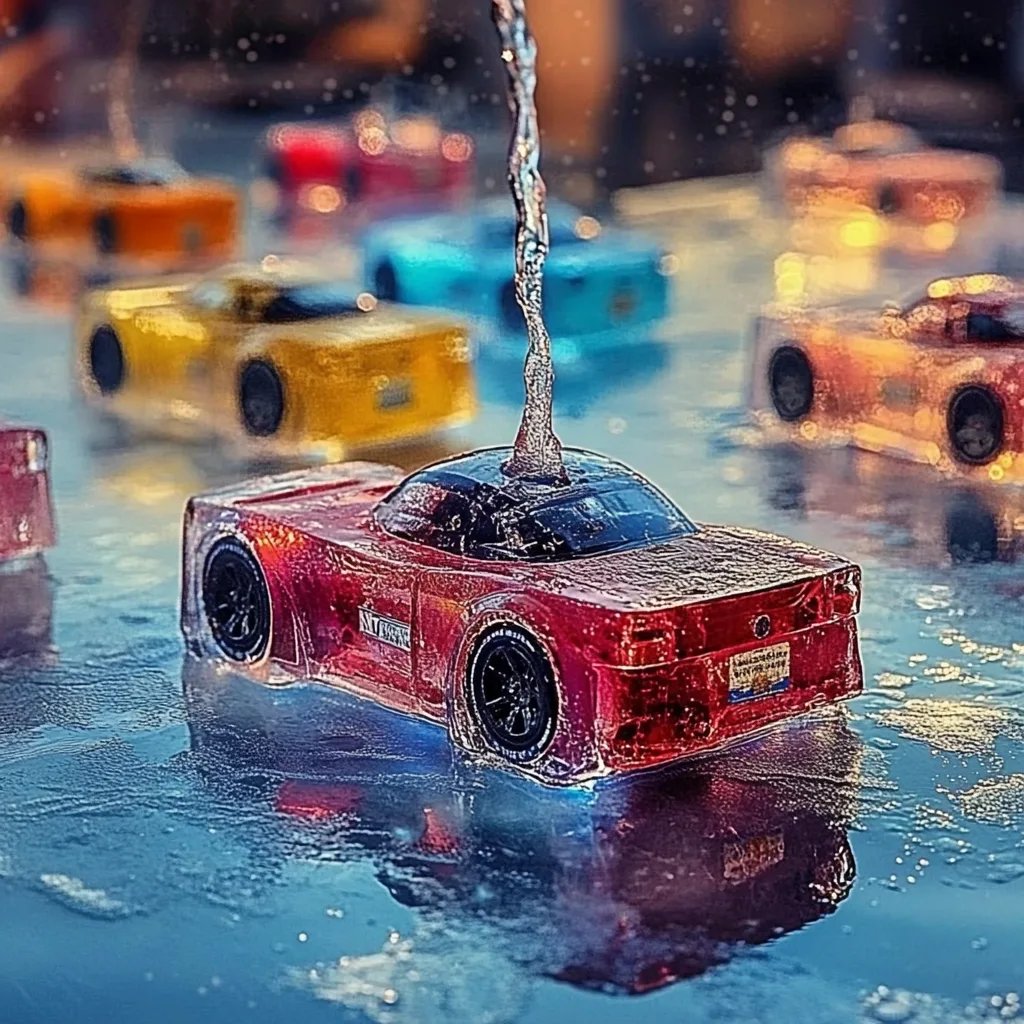
Race Car Ice Rescue is a playful and interactive ice-themed craft that combines the joy of racing with the thrill of water play. In essence, it involves creating miniature race cars that slide over ice, replicating a racing experience while demonstrating how ice melts and affects movement. This project has gained traction among parents and educators because it fosters hands-on learning about physics while keeping the fun factor high. Plus, it’s the perfect activity for winter or any time your kids need a little excitement!
When and Where to Use Race Car Ice Rescue
This delightful craft is perfect for chilly winter days, birthday parties, school science projects, or straightforward family fun. It’s an excellent choice for various events, whether hosted indoors or outdoors, and intrigues children and adults alike. Not only will you have a wonderful time crafting and racing together, but you’ll also learn about the science of ice and movement.
Materials You Will Need
To get started on your Race Car Ice Rescue, you’ll need a few simple materials. Don’t worry; most of these can be found around your house or at your local craft or grocery store! Here’s a complete list:
- Plastic race cars (or toy figures with wheels)
- Water (for ice-making)
- A large shallow container (freezer-safe)
- Food coloring (optional for more festive ice)
- Salt and/or sugar (for experimenting with melting)
- Pans or trays to catch any melting ice in case you're outside
- Paper towels for mess control
Step-by-Step Tutorial
Step 1: Create Your Ice Base
First things first, grab your large shallow container. This will be the foundation for your race track.
- Fill the container with water: Pour in enough water to create a thick layer of ice, about 1-2 inches deep. This is crucial; if the ice is too thin, your cars won’t have the thrill of a true race.
- Add some visual flair: If you want to make it more exciting, add a few drops of food coloring to the water. This will create colorful ice, enhancing the visual appeal of your race!
- Freeze: Put the container in the freezer and allow it to freeze for at least 8 hours. Pro tip: freezing overnight guarantees a solid base.
Potential hiccup: If your ice isn’t solid enough, it could crack when you use it. If that happens, simply refreeze the partially melted areas for a couple more hours.
Step 2: Prepare Your Race Cars
While the ice is freezing, it's time to prepare the toys that will become your racing champions!
- Choose and decorate cars: Pick out your favorite plastic race cars (or other small wheeled toys). If you want, you can paint them with bright colors or even give them unique numbers—that way, each car has its own personality!
- Personalize your cars: Use markers or stickers to customize your cars. The more unique they are, the more fun the racing will be.
Step 3: Set Up Your Race Track
Once the ice is completely solid, it’s time to set up your race track.
- Remove the ice from the container: Carefully take the ice out. If it sticks, run warm water across the bottom of the container until the ice slides free. Place the ice on a tray or a flat surface like a table.
- Design your track: Use the salt or sugar to create paths on the ice; this helps you visualize the race course. You can also design it as a circuit or an obstacle course with paper cones or toys.
- Place your cars: Strategically place your personalized cars at the starting line.
Step 4: Race and Learn!
Now comes the best part: the race!
- Start your engines: Give each participant their turn to slide their car across the icy race track. You may want to set a timer for each racer’s turn for added excitement.
- Observe the science: As the cars race and the ice melts, take note of how the cars slide differently! Discuss with everyone why some cars may go faster or slower. The salt will help melt the ice faster, creating slicker racing environments.
Tips for Success
- Safety First: Make sure to monitor younger players to avoid slipping on the ice.
- Keep It Clean: Use paper towels to wipe up any spills or melted water during the race.
- Variations: Try using colored ice cubes for incremental obstacles. Or create different tracks with varying slopes by adding some materials beneath the ice surface.
- Learning Moments: Incorporate fun facts about melting ice and how temperature affects the environment during your craft.
Personal Anecdotes
I remember the first time I did this with my kids; the laughter and excitement were infectious! Watching them cheer for their cars, cheering on their friends, and discovering the science of ice and velocity together created beautiful memories. It turned into a collaborative effort, where my kids learned to help each other and cheer rather than compete for the win.
Conclusion
And there you have it—your very own Race Car Ice Rescue! This project promises not only fun and creativity but also a wholesome learning experience about science and teamwork. As you craft, remember to embrace the process, as sometimes a slightly imperfect result turns into the most cherished memory. Happy crafting, and may your race cars glide smoothly across the ice!