How to Make Puffy Slime: A Step-by-Step Guide to Crafting Your Own Delightful Creation
Introduction: The Magic of Puffy Slime
Hello, fellow crafters! If there’s one thing I adore about crafting, it's the sheer joy that simple materials can yield—in particular, when it comes to making my favorite squishy sensation: Puffy Slime. It’s no wonder that this fluffy, cloud-like confection has taken the crafting world by storm. With its airy texture and satisfying stretch, Puffy Slime provides a sensory experience that's not only fun to make but also incredibly soothing to play with.
I’ve made Puffy Slime countless times—perfecting my process and passing on tips to friends and family along the way. It’s a great activity for a rainy day, a lively birthday party, or just to unleash your creativity. Imagine your kids (or yourself) indulging in hours of tactile fun, all while flexing those DIY muscles. So, grab your supplies, and let’s create some Puffy Slime magic together!
Why Puffy Slime is So Popular
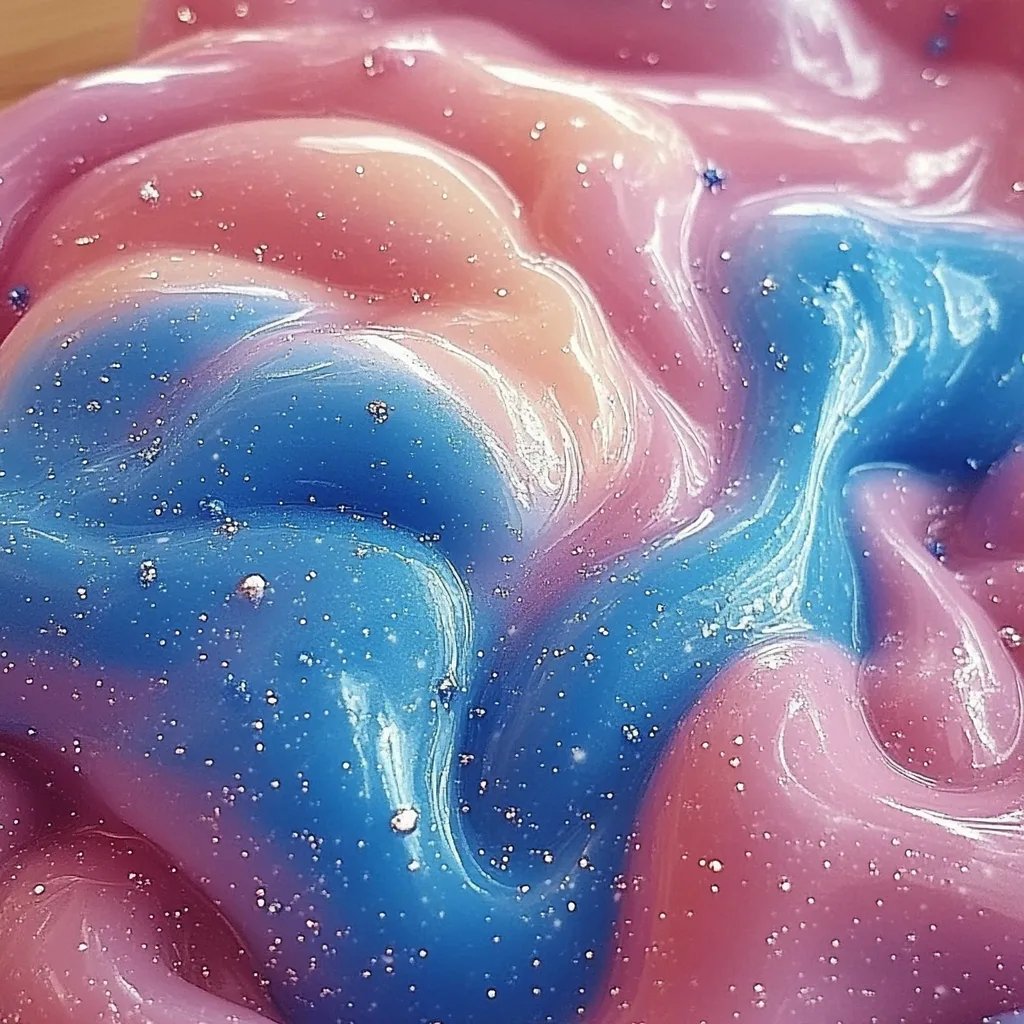
Puffy Slime is not just another slime trend; it offers unique tactile and visual pleasures. When made correctly, it’s like playing with a marshmallow—soft, squishy, and light as air. It's incredibly versatile; you can add colors, scents, and even glitter to your mix for added flair! Whether you want to unwind after a long day or simply tap into your creative side, there's a little bit of Puffy Slime for everyone.
Gather Your Ingredients
Before we dive in, let's make sure we have everything we need to craft our cloudy delight. Here's a list of simple, accessible materials:
Essential Ingredients:
- White School Glue (PVA Glue) – 1 cup
- Shaving Cream – 1 cup (this is what gives our slime its puffy texture!)
- Baking Soda – 1 teaspoon
- Contact Lens Solution – 2 tablespoons (this acts as the activator)
- Food Coloring (Optional) – this is where the fun begins!
- Mixing Bowl and Spoon – for combining our ingredients
Optional Ingredients:
- Essential Oils or Fragrance – for a lovely scent
- Glitter – if you want to add some sparkle to your slime
- Sprinkles – for a festive touch!
Step-by-Step Tutorial: Crafting Puffy Slime
Step 1: Combine Glue and Shaving Cream
Start by pouring 1 cup of white school glue into a mixing bowl. The glue is your base, and it’s crucial to use good quality PVA glue for the best results. Next, add 1 cup of shaving cream. This is what gives your slime the airy, fluffy texture. Gently stir the two ingredients until thoroughly combined. Make sure to fold the mixture rather than vigorously stirring, as you want to keep that fluffiness intact.
*Tip*: If your mixture seems runny after mixing, you may need to add a bit more shaving cream.
Step 2: Add Baking Soda
Next, add 1 teaspoon of baking soda to the mixture. Stir well until it's completely dissolved. Baking soda helps the slime to hold its form and gives it a slight stretchiness, so don’t skip this step!
*What Could Go Wrong?*: If you notice that your slime feels a bit too sticky at this stage, don’t worry. Adding a smidge more baking soda can help firm it up.
Step 3: Mix in Contact Lens Solution
Now comes the fun part—adding the slime activator! Pour 2 tablespoons of contact lens solution into your mixture while stirring continuously. You’ll start to see the slime change consistency and pull away from the sides of the bowl. If you find the mixture still too sticky, try adding more contact solution, one teaspoon at a time.
*Safety Warning*: Be sure to keep the contact solution away from your eyes, as it contains ingredients that aren’t suitable for sensitive areas!
Step 4: Add Color and Fragrance (Optional)
Here’s where you can get creative! If you want to add color, this is the moment. Just a few drops of food coloring will do the trick. Mix it in until you achieve your desired shade. If you're feeling fancy, add a few drops of essential oil for a delightful scent. Stir again until everything is well-combined.
*Alternative Method*: You can create separate colored batches of slime to mix together later for a tie-dye effect!
Step 5: Knead Your Slime
At this stage, the slime may still be a bit too sticky. Take your slime out of the bowl and knead it by hand for a few minutes. If it’s still sticking to your fingers, sprinkle a touch more baking soda or drizzle a small amount of contact solution until the consistency feels just right.
*Personal Anecdote*: I remember the first time I made Puffy Slime; I didn’t knead it enough and found myself covered in goo! Now, I always make sure to knead it thoroughly, which helps improve its texture.
Step 6: Storage
Once your slime is formed and feels perfect, be sure to store it in an airtight container to keep it fresh. Puffy Slime can last for several weeks if stored properly.
Creative Variations
Once you've mastered the basic Puffy Slime, why not switch things up? Here are a few creative variations to try:
- Fluffy Cloud Slime: Incorporate a little cornstarch into your mixture; it provides an even fluffier texture!
- Scented Slime: Add a few drops of your favorite essential oil—lavender, peppermint, or even vanilla for a sweet twist.
- Glittery Slime: Mix in a tablespoon of glitter during Step 4 for a magical shimmering effect.
Troubleshooting Guide
Even seasoned slime makers encounter sticky situations from time to time. Here are some common issues and how to resolve them:
- Too Sticky: Add more contact solution or a bit of baking soda to absorb excess moisture.
- Too Hard: If your slime hardens after a few days, you can rehydrate it by adding a sprinkle of water and kneading it in.
- Not Stretchy Enough: This can be a sign of adding too much baking soda. Simply add a bit more shaving cream to restore its fluffed-up quality.
Conclusion: Your Puffy Slime Awaits!
Now that you’re equipped with the knowledge and steps required, it's time to get crafting! Making Puffy Slime is not just a creative outlet; it's also a fantastic way to bond with friends and family while fostering sensory play. What’s most important is to have fun and not to take perfection too seriously. Each batch of slime reflects your personal creativity!
So, gather your supplies, invite loved ones to join, and create your own customs of puffy goodness. Remember, practice makes perfect, and with each slime-making experience, you will discover new tips and tricks. Happy crafting!