How to Make Pringle Lids Suncatchers: A Creative Craft Guide
Introduction
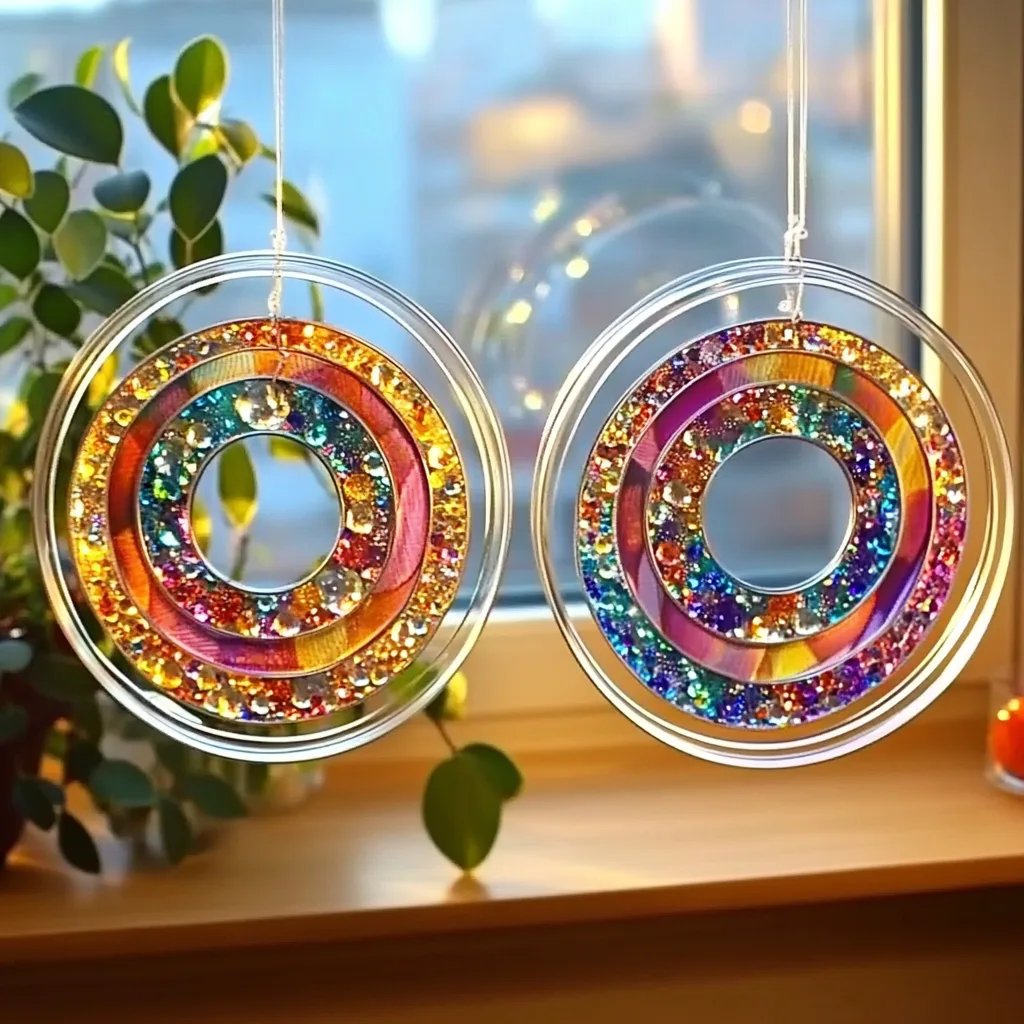
Hello, fellow crafters! Today, I’m excited to share one of my favorite DIY projects: making Pringle lids suncatchers. These vibrant art pieces not only bring a splash of color to your home but also showcase your creativity while being eco-friendly. Using materials you likely already have in your pantry, these suncatchers can brighten up any window, create dazzling patterns of light, and make wonderful decorative gifts.
Pringle lids suncatchers have gained popularity due to their playful design, ease of crafting, and the joy they bring when sunlight dances through them. They’re perfect for a sunny afternoon project with the kids or simply a way to unwind on your own. You can hang them indoors, liven up a patio, or even give them away as charming gifts. Sounds fun, right? Let’s dive in!
Materials Needed
Before we get started, let’s gather our materials. Here’s what you’ll need to make your very own Pringle lids suncatchers:
- Pringle lids – The flat, round plastic lids from Pringle cans. (Save them once you've devoured those delicious chips!)
- Acrylic paints – Choose vibrant colors that appeal to you.
- Paintbrushes – A selection of sizes will come in handy.
- Clear craft glue – This will help fix any embellishments you may want to add later.
- Assorted embellishments (optional) – Think beads, sequins, glitter, or even flower petals for an organic touch.
- Fishing line or string – For hanging your suncatcher.
- Scissors – To cut your string or other materials.
- Old newspaper or a drop cloth – To keep your workspace clean.
- Coffee cups or small containers – For mixing paints if you desire custom colors.
Step 1: Prepare Your Workspace
Start by setting up your crafting area. Lay down your old newspapers or drop cloth, and ensure you have good lighting to help you see the best details of your work. As you know, a clean and organized space can inspire creativity and minimize mess.
Step 2: Clean the Lids
This is a crucial step that some might overlook. Ensure your Pringle lids are clean and dry. Rinse them in warm, soapy water, then let them air dry completely. If you skip this step, leftover grease or crumbs can prevent the paint from adhering properly, resulting in a blotchy finish.
Step 3: Painting the Lids
Now comes the best part! Grab your acrylic paints and paintbrushes. You want to enhance your lids with colors that will sparkle when light shines through.
- Tip: For the best results, start with lighter colors before layering on the darker shades. You can also mix paints in your coffee cups to create unique hues.
- Anecdote: When I first started crafting these suncatchers, I found that blending some colors, like blue and green, gave an effect reminiscent of ocean waves, which I adored!
Paint one side of each lid, using broad brush strokes or finer details, depending on your comfort level. Allow them to dry completely before flipping them over to paint the other side. This might take about 30 minutes, but it's essential to wait to avoid smudging your work.
Step 4: Add Embellishments
Once your colors are dry, it’s time to get creative with embellishments! Use clear craft glue to add beads, sequins, or even pressed flowers if you’re feeling adventurous.
- Safety Warning: If you're using small items like beads, keep them out of reach of young children to prevent choking hazards.
Let the embellishments dry for a while, typically around 30 minutes to an hour.
Step 5: Create Hanging Mechanism
Once everything is dry, use your scissors to cut lengths of fishing line or string, about 6 to 12 inches long. You can adjust the length depending on where you plan to hang your suncatchers later.
Using a small hole punch or a sharp object (be careful!), create a hole at the top of each lid. If the material is too tough, you can also attach the string with more clear glue. Thread your fishing line or string through the hole and tie it securely.
Step 6: Hang Your Suncatcher
Now it’s time for the fun part! Hang your suncatcher in a window where it will catch direct sunlight. Enjoy the beautiful colors dancing across your room.
- Creative Variations: Consider making several suncatchers in different sizes and colors to create a colorful display. You could also have a theme — perhaps ocean colors with seashells, or autumn shades with leaves!
Problem-Solving Tips
If anything goes awry during your crafting:
- Paint smudges: If you accidentally touch wet paint, simply wait for it to dry and then touch it up with more paint.
- Embroidery on edges: If any embellishments peel off later, reapply them with clear glue.
Conclusion
I hope this guide has inspired you to create your own delightful Pringle lids suncatchers. Not only do they offer a creative outlet, but they also give new life to materials that would otherwise be discarded. Crafting can be a therapeutic and joyful experience.
Remember, every crafter has their unique style and approach, so don’t hesitate to experiment and make this project your own. Whether it's a solo effort, a fun family activity, or a thoughtful gift, your suncatchers will add warmth and color wherever you hang them. Happy crafting!