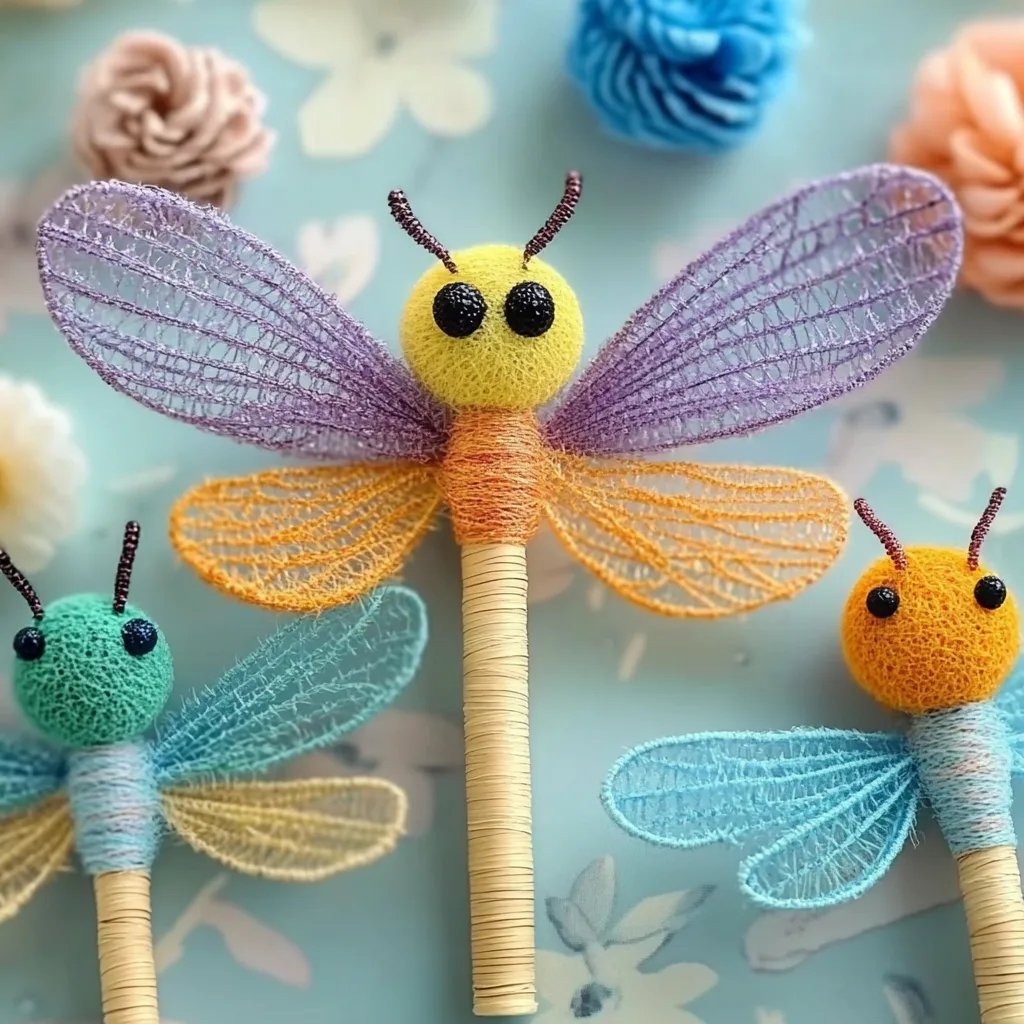
How to Make Popsicle Stick Dragonflies: A Step-by-Step Guide
Hello, fellow crafters! I’m excited to share one of my all-time favorite crafting projects with you: Popsicle Stick Dragonflies. Not only are these whimsical creations cute and colorful, but they also make wonderful décor for gardens, classrooms, or even as delightful gifts. Whether you’re an experienced crafter or a beginner looking for a fun craft to do with your kids, this project is perfect for any occasion—think summer days, birthday parties, or a cozy afternoon indoors. So let’s get started on making these charming little critters!
Why Popsicle Stick Dragonflies?
Popsicle stick crafts have gained popularity among both kids and adults for several reasons. They are relatively easy to make, require minimal materials, and can be customized to fit any color palette or theme. The process of crafting not only allows us to express our creativity, but it can also enhance fine motor skills, encourage problem-solving, and foster a sense of accomplishment. Plus, what’s more delightful than seeing your very own dragonflies flit around your flower pot or garden?
Materials Needed
Before we dive into the crafting process, let’s gather our supplies. Here’s what you’ll need:
- Popsicle sticks (6 per dragonfly)
- Acrylic paint or markers (in assorted colors)
- Googly eyes (optional, but they add a fun touch!)
- Hot glue gun and glue sticks
- Scissors
- Pipe cleaners (to form the legs and antennae)
- Craft foam or colored paper (for added decorations, like wings)
- Paintbrushes or sponges (for painting)
- Wax paper or a craft mat (to avoid mess)
- Sealant spray (optional, for durability)
*Tip: If you don’t have access to hot glue, you can use craft glue or even double-sided tape, but keep in mind that it may take a bit longer to dry and hold.*
Step-by-Step Tutorial
Step 1: Prepare Your Popsicle Sticks
First, I take some time to prepare my popsicle sticks, which are the heart of our dragonflies. I like to use six sticks for one dragonfly: two for the body, two for the wings, and two for the legs.
*Why it matters:* By having all your materials ready, you can enjoy a smoother crafting experience without interruptions.
To start, I paint the popsicle sticks in vibrant colors—greens, blues, pinks, or whatever feels uplifting. Using different shades for the body and wings creates visual interest. If you don’t have paint, markers work perfectly well too!
*Tip: Don’t worry about perfect coverage; the rustic look of uneven paint adds character. If you see any areas you missed, just go back over them after they dry.*
Step 2: Attach the Wings
Once the popsicle sticks are dry, it’s time to assemble the body and wings. I lay two painted sticks vertically for the body and two sticks horizontally, slightly above the body sticks, which will serve as the dragonfly's wings.
Using my hot glue gun, I attach the wings by applying a small amount of glue where the wings intersect with the body. It’s important to hold them in place for a few seconds until the glue sets.
*Common issue: If the wings slide around, simply glue them again and hold them until the glue hardens. Taking short breaks between projects can help manage drying times.*
Step 3: Form the Dragonfly’s Legs
I take two more sticks and cut them into smaller pieces to create legs—larger for the back, shorter for the front. You could also use pipe cleaners for a more flexible look. To attach them, I apply hot glue to each leg piece and secure them to the bottom of the body.
*Fix it: If the legs seem wobbly, reinforce the attachment with additional glue and hold it firmly until set.*
Step 4: Add the Antennae
The next step involves shaping the pipe cleaners into cute antennae. I cut two lengths about six inches long and twist them to make them a bit sturdier. I then glue them to the top of the dragonfly’s body.
*Note: If you don’t have pipe cleaners, feel free to use additional popsicle sticks or even sturdy straws!*
Step 5: Decorate Your Dragonfly
Now comes the fun part—decorating! I apply googly eyes to the head of the dragonfly, creating a whimsical look that kids especially love. Additionally, I like to cut out wings from craft foam or colored paper, adding a touch of sparkle or patterns for a unique flair.
*Alternative idea: Try using stickers, glitter, or even sequins to add some sparkle! Just ensure to secure them well with glue to avoid messy shedding.*
Step 6: Sealing Your Creation (Optional)
To protect your dragonfly from the elements, especially if you plan to display it outdoors, I recommend using a sealant spray. This step is optional but does extend the life of your craft, keeping it looking fresh and vibrant.
A World of Variations
One of the wonderful things about crafting is the potential for creativity! Consider adding a string to hang your dragonfly in a window or creating a mobile with multiple dragonflies. Want an even larger dragonfly? Use wider craft sticks or incorporate natural elements like twigs for a more organic look.
Safety Warnings
As with any craft using hot glue or scissors:
- Always supervise young children, particularly when using hot glue or sharp tools.
- Keep crafting materials organized to avoid any accidents, and be mindful of sharp instruments being left unattended.
A Personal Touch
I will always remember the joy of crafting these dragonflies with my niece one sunny afternoon. Watching her experiment with colors and giggle at her creations was a joy. It reinforced my belief that crafting is as much about the process and the memories we create as it is about the final product.
Conclusion
Crafting Popsicle Stick Dragonflies is a wonderfully rewarding activity that brings joy not only to the maker but also to those who get to see your creations. With simple materials and a little creativity, you can transform everyday popsicle sticks into a delightful symbol of beauty and fun. So gather your materials, channel your inner artist, and let your imagination take flight! Happy crafting!