How to Make Peeps Slime: A Crafting Experience You Won't Want to Miss!
Hey there, crafty friends! I’m thrilled to share one of my all-time favorite projects with you today: making Peeps slime! As the seasons change and spring starts to bloom, there’s nothing quite like the joy of creating something fun and a little quirky to celebrate the Easter spirit and brighten up your day. Peeps, those iconic marshmallow treats shaped like little chicks and bunnies, have become a beloved symbol of the holiday season. But what if I told you that you can take those sweet, sugary delights and turn them into a squishy, gooey slime?
Not only is this Peeps slime a fun activity for kids and adults alike, but it's also a fantastic sensory experience. You can use it for playtime, as a creative stress reliever, or even as a delightful gift for friends and family. Plus, it’s an excellent indoor activity for rainy days or if you're looking to spark some creativity.
Let’s hop right into this colorful crafting journey!
Materials You'll Need
Before we dive into the step-by-step tutorial, here’s a comprehensive list of materials you'll need to create your own Peeps slime. Don’t worry if you don’t have everything on hand; I’ve also included alternative options throughout the discussion.
Essential Ingredients:
- 1 cup of white school glue: This is your slime’s base. You can also use clear glue if you want a more transparent slime.
- 1 tablespoon of baking soda: This helps give the slime its stretchy quality.
- 2-3 tablespoons of contact lens solution (that contains boric acid): This acts as an activator for the slime, giving it structure. You can substitute this with liquid starch in a pinch, but you’ll achieve the best results with contact lens solution.
- Food coloring (optional): To give your slime that vibrant Peeps-like color. Choose pastel shades, reminiscent of those Easter treats!
- Marshmallow or vanilla extract: For fragrance, to make it smell as sweet as it looks!
- Peeps (for fun!): Optional for decoration or to incorporate as a squishy addition into the slime.
Tools You’ll Need:
- Mixing bowl
- Spoon or spatula
- Measuring cups and spoons
- Airtight container (for storage)
Step-by-Step Tutorial: Making Your Peeps Slime
Step 1: Prepare Your Mixing Area
Find a clean, flat surface to work on. I recommend laying down some newspaper or a disposable plastic tablecloth to catch any spills. Slime can get a little messy, but that’s all part of the fun!
Step 2: Mix the Glue and Baking Soda
In a mixing bowl, pour in the 1 cup of white school glue. Then, add 1 tablespoon of baking soda. This combination is essential as it helps the slime obtain its stretchy qualities when you add the contact solution. Mix thoroughly until it’s well combined and the baking soda is fully dissolved.
Tip: If you find your slime a bit too runny after adding the contact lens solution, don’t worry! You can always add a touch more baking soda to thicken it.
Step 3: Add Color and Scent
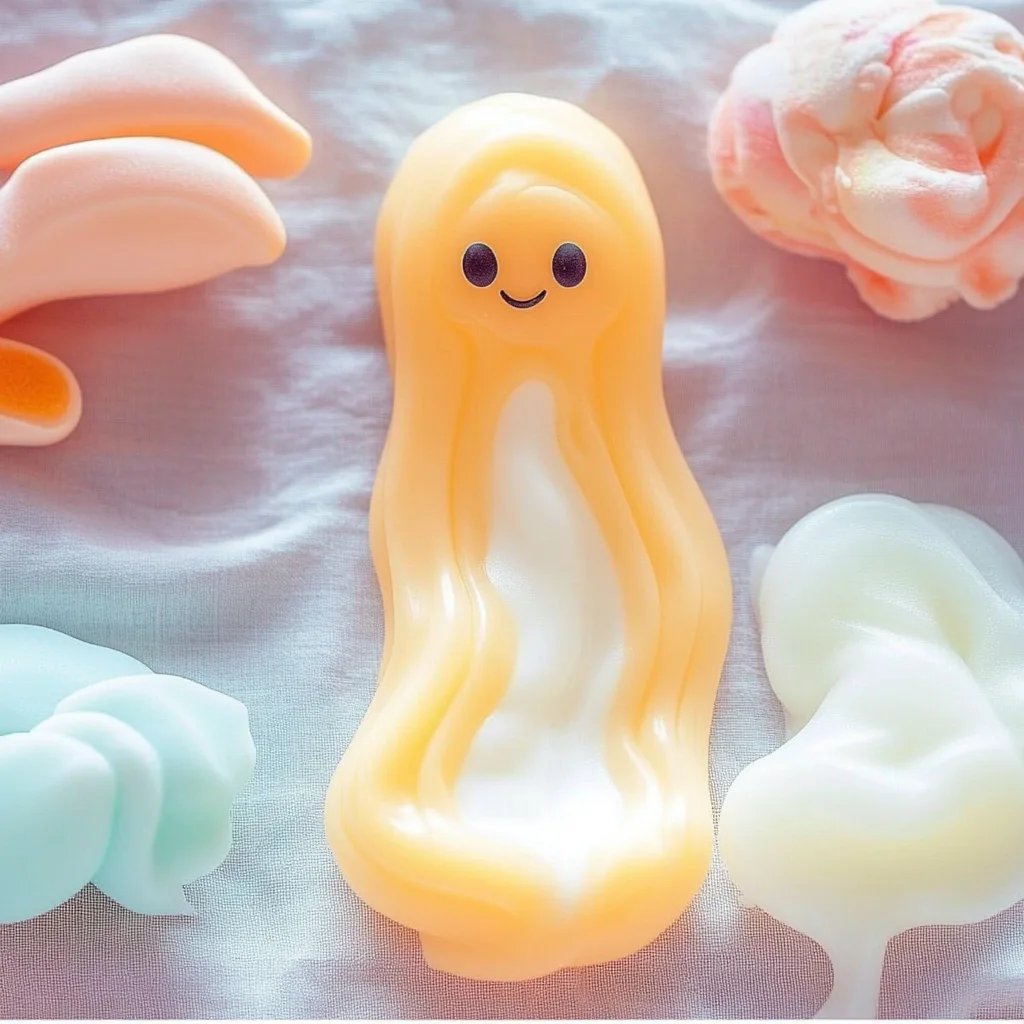
Now comes the fun part! If you’d like to turn your slime into a vibrant pastel hue like the Peeps, add a few drops of food coloring. Start with just a drop or two and then mix until you achieve your desired shade. If you're feeling adventurous and want to play with multiple colors, feel free to divide your base slime and experiment!
At this point, I like to add a few drops of vanilla extract or marshmallow flavoring to give the slime a sweet aroma. It adds a delightful sensory element that enhances the experience!
Step 4: Activate the Slime
Here’s where we transform your mixture into slime! Slowly add in 2-3 tablespoons of contact lens solution while stirring continuously. You’ll notice a change immediately; the mixture will start to pull away from the sides of the bowl and clump together.
Important note: If your slime is too sticky, add more contact solution, about a teaspoon at a time, until you reach the desired consistency.
Step 5: Knead Your Slime
Once your mixture has come together, take it out of the bowl and start kneading it with your hands. This is essential as it ensures the slime reaches a perfect texture. It should be stretchy, squishy, and not too sticky. If necessary, you can sprinkle small amounts of baking soda while kneading to adjust the texture.
Step 6: Add Peeps for a Fun Twist
If you’re feeling playful, cut up some Peeps and mix them into the slime. They will give a unique texture and fun pops of color throughout the slime. Just be mindful that adding too many Peeps can make your slime a little more gooey, so balance is key!
Step 7: Store Your Slime Properly
Once you're satisfied with your creation, store your Peeps slime in an airtight container to keep it fresh. If you notice it starts losing its stretchiness over time, a quick knead with a little contact solution can revive it!
Troubleshooting Common Issues
Even the most seasoned crafters face hiccups, but fear not! Here are some potential issues you might encounter and simple solutions.
- Slime is Too Sticky: Add more contact solution gradually until you reach the perfect consistency.
- Slime is Too Hard or Crumbly: This might have happened if you added too much baking soda. A little warm water mixed in with a good knead can help.
- Color is Too Dark: If you’ve accidentally overdone it with food coloring, mixing in a little more glue can lighten it up.
Creative Variations
Now that you know the core recipe, let’s get creative! You can modify this slime in endless ways:
- Sparkly Peeps Slime: Add in some glitter to give your slime a magical sparkle.
- Scented Variations: Experiment with different extracts like almond or coconut for various scents.
- Edible Slime: If you want to make a completely edible version, consider using a recipe based on marshmallow fluff or gelatin.
A Final Thought
Making Peeps slime is such a joyful, engaging activity that’s perfect for bringing out your inner child. Whether you’re crafting with kids or indulging in a solo session, it’s all about the experience. I hope you find this tutorial as delightful as the final product itself. Don't hesitate to customize this recipe with your own personal touch and share your creations with friends!
Happy crafting, and may your days be as sweet as Peeps! 🌈✨