How to Make Outdoor Foam Sidewalk Paint: A Step-by-Step Guide
Welcome, fellow crafters! Today, I’m excited to share a project that has brought endless joy to my family: making Outdoor Foam Sidewalk Paint. Whether you’re sprucing up your front yard for a neighborhood block party, keeping the kids entertained during summer break, or simply adding a splash of color to your home, this fun, easy-to-make sidewalk paint is versatile and engaging!
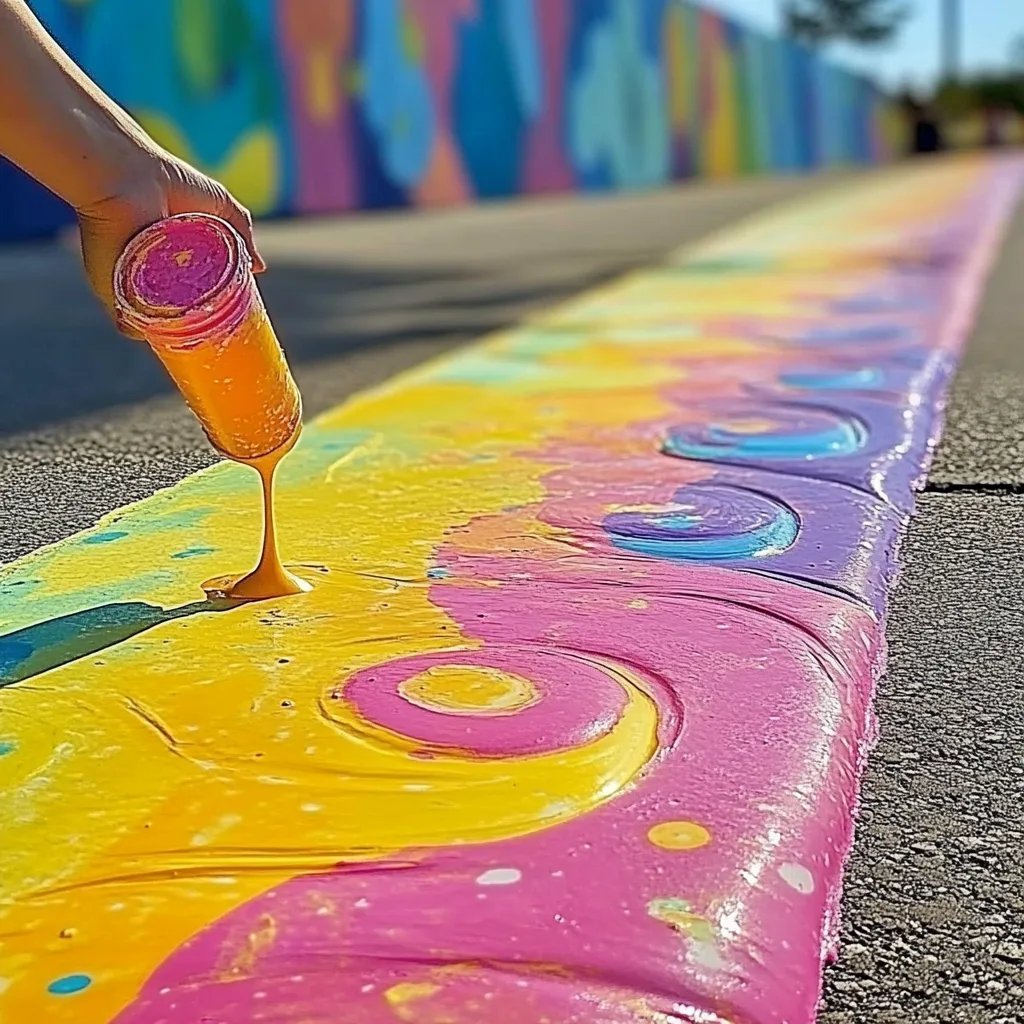
What is Outdoor Foam Sidewalk Paint?
Outdoor Foam Sidewalk Paint is a non-toxic, washable paint made from water, foam, and color that you can create right at home. It’s ideal for painting on sidewalks, driveways, or any concrete surface, and it washes away easily with water, making it perfect for children's activities. Plus, it’s safe enough that I never have to worry about little ones getting messy!
You might wonder why it's becoming so popular, and the answer is simple: creativity! Kids love using it to unleash their imaginations while creating colorful murals, hopscotch games, or just cheerful doodles. As a mom and a crafting enthusiast, I appreciate the mess-free artistry that allows my children to express themselves while having fun outdoors.
When Can You Use It?
This paint works wonders during sunny afternoons when the weather is just right! It’s great for birthday parties, playdates, or any gathering that encourages creativity. Plus, it can be made in custom colors according to the season or occasion—think pastel shades for Easter or bright hues for summer fun.
Materials You’ll Need
To create the perfect batch of Outdoor Foam Sidewalk Paint, gather the following materials:
- 1 Cup of Water: This will be the base of your paint. Using warm water can help dissolve the ingredients better.
- 1 Cup of Shaving Cream: Look for a foamy, creamy product without menthol or other strong fragrances. This gives the paint its texture.
- 1 Cup of Cornstarch: This thickening agent will give your paint the right consistency to stick to surfaces.
- Food Coloring or Liquid Watercolors: Choose a variety of colors to make your creations pop! I love using liquid watercolors for vibrant hues.
- Mixing Bowls and Spoon: Non-reactive bowls work best, and an old spoon or craft stick will do.
- Containers for Storage: Empty squirt bottles or jars can help you store your paint when not in use.
Step-by-Step Tutorial
Step 1: Gather Your Materials
Begin by collecting all your materials. Having everything on hand will streamline the process and make things less chaotic. Trust me, preparing everything before starting the actual mix gives you peace of mind.
Step 2: Make the Base Mixture
In a mixing bowl, combine 1 cup of water with 1 cup of shaving cream. The shaving cream’s texture is crucial; it gives the paint its foaminess. Gently mix the two together with a spoon. You do not want to create bubbles; just mix until they are combined. If you see bubbles starting to form, stop mixing.
Why It Matters
Getting this base right is essential. Too aggressive stirring can lead to a bubbly mess unlikely to adhere well to the sidewalk and might crack during application.
Step 3: Add the Cornstarch
Next, gradually add 1 cup of cornstarch to the mixture. Stir gently until it’s fully incorporated. Depending on your desired texture, you can adjust the amount slightly—more cornstarch will make it thicker and less drippy.
What Could Go Wrong?
If the mixture appears too thick, you can dilute it with a little additional water. Conversely, if it’s too runny, add more cornstarch gradually until it’s just right!
Step 4: Add Your Colors
Now for the fun part—coloring your paint! Divide the white base mixture into multiple cups or jars, and add a few drops of food coloring or liquid watercolor to each. Stir gently to mix, and continue adding color until you reach your desired intensity.
Personal Tip
I usually go for bright colors that stand out. My kids love mixing colors, too, so we often find ourselves creating unique shades together. This is a great opportunity for a little science lesson on color mixing!
Step 5: Test for Consistency
Before heading outdoors, it’s essential to test the consistency of your paint. I recommend doing a small trial on a paper towel or a less visible section of your sidewalk (if you have one). If it runs too much, consider adding a bit more cornstarch.
Step 6: Store Your Paint
If you have leftover paint, store it in airtight containers. It should last a few days in the fridge. If it thickens upon sitting, just add a bit of water and stir well before your next art session.
Step 7: Get Creative!
Now, it’s time to unleash your creativity! Grab brushes, squirt bottles, or even your hands and start painting! Consider setting out stencils or sponges for added fun.
Safety Warnings
Although this paint is non-toxic and washable, I still recommend supervision for younger children, especially if they have sensitivities to certain scents or materials. It’s always a good practice to do a patch test on skin if your little ones have sensitive skin.
Alternative Methods and Ingredient Substitutions
If you don’t have shaving cream, you can use whipped soap, such as foaming hand soap; just ensure it has a similar consistency. Moreover, if you’re in a pinch without cornstarch, you can try using flour as a thickener, though it might not yield the same texture.
Creative Variations
Feeling adventurous? Consider these creative variations:
- Glow-in-the-Dark Sidewalk Paint: Mix in a non-toxic glow-in-the-dark powder to create a magical nighttime experience!
- Scented Paint: Add a few drops of essential oils (like lavender or lemon) for a delightful aromatic twist.
Final Thoughts
Making Outdoor Foam Sidewalk Paint is not just a project; it’s an experience filled with laughter, creativity, and togetherness. I hope this guide empowers you to gather your loved ones, mix up some whimsical colors, and transform your sidewalks into masterpieces! Remember, the only limit is your imagination; enjoy the process and happy crafting!
And when you’re done painting, a simple rinse with water will wash it all away, leaving your space ready for the next round of creativity. Can’t wait to hear about your colorful adventures; feel free to share your experiences or variations in the comments below! 🌈✨