How to Make Outdoor Foam Sidewalk Paint: A Comprehensive Guide
Hello, fellow crafting enthusiasts! Today, I’m excited to share with you my go-to recipe for making outdoor foam sidewalk paint. As an experienced crafter and parent, I know the joy and creativity that sidewalk painting can ignite in both children and adults alike. Whether you want to brighten your driveway or create fun street art, this paint is fantastically versatile and an excellent way to express your artistic side.
What is Outdoor Foam Sidewalk Paint?
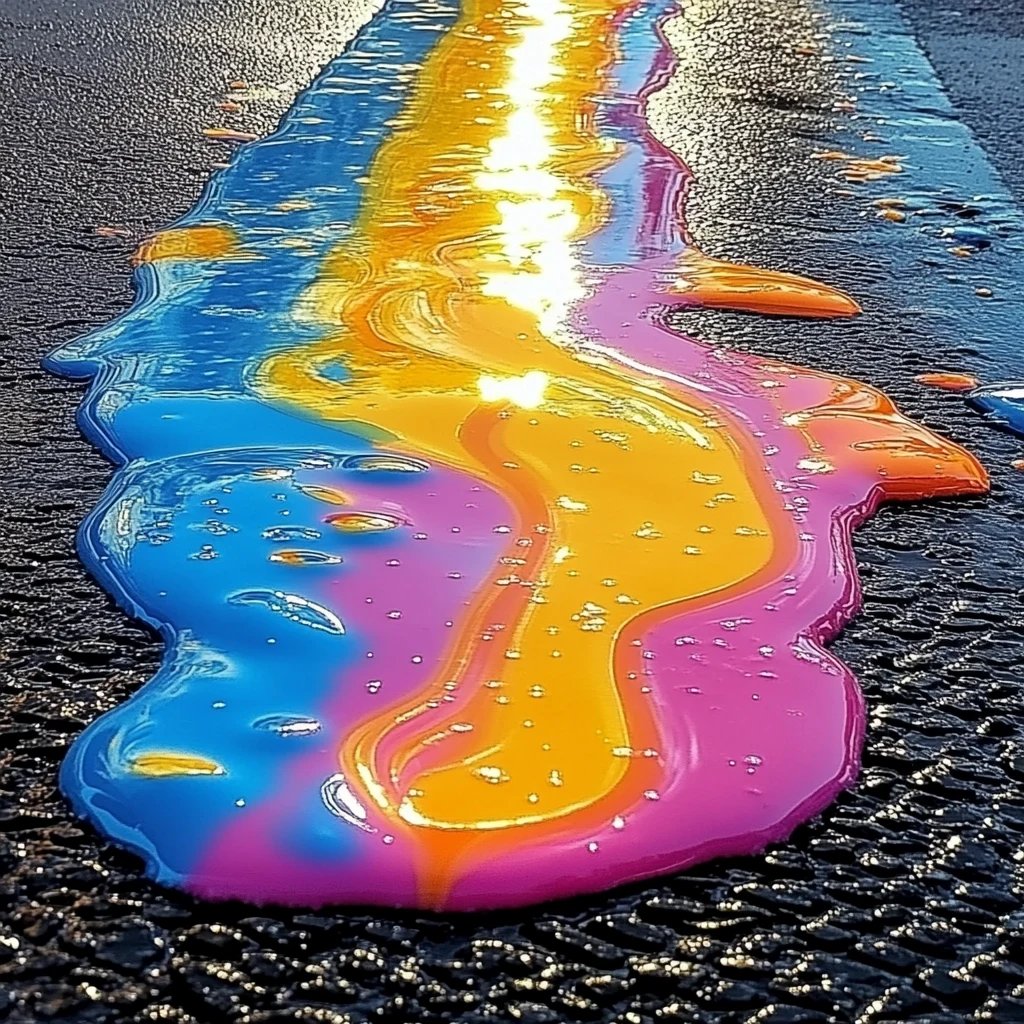
Outdoor foam sidewalk paint is a fun, washable paint specifically designed for outdoor use. It's easy to apply and has a thick, foamy texture that allows for vivid colors and unique designs. Unlike traditional paints, sidewalk paint is primarily made from safe, non-toxic ingredients, making it an excellent option for kids. Plus, it’s easy to wash away with water, so you can start all over if you desire.
Why is it Popular?
This paint is a staple for family activities, arts and crafts classes, and community art projects. It’s a low-cost way to decorate outdoor spaces and allows for easy cleanup, giving everyone the freedom to unleash their creativity. I love organizing sidewalk painting gatherings with friends and their kids, where we can transform plain pavements into colorful art canvases.
When Can You Use It?
Outdoor foam sidewalk paint is perfect for warm, sunny days, making summer the ideal time to get crafty. However, your creativity doesn’t have to end there! Spring and fall are also great times for sidewalk painting, as long as the temperature is mild and rain is not in the forecast. Be wary of colder weather, as the paint may not adhere properly in chilly conditions.
The Recipe for Outdoor Foam Sidewalk Paint
Now, let’s dive into the delightful world of DIY sidewalk foam paint! Below, you’ll find a simple, step-by-step guide using easily accessible materials.
Materials Needed:
- Foam Shaving Cream: 1 cup (I usually go for the unscented variety for a more natural experience.)
- Cornstarch: 1 cup (This will help thicken our paint.)
- Food Coloring: 2-3 tablespoons (You can mix colors to achieve brilliant hues!)
- Water: 1 cup (This can vary depending on your desired consistency.)
- Plastic Containers: For mixing (Old yogurt cups work wonderfully!)
- Paintbrushes or Sponge Brushes: For application
- Old Towel: To clean up any spills or mistakes
- Baking Sheet or Tray: To hold your paint containers
Step-by-Step Tutorial
Step 1: Gather Your Ingredients
Start by collecting all your materials in one clear workspace. Remember, organization is key! Having everything ready will make the process smoother and more enjoyable.
Step 2: Mix the Foam and Cornstarch
In one of your plastic containers, add 1 cup of foam shaving cream and 1 cup of cornstarch. Using a spoon or spatula, mix them well until you have a smooth, homogenous mixture. This step is crucial as the cornstarch will thicken the paint to give it that lovely foamy texture.
*Tip*: If you notice lumps in the mixture, don’t worry! Keep stirring, or you can add a drop of water to help break them down.
Step 3: Add the Food Coloring
Once your foam and cornstarch mixture is smooth, it’s time to bring your paint to life with color. Add 2-3 tablespoons of food coloring to the mixture, and stir well. Feel free to experiment with colors—mixing shades of blue and yellow can create a vibrant green!
*Tip*: Start with less food coloring; you can always add more for a bolder hue.
Step 4: Adjust the Consistency with Water
Now, gradually add 1 cup of water. Depending on how thick or thin you want your paint, you might use a bit more or less. The key is to achieve a consistency that’s easy to spread but not too runny. You’re looking for a texture that will stick to the pavement without dripping everywhere.
*Warning*: If you add too much water and the paint becomes too runny, sprinkle in some additional cornstarch, mix, and adjust until you’re satisfied!
Step 5: Test Your Paint
Before you dive into painting your entire sidewalk, I recommend doing a small test patch. Grab a brush (or your hands—after all, mess is part of the fun!) and apply the paint to a small section of your pavement. Observe how well it adheres and whether it’s the right thickness for your liking.
Step 6: Paint the Sidewalk!
Now for the grand moment: aesthetics! Grab your brushes and unleash your creativity. I often lay out themes—like under the sea or outer space—and encourage everyone to paint whatever comes to mind. Use different brush sizes or tools (like sponge brushes) for varying effects!
*Tip*: If you're working with little ones, set some ground rules about not mixing colors too much at first. This technique can often lead to gorgeous new shades, and a little chaos can be part of the charm!
What Could Go Wrong?
- Paint Not Sticking: If your paint isn't adhering well, ensure you mixed the cornstarch and foam thoroughly, or the surface may not be appropriate for the paint. Textured concrete works better than smooth surfaces.
- Watered Down Paint: If it’s too thin, simply add cornstarch; if it’s too thick, add a tiny bit of water and mix it in.
- Cracking: If you leave the paint to dry and notice cracks, it’s usually because it’s too thick. Next time, ensure you use less cornstarch.
Safety Warnings
While homemade sidewalk foam paint is generally safe, a few precautions are necessary:
- Always supervise young children during this activity, especially around the face and eyes when using foam.
- Test all food colorings on a small patch to ensure there are no allergic reactions, and consider using natural dyes if there are concerns.
- While it’s washable, cleaning hands and surfaces promptly is advisable—some colors, particularly reds and yellows, may stain certain materials permanently.
Creative Variations
Once you’ve conquered the basic recipe, you might wonder how to elevate your sidewalk painting. Here are some variations I'd recommend trying out:
- Glow-in-the-Dark Paint: Mix in some non-toxic glow-in-the-dark powder for an evening surprise! Just apply it thick for a beautiful glow.
- Texture Variation: Try experimenting with adding flour or baking soda instead of cornstarch for different textures.
- Eco-friendly Paint: Consider using natural dyes (such as beet juice or turmeric) instead of food coloring for an eco-friendly approach.
Final Thoughts
Making outdoor foam sidewalk paint is not only simple and enjoyable, but it's also a fantastic way to bond with friends and family while cultivating creativity. I hope this guide has empowered you to create your own colorful masterpieces on your pavement. Remember, the mess is part of the experience! So roll up your sleeves and dive into this vibrant world of sidewalk art. Happy painting!