How to Make Oobleck: The Ultimate Guide to Cornstarch Slime
Welcome, fellow craft enthusiasts! Today, I want to share with you one of my absolute favorite DIY projects: making Oobleck, a fascinating mixture that dances at the intersection of solids and liquids. If you haven’t tried this versatile slime yet, you’re in for a treat! Oobleck is not just a fun sensory experience for kids; it’s a scientifically intriguing material that can be used in various ways—from educational demonstrations to unique sensory play.
What Is Oobleck and Why Is It So Popular?
Oobleck is named after a substance from Dr. Seuss's book "Bartholomew and the Oobleck," and it’s one of the simplest yet most engaging science experiments you can whip up at home. It’s a non-Newtonian fluid made from cornstarch and water, which behaves like a solid when pressure is applied and flows like a liquid when at rest. This unusual behavior makes it a favorite among parents, teachers, and kids alike!
You can use Oobleck for fun experiments, sensory play, or to teach kids about viscosity and states of matter. It's a tactile experience that engages children and sparks curiosity. Plus, it’s super easy to make with just two simple ingredients!
What You’ll Need
Before we begin our Oobleck journey, let’s gather the materials you’ll need:
- 1 cup of cornstarch: This is the key ingredient that gives Oobleck its unique properties.
- 1/2 cup of water: This creates the liquid component of the mixture.
- Food coloring (optional): To bring a pop of color to your Oobleck.
- A large bowl for mixing: This will give you enough space to combine the ingredients without making a mess.
- Measuring cups: To ensure accurate measurements.
- A spoon or your hands for mixing: I prefer getting my hands in there; it’s much more fun!
Step-by-Step Tutorial
Step 1: Measure the Ingredients
Start by measuring out 1 cup of cornstarch and pour it into your large mixing bowl. Then, measure 1/2 cup of water and set it aside. Precise measurements are crucial because they directly affect the consistency of your Oobleck. Using too much or too little of either ingredient can lead to a gummy mess or a mixture that's too runny.
Tip: If you want to color your Oobleck, you can add a few drops of food coloring to the water before mixing it with cornstarch.
Step 2: Combine the Ingredients
Next, slowly pour the water into the bowl containing cornstarch. This is a crucial moment – you want to do this gradually to allow the cornstarch to absorb the water properly. Use your spoon or your hands to begin mixing the two ingredients together.
Why This Matters: If you combine the ingredients too hastily, you may end up with clumps of dry cornstarch or a runny mixture.
Step 3: Mix Thoroughly
At this stage, the mixture may appear crumbly, and you might even feel a sense of frustration. Don’t worry; that’s completely normal! Move your hands in circular motions or use the spoon to break up any dry clumps. Once you’ve reached a consistency resembling a thick paste that can also flow, congratulations—you've made Oobleck!
Common Pitfall: If your Oobleck is too dry and not coming together, you can add a little more water, a tablespoon at a time. If it's too wet and runny, simply sprinkle in some more cornstarch.
Step 4: Experiment and Play
Now comes the fun part: experimenting! You can press hard on your Oobleck, and you’ll notice it feels solid; let go, and you’ll see it flow through your fingers. Feel free to use different objects to play with your mix—your fingers, spoons, or even small balls. The possibilities are endless!
Safety Warning: Make sure that Oobleck is not ingested. While cornstarch is generally safe, it can be a choking hazard for small children. Supervise young children during playtime.
Creative Variations and Alternatives
Feeling adventurous? Here are some variations you can try:
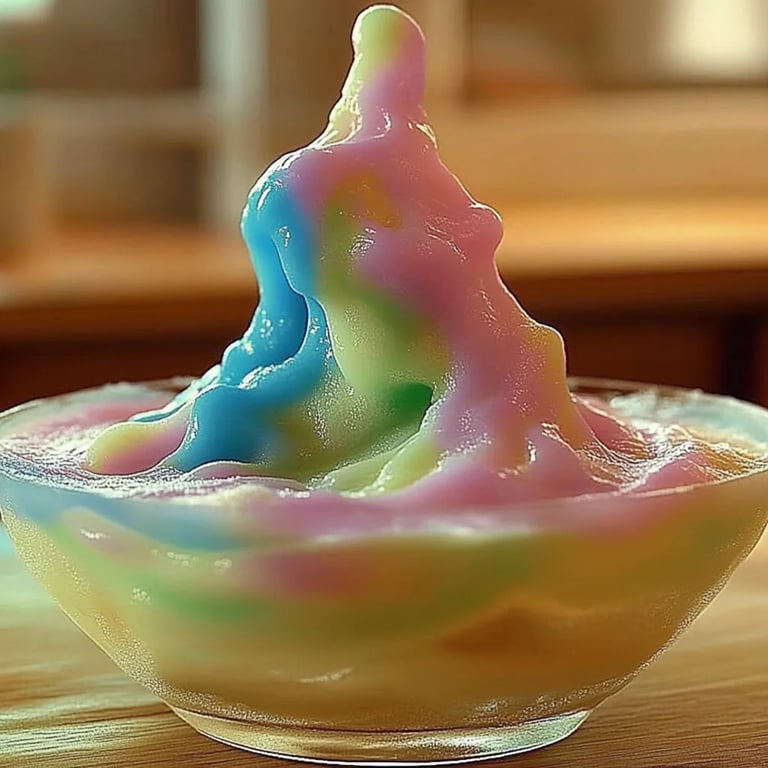
- Colored Oobleck: Experiment with various food coloring shades to create vibrant artwork. You could even layer different colors to see how they blend.
- Essential Oils: Add a few drops of lavender or peppermint essential oil for a calming scent. Just be aware that some children may have sensitivities, so it’s always worth checking first.
- Glow-in-the-Dark Oobleck: Mix in glow-in-the-dark paint for a fantastic glow effect in a dark room—my kids love this one at sleepovers!
Personal Anecdotes and Tips
I have fond memories of making Oobleck on rainy afternoons. My kids would gather around the kitchen table, their eyes wide with excitement, as we prepared for our scientific adventure. It was always a messy but rewarding experience, and I cherished the laughter and little victories as we figured out the right consistency together.
By the way, if you find your Oobleck has dried out overnight (which can happen if it’s left uncovered), don’t throw it away! Just add a bit of water and knead it again; it should return to its glorious state.
Conclusion
Now you have all the tools and knowledge you need to make your very own Oobleck! This simple, engaging project can be a fantastic educational tool, a creative outlet, or just a fun mess to make with friends and family. Remember, the key is to enjoy the process, embrace the messiness, and learn along the way.
So, gather your materials, get mixing, and prepare to be amazed by the wonders of Oobleck! I can't wait to hear your stories and see your colorful creations. Happy crafting!