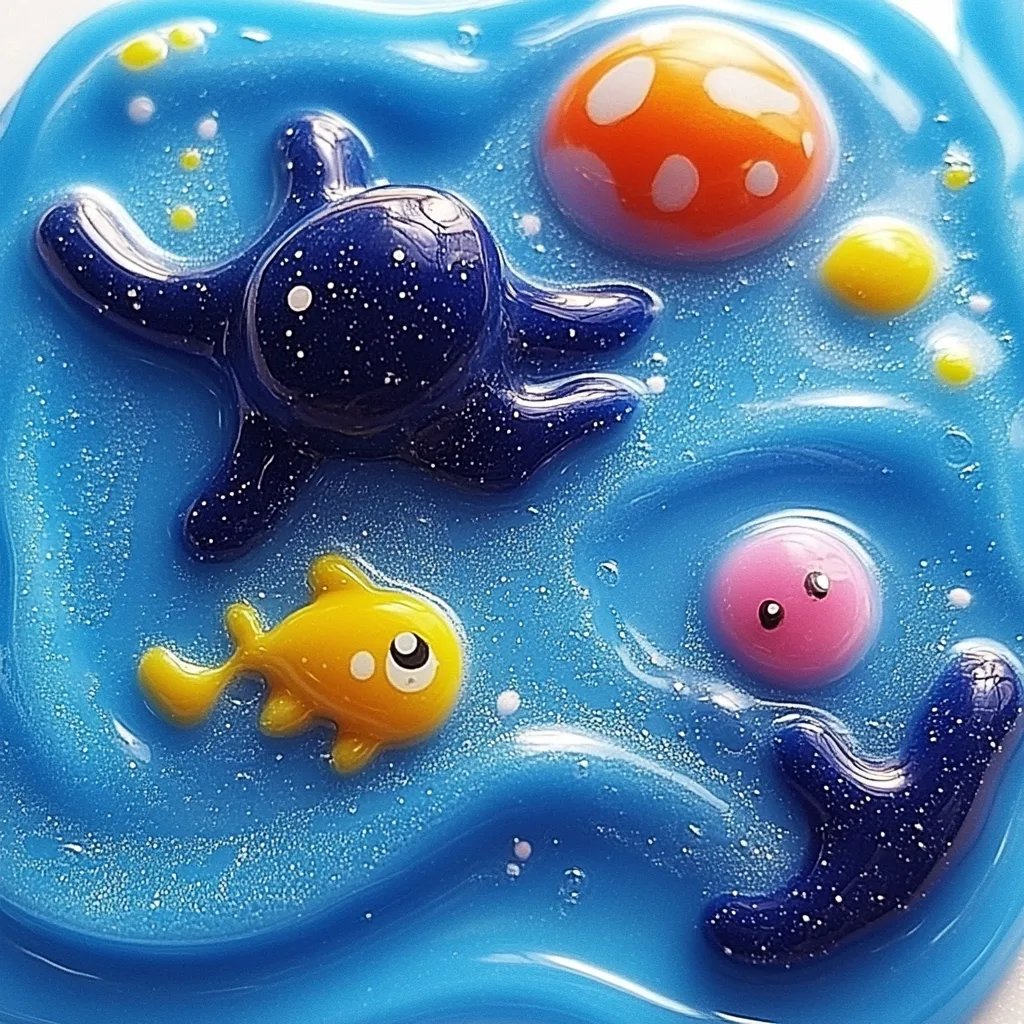
How to Make Ocean Slime: A Complete Guide for Crafting Enthusiasts
Hello, fellow craft lovers! Today, I am excited to share with you one of my absolute favorite projects: making Ocean Slime. If you’ve dipped your toes into the slime-making world, you’ll know it’s more than just a fun activity; it's an engaging sensory experience that captivates both adults and kids alike. Not only is Ocean Slime visually stunning, but it’s also squishy, stretchy, and stands apart from other slimes with its unique oceanic aesthetic. Whether you're creating it for play, as a fun gift, or simply to unwind after a busy day, Ocean Slime offers endless joy.
Why Ocean Slime?
Ocean Slime is a delightful concoction that mimics the beautiful textures and colors of the ocean. It's perfect for sensory play, can be used in parties, or simply enjoyed during a relaxing afternoon at home. The popularity of slime among kids and adults alike stems from its satisfying feel and the creativity involved in its creation. You can customize it with colors, additives (like glitter or foam beads), and scents, making it a fantastic avenue for self-expression.
Materials You Will Need
Before we dive into the tutorial, let’s gather our supplies. While there are various recipes for slime, this one is designed to be straightforward and accessible. Here’s what you’ll need:
Basic Ingredients:
- Clear school glue (1 cup): I recommend using a clear-elmer-style glue for that beautiful, ocean-like appearance.
- Baking soda (1 teaspoon): This helps to thicken the slime as it activates with the contact lens solution.
- Contact lens solution (½ tablespoon): This contains boric acid and is crucial for the slime’s activation process.
- Food coloring (blue, green, or teal): To create that stunning ocean hue.
- Water (1 tablespoon): To help mix the ingredients evenly.
Optional Add-Ins:
- Glitter or iridescent sequins: For a sparkly effect.
- Foam beads: To give it a bouncy texture, mimicking seafoam.
- Scented oils: For a calming aroma.
Step-by-Step Tutorial for Making Ocean Slime
Step 1: Preparing Your Glue Mixture
Start by pouring 1 cup of clear school glue into a mixing bowl. This will be the base of your Ocean Slime. Make sure you’re working in a clean area—you don’t want any dirt or debris messing with your creation!
Why This Matters:
Clear glue gives Ocean Slime its signature look and allows for a beautiful visual glow once you add food coloring. Using quality glue ensures your slime will have the best texture.
Potential Pitfall:
If your glue is too old or of poor quality, the slime may not bind properly. Check the expiration date and ensure it's clear and intact when you pour it.
Step 2: Add Water and Baking Soda
Next, add 1 tablespoon of water and 1 teaspoon of baking soda into your glue mixture. Stir well until fully combined. The baking soda helps to create a firmer slime texture while keeping it stretchy.
Why This Matters:
The water helps to activate the glue while the baking soda gives your slime the needed structure. This step affects how your final slime will feel and behave, so mix thoroughly.
Potential Pitfall:
If you don’t stir well enough, the baking soda may not fully dissolve, leading to a gritty slime texture. Ensure it is well blended!
Step 3: Color It Up!
Now comes the fun part! Add a few drops of your chosen food coloring to achieve your desired ocean color—something like azure blue or a deep teal works wonderfully. Stir gently until the color is evenly distributed throughout the mixture.
Why This Matters:
Choosing the right color will enhance the sensory experience and final appearance of your Ocean Slime. Remember that colors tend to lighten a bit as the slime forms.
Potential Pitfall:
Overmixing can incorporate too much air, making the slime bubbly and not as smooth. Stir just enough to blend the color.
Step 4: Activate the Slime
Now it’s time to add the contact lens solution. Pour in ½ tablespoon while stirring the mixture slowly. You’ll notice that the slime begins to clump together. Keep mixing until it hardens into a singular mass.
Why This Matters:
The contact lens solution contains boric acid, which is essential for binding the glue into slime. This is the step that transforms your liquid mixture into a pliable, stretchy slime.
Potential Pitfall:
Using too much contact lens solution can make the slime overly firm and less enjoyable to stretch. Start with a smaller amount, and you can always add more if needed.
Step 5: Knead and Play!
Once your slime has come together as a clump, remove it from the bowl and start kneading it with your hands. At first, it may feel sticky, but after a few minutes of kneading, it will become smoother and less sticky.
Why This Matters:
Kneading helps activate the slime fully, improving its texture and playability. It also allows you to check if the slime has reached your desired consistency.
Potential Pitfall:
If the slime remains too sticky after kneading, add a few drops of the contact lens solution incrementally until you reach the right consistency.
Creative Variations and Personal Anecdotes
While the basic recipe is fantastic on its own, feel free to get adventurous! I often like to add foam beads for fun, ocean-like textures. This adds an extra sensory element—both visually and to the touch!
When crafting with my kids, we love using a mixture of different colors—blue for depth, green for seaweed, and even a sprinkle of glitter to mimic sunlight dancing on top of the waves. Last summer, we created a ‘beach day’ corner in our living room, complete with beach towels and Ocean Slime to remind us of our seaside adventures!
Safety Tips
While making slime is generally safe, remember these precautions:
- Always supervise young children during the process.
- If you have sensitive skin, consider wearing gloves as some individuals can experience irritation from contact lens solution.
- Store your slime in an airtight container to keep it fresh, not allowing it to dry out.
- Avoid eating any slime, as it is not edible.
Final Thoughts
Making Ocean Slime is more than just a DIY project; it’s an opportunity to express creativity, bond with loved ones, and unleash your inner child. It’s a wonderful way to add a touch of crafting magic to your life. I encourage you to experiment, add your twists, and share the joy with others. Remember, crafting is about having fun and making your world a little brighter!
So grab your supplies, gather your friends or family, and let’s make some Ocean Slime! I can't wait to hear about your colorful creations—feel free to share your experiences and any variations you’ve made with the recipe. Happy crafting! 🌊✨